Home Studio Monitor Calibration: Stop Guessing Bass Levels
By Jae Min Park • 9th Oct
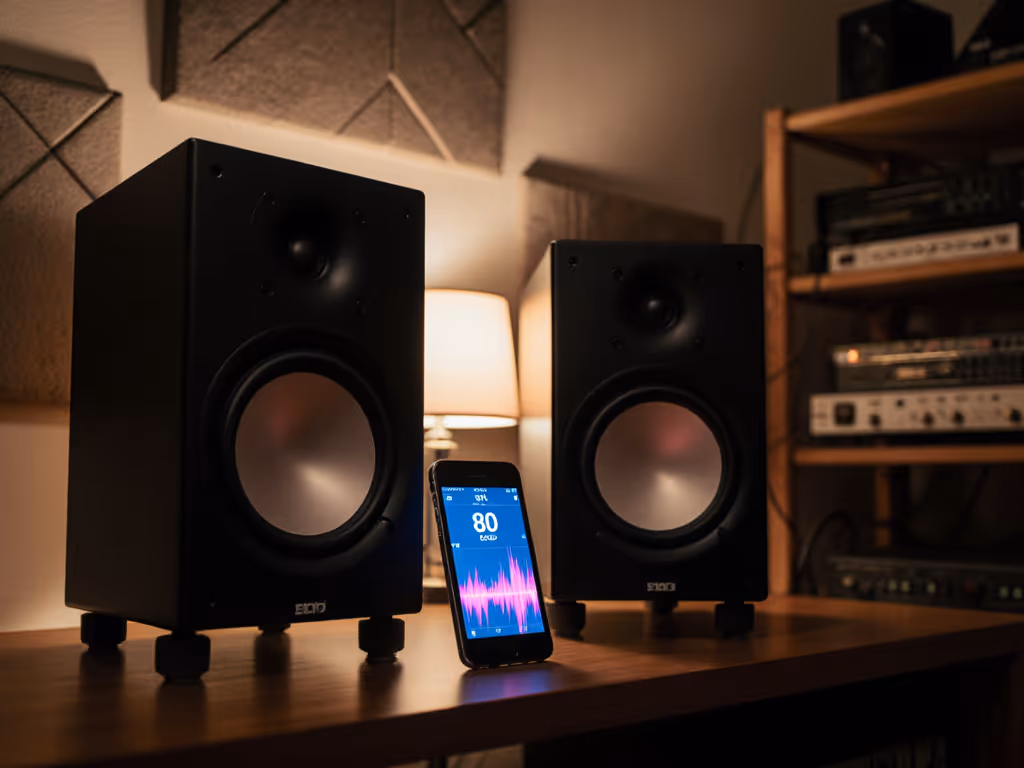
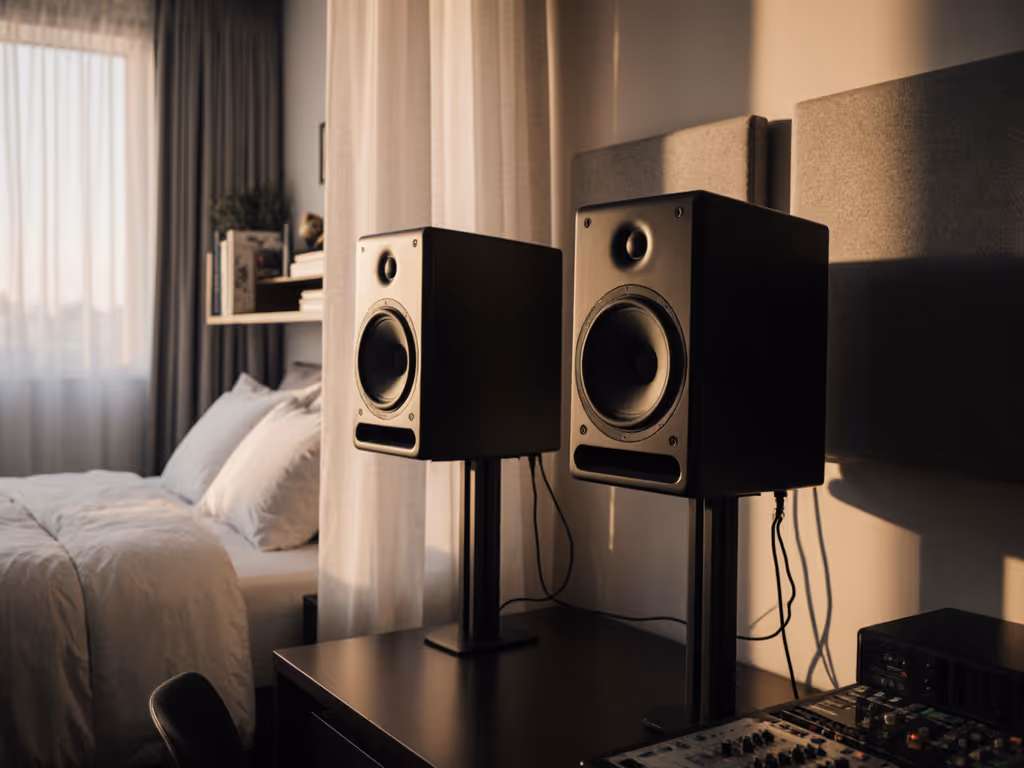
If your mixes sound great in your room but lose punch on earbuds or boom too loudly in the car, your studio monitors might be lying to you (not because they're bad gear, but because they're uncalibrated). Proper home studio calibration isn't about hi-fi perfection; it's about creating a consistent reference point so your bass decisions actually translate. Let's fix that with a simple, repeatable routine that takes the guesswork out of low-end balance.
Why Your Bass Keeps Failing Translation
Most beginners crank their monitors to feel the bass, but our ears deceive us. At higher volumes, we perceive more bass and less harshness (this is the equal-loudness contour in action). Mix loud, and your bass-heavy track will sound thin everywhere else. Mix too quiet, and you'll overcompensate with muddy low-end that rattles car windows.
I've watched students struggle with this for years. They'd swap monitors chasing "better" bass, only to keep failing translation checks. The real breakthrough came when we stopped obsessing over gear and focused on fundamentals: stable levels and thoughtful placement. That's when their mixes finally traveled.
The 15-Minute Calibration Checklist
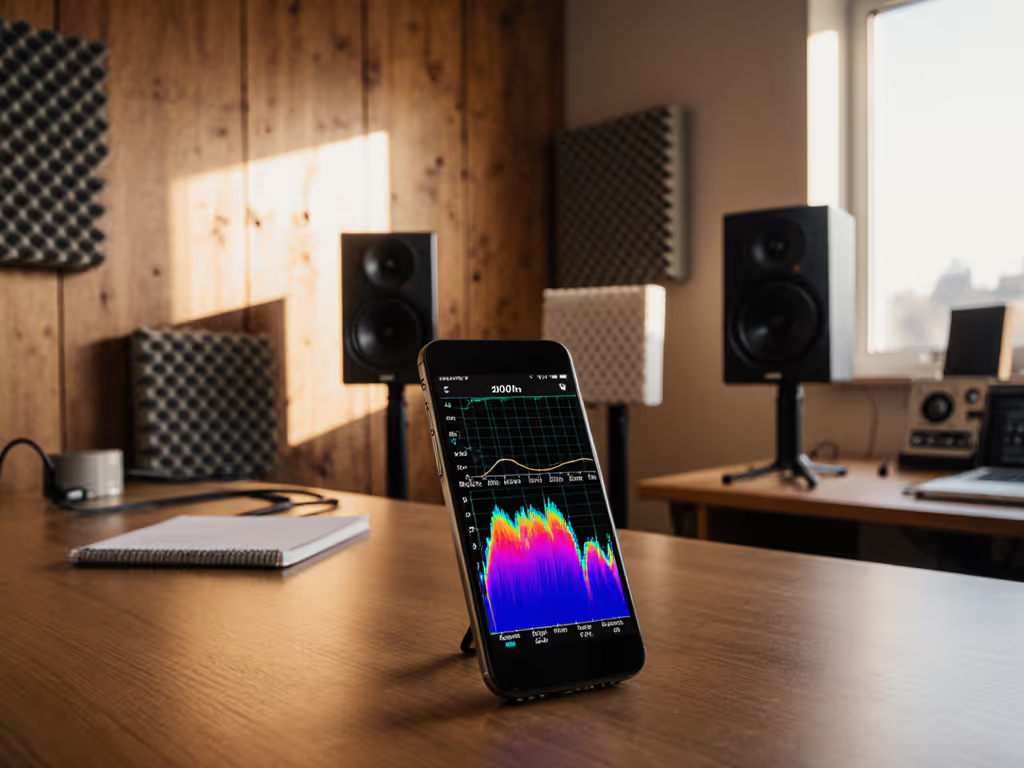
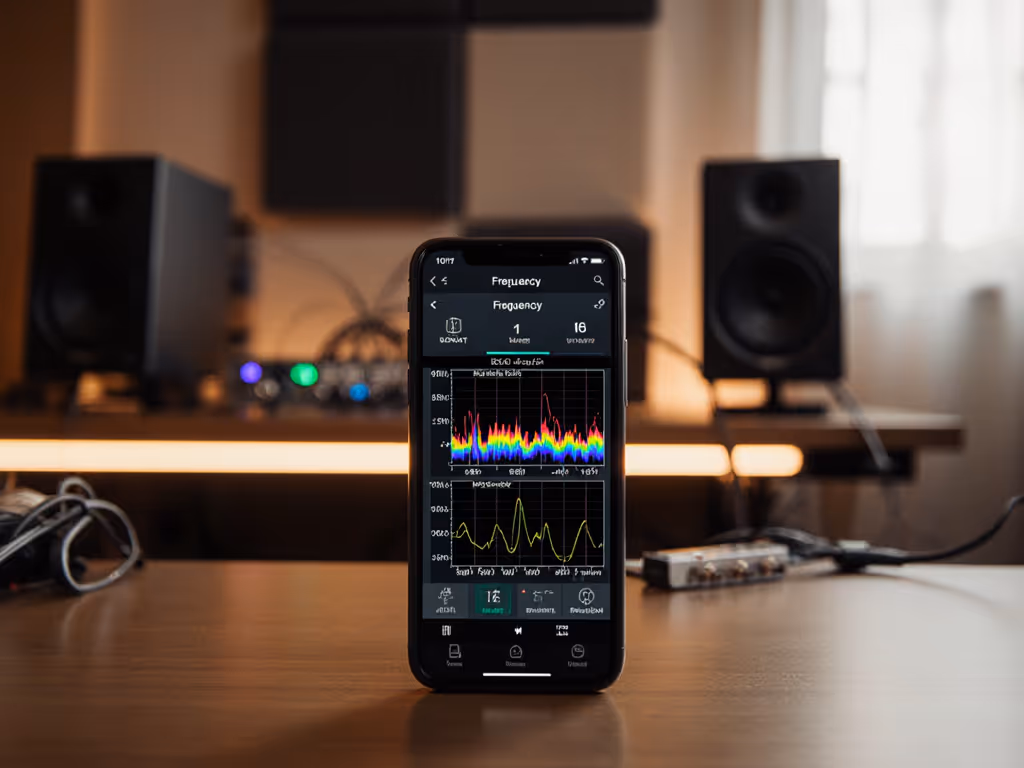
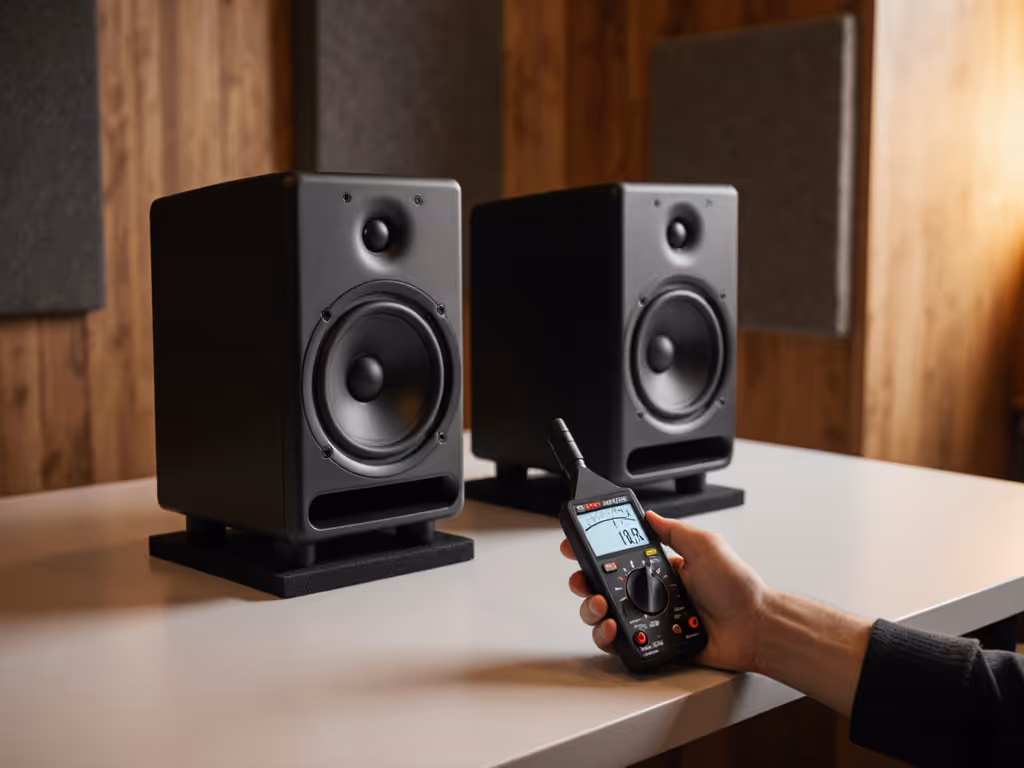
You don't need expensive gear, just an SPL meter app (like Decibel X or NI Audio), pink noise (not white noise!), and 15 minutes. Here's how to calibrate for reliable bass:
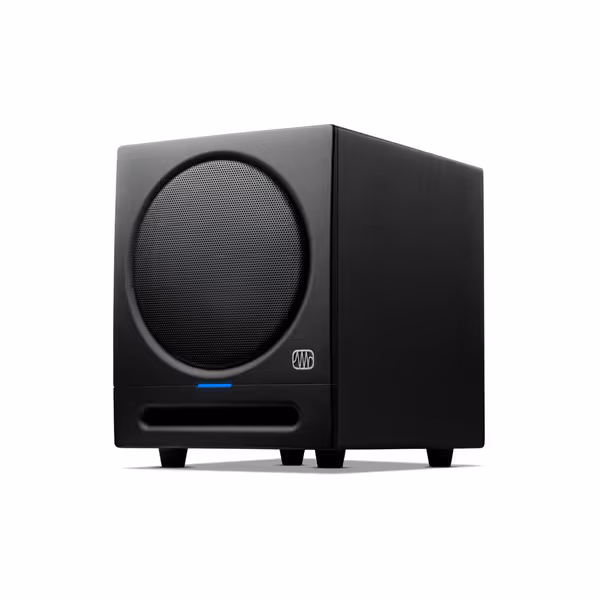
PreSonus Eris Sub 8BT
Compact, wireless studio subwoofer for accurate bass in small rooms.
$209.99
Low Frequency Response30 Hz
Low Frequency Response30 Hz
Pros
Delivers honest, deep bass down to 30 Hz for mix accuracy.
Integrated Bluetooth 5.0 for flexible, wireless setup.
Precise crossover and room-tuning controls optimize sound.
Cons
Functionality can be inconsistent for some users.
Reports of static noise and varying loudness.
Customers find these studio monitors deliver clear highs and mids and are great for smaller rooms, with good sound quality and value for money. The functionality receives mixed reviews - while some say they work well, others report complete failure. The loudness and noise level also get mixed feedback, with some praising the volume for their size while others complain about static noise.
Customers find these studio monitors deliver clear highs and mids and are great for smaller rooms, with good sound quality and value for money. The functionality receives mixed reviews - while some say they work well, others report complete failure. The loudness and noise level also get mixed feedback, with some praising the volume for their size while others complain about static noise.
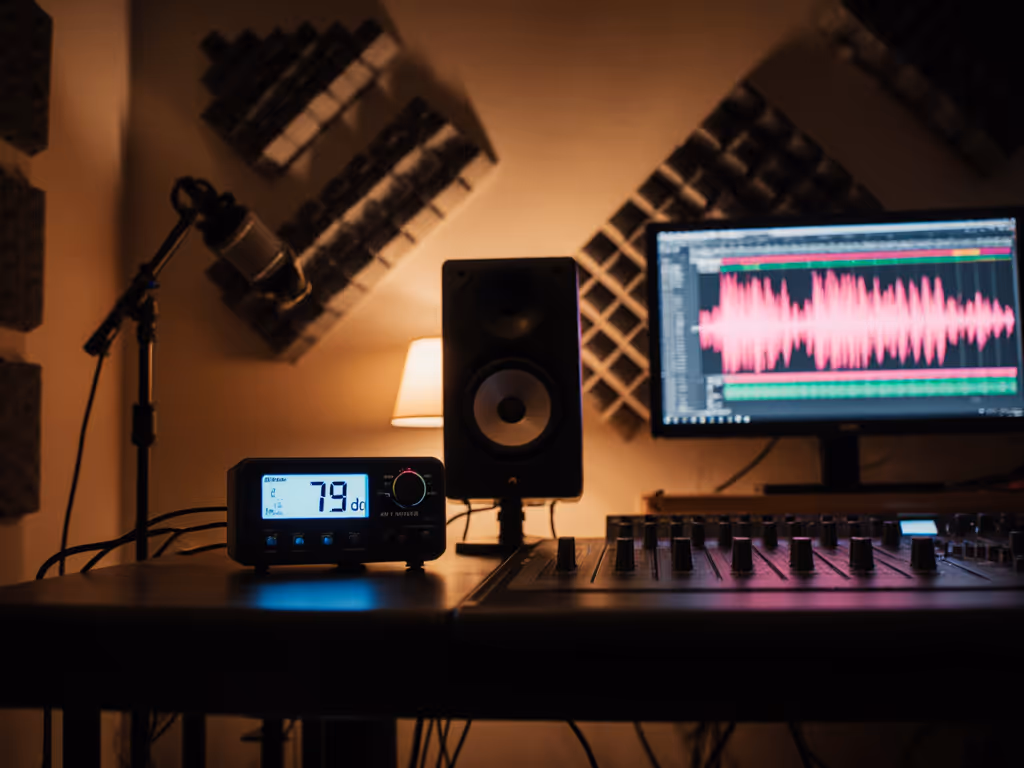
Step 1: Set Your Target Level
| Room Size (sq ft) | Target SPL per Speaker |
|---|---|
| Under 450 | 74 dB |
| 450-1,500 | 76 dB |
| 1,500-3,000 | 78 dB |
Most home studios fit the "under 450 sq ft" category. At this size, 74 dB per speaker (77 dB when both play) matches the equal-loudness curve where bass feels honest at safe listening levels.
Step 2: Calibrate Each Speaker
- Place your phone/meter at ear height in your chair
- Play pink noise at 0dB from your DAW
- Turn off one speaker, set the other to -10dB
- Slowly raise the active speaker's volume until the meter reads your target
- Repeat for the second speaker
- Critical: Verify both speakers hit the same level (just 1dB variance widens your bass sweet spot by 30%).
Step 3: Verify Imaging Play a centered kick drum. If the bass feels like it's coming from one side, nudge speaker positions inward until the kick locks dead center. This helps fix phase issues that make bass disappear on phones.
Set it right once; spend your energy finishing songs.
Why This Solves Bass Guesswork
Calibration creates a known reference point. When you consistently work at 74-77 dB:
- Your ears hear bass frequencies accurately (no "louder = better" illusion)
- Low-end decisions translate because you're not compensating for room modes
- You avoid the "car check anxiety" that steals hours from creative work
3 Quick Bass-Specific Tweaks After Calibration
These take 2 minutes but dramatically improve low-end reliability:
-
Isolate from surfaces: Place monitors on foam pads (not books!). Desk vibrations smear bass. Two mousepads under each speaker can cut this by 50%.
-
Angle inward slightly: Toe-in your speakers 10-15 degrees. This creates a tighter bass sweet spot so small head movements won't change low-end balance.
-
Pull back from walls: Keep monitors at least 18" from walls. Boundary bass buildup hides true low-end balance. Move them forward, not backward. For a deeper dive into positioning and acoustics, see our placement & room treatment essentials.
When to Consider Room Correction (And When Not To)
"Room correction software" gets oversold. For most home studios:
- Do use: Free tools like Sonarworks Reference (basic mode) to flatten major peaks >6dB
- Don't use: Aggressive target curves that boost bass. This creates new translation problems
For DIY studio calibration, focus first on placement and level consistency. If your calibrated setup still has bass "holes," try these non-invasive fixes:
- Reposition your chair 2-3 inches forward/backward
- Add dense blankets behind your chair to absorb rear-wall reflections
- Try a single bass trap in the front upper corner (most effective for under $50)
How to Maintain Your Calibration
True reliability comes from routine, not one-time fixes:
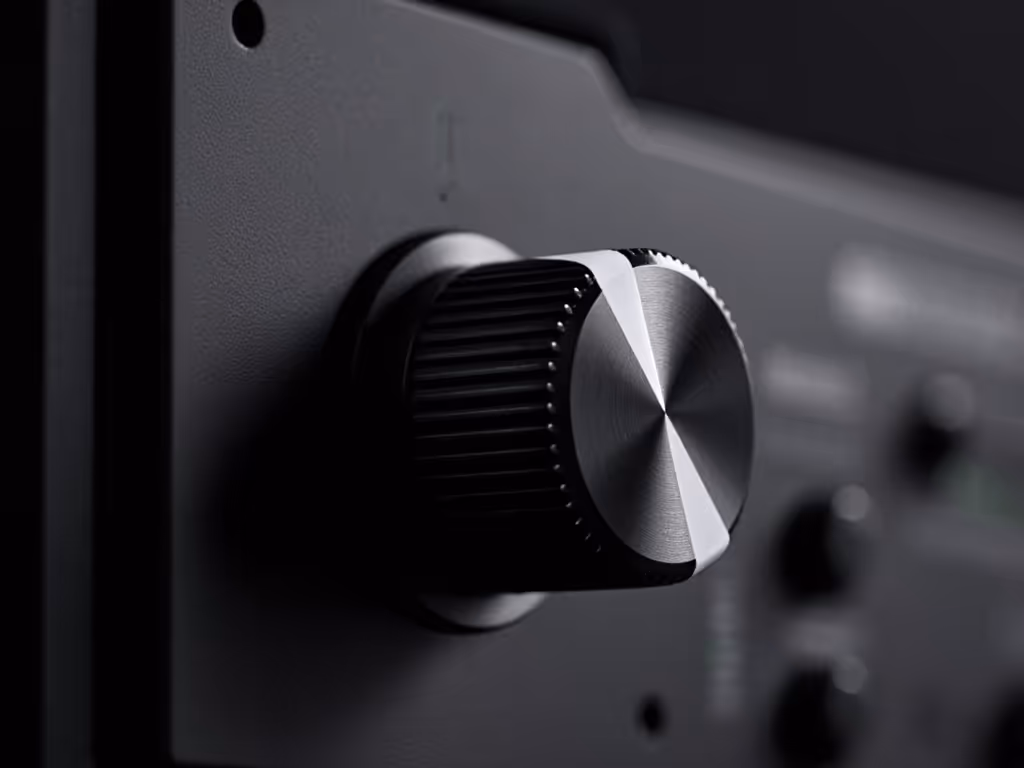
- Mark your volume knob with tape at the calibrated position
- Check levels weekly with pink noise. Rooms change with seasons!
- Never mix above 80 dB for more than 15 minutes (ear fatigue distorts bass judgment)
The Real Goal: Consistent Workflow, Not Perfect Numbers
Calibration isn't about hitting exact decibel targets. It's about creating a repeatable reference so your mixes develop consistently. I've seen students transform their output not by upgrading gear, but by committing to this simple ritual:
"Calibrate on Monday, trust all week."
When your monitoring environment stays stable, you stop second-guessing bass decisions and start shipping mixes that translate. That's the magic most beginners miss while chasing "perfect" monitors.
Next Steps for Bass Confidence
- Run this calibration tonight (it takes less time than watching one YouTube gear review)
- Test with a bass-heavy reference track you know well (e.g., Dua Lipa's "Levitating")
- Compare on earbuds tomorrow. Notice how much more consistent the low-end feels
Confidence in your home studio comes from routine, not specs. You don't need pro acoustics, just honest monitoring at stable levels. Start small, finish more.
Further Exploration:
- Download SPL meter apps with C-weighting for accurate low-end measurement
- Join our free workshop "Bass Translation in 8x10 Rooms" (link in bio)
Related Articles