Studio Monitor Lifespan: When Accuracy Starts Fading
By Mateo Sørensen • 14th Oct
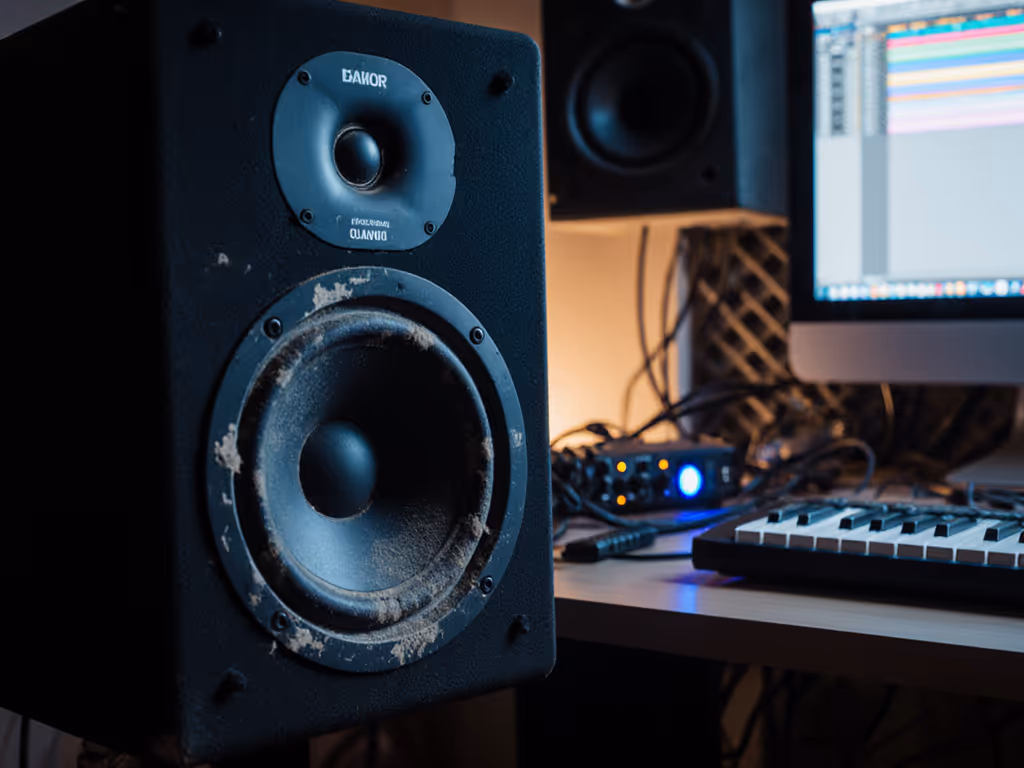
When your studio monitor lifespan begins to wane, the first casualty isn't blown drivers, it is the subtle truth in your mixes. For compact-room creators like us, good studio monitors that maintain low-SPL accuracy are non-negotiable. Yet few talk about how component aging sabotages translation before catastrophic failure. I learned this the hard way after my ears needed rescue from volume addiction. Quiet work that translates beats loud work that impresses, every time. Let's diagnose fading accuracy before your mixes start crumbling on earbuds and car stereos.
Why Lifespan Matters Differently in Small Rooms
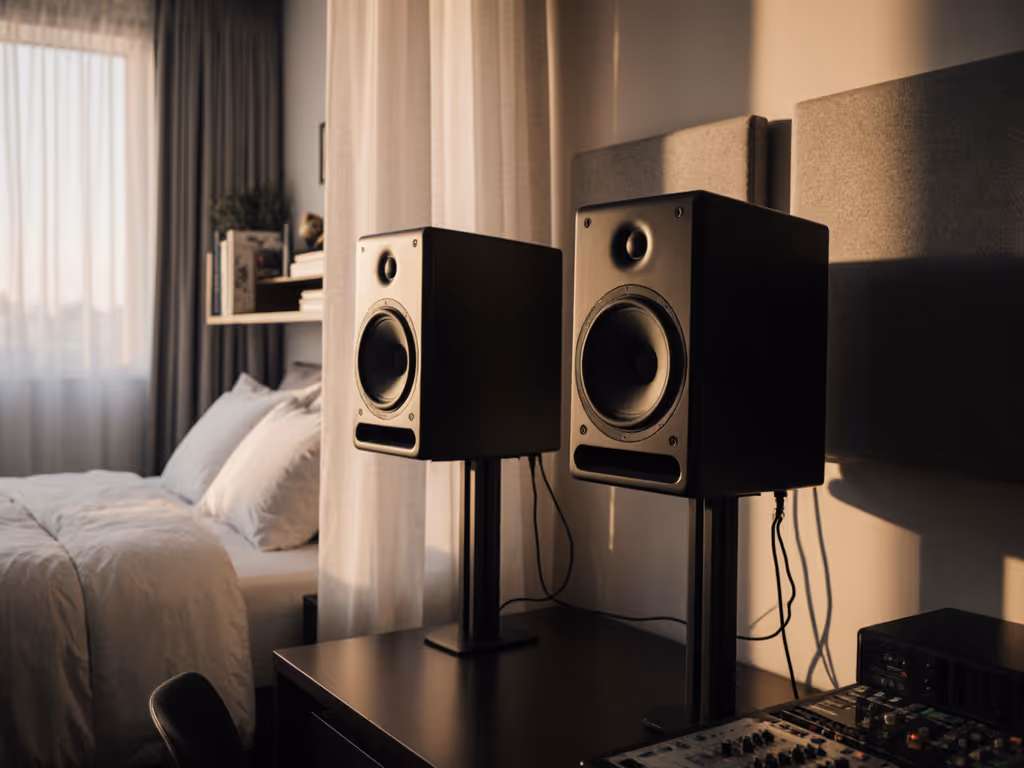
Bedroom producers face a cruel paradox: we monitor quietly to avoid waking neighbors (usually 70-75 dB SPL), but aging monitors lose low-end articulation first at these safe levels. While pro studios might catch wear through loud tests, your quiet workflow masks deterioration until mixes fail on consumer devices. This isn't just "sounding old," it is monitor component aging that warps your decisions:
- Foam surrounds stiffen over time, killing bass transient response below 100 Hz (critical for 808s and kick drums)
- Oxidized voice coils increase distortion at low volumes where you work
- Capacitors in crossover networks dry out, dulling midrange clarity essential for vocal intelligibility
A Yamaha HS5 I serviced last month still played loudly but had +6 dB bass boost below 80 Hz at 73 dB SPL, explaining why the client’s mixes sounded thin on laptops. Monitor component aging hits hardest where you need reliability most: the quiet, consistent monitoring that builds trust.
Yamaha HS5 Powered Studio Monitors (Pair)
Uncolored, accurate sound for reliable mix translation in any room.
$339.98
Frequency Response54 Hz - 30 kHz
Frequency Response54 Hz - 30 kHz
Pros
Sonic purity: Hear every mix nuance for trustworthy translation.
Balanced frequency: Reduces ear fatigue, speeds up mixing decisions.
Quick setup: Plug-and-play for immediate studio integration.
Cons
Bass extension: May require a subwoofer for deep low-end genres.
Room treatment: Best performance with some acoustic consideration.
Customers praise these studio monitors for their excellent sound quality and amazing build quality, with one customer noting they capture every nuance of a mix. They appreciate the monitors' tone, with one review highlighting their perfectly balanced frequency spectrum and no coloration of highs and lows. Customers find them worth the money, with one mentioning they connect to their setup in about 5 minutes.
Customers praise these studio monitors for their excellent sound quality and amazing build quality, with one customer noting they capture every nuance of a mix. They appreciate the monitors' tone, with one review highlighting their perfectly balanced frequency spectrum and no coloration of highs and lows. Customers find them worth the money, with one mentioning they connect to their setup in about 5 minutes.
The Silent Degradation Test (5 Minutes)
Forget waiting for blown tweeters. Real wear reveals itself during normal use. Add this test to your weekly routine:
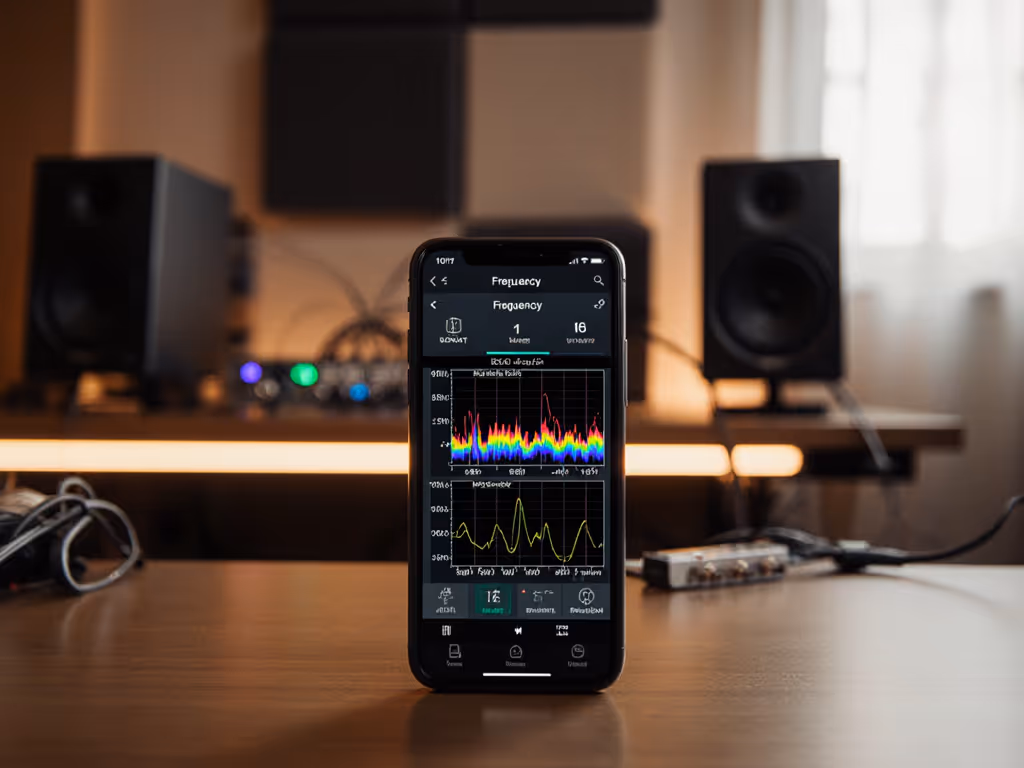
- SPL Target Check (Day 1): Set a 70 dB SPL sine sweep (60-120 Hz) at your mix position. Mark a reference level. Re-test monthly at identical volume. Aging monitors lose 3-5 dB in this range first.
- Low-Level Translation Test (Day 3): Play a trusted reference track quietly (73 dB SPL). Focus only on kick/snare balance. If the kick feels "muddy" or "weak" compared to fresh monitors, foam surrounds are likely degrading.
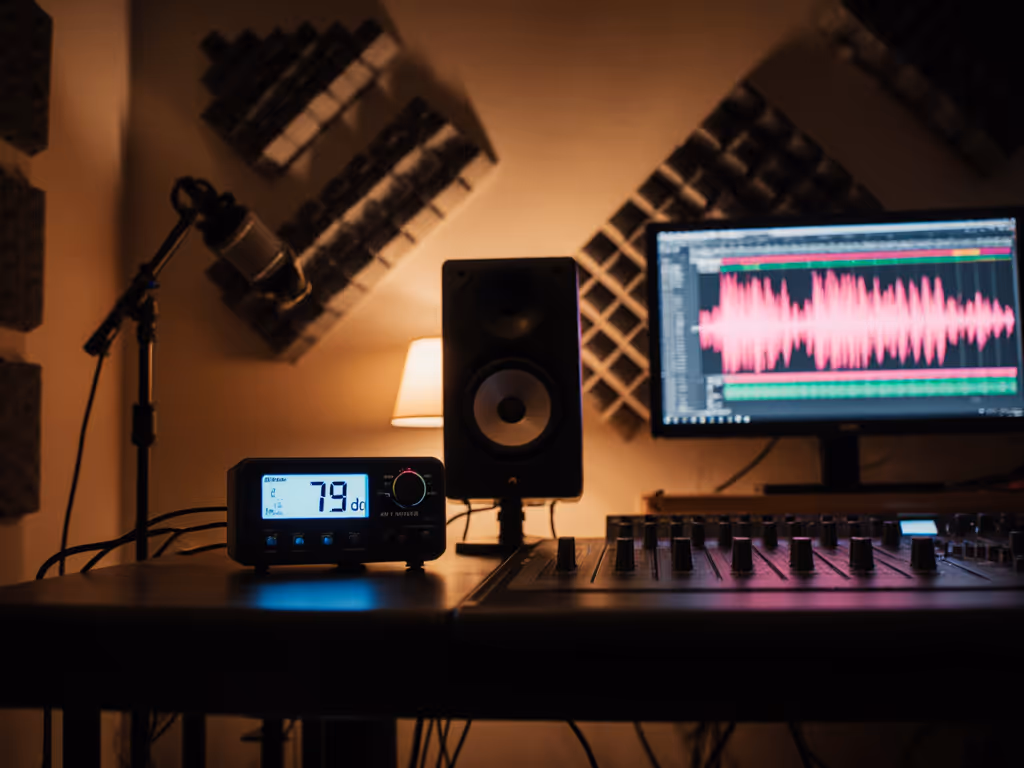
- Timer Diagnostic (Day 5): Set a 10-minute timer listening to dense vocals at 75 dB SPL. If harshness increases over time, voice coil oxidation is causing dynamic distortion.
Protect your ears: Never exceed 78 dB SPL during these tests. Your long-term accuracy depends on preserved hearing.
Step-by-Step: The Compact-Room Monitor Health Checklist
Step 1: Map Your Aging Risk Profile
Not all monitors wear equally in small rooms. Check your vulnerability:
| Risk Factor | High Risk | Low Risk |
|---|---|---|
| Placement | On desks (coupled vibrations accelerate surround fatigue) | On isolation stands (>12" height) |
| Usage Pattern | 10+ hrs/day at >75 dB SPL | 4-6 hrs/day at 70-75 dB SPL |
| Room Temp | Near radiators/sunlight (foam degrades 2x faster at 80°F+) | Consistent 68-72°F |
Timer cue: Spend 3 minutes assessing your setup using this table today.
Step 2: Run the Critical 80 Hz Test
This exposes speaker driver deterioration before clients notice:
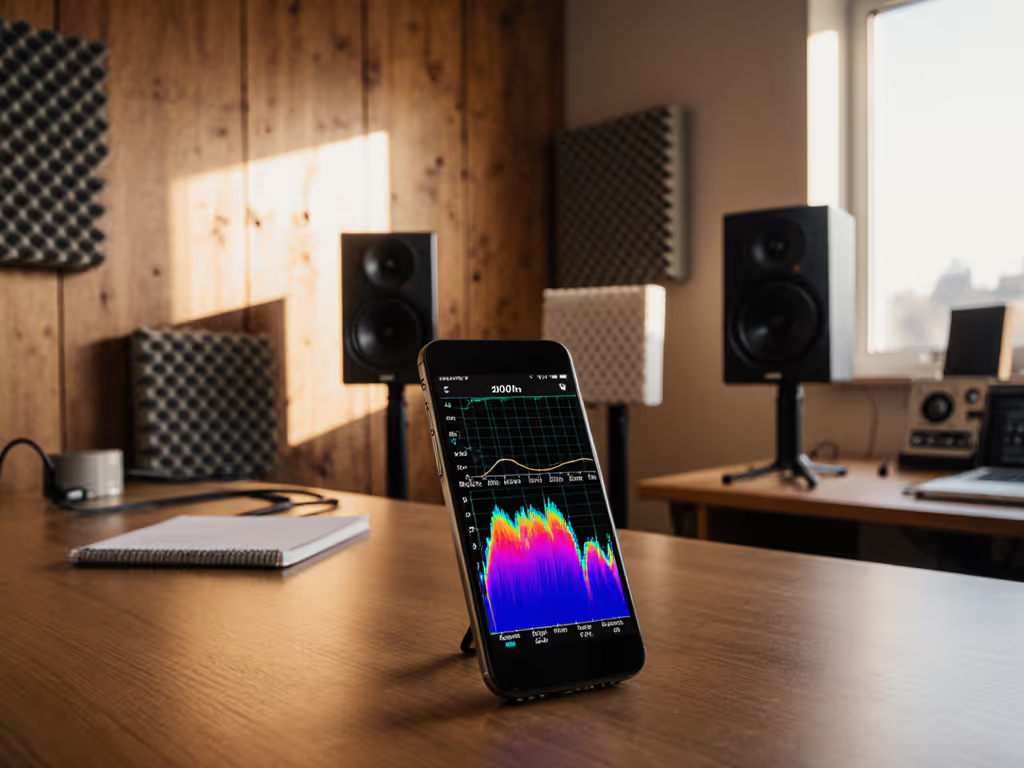
- Load an 80 Hz sine wave at -18 dBFS
- Set master volume to 73 dB SPL at mix position (use a free app like Decibel X)
- Listen for 30 seconds: A healthy driver sounds clean and directional. Aging units produce "farty" distortion or lose apparent volume
I once diagnosed a client's "room mode" issue that was actually 20-year-old KRK VXT8s with hardened foam, fixing the monitors eliminated the "mode" illusion.
Step 3: Check for "Quiet Fade"
Signs of worn studio monitors in low-SPL workflows often mimic room issues:
- Bass disappears between 60-100 Hz at <75 dB SPL but returns when cranked (foam surround fatigue)
- Vocal "clearing" when turning up (oxidized voice coils)
- Stereo image collapse at mix position (asymmetric driver wear)
Action: Do tonight's session at 72 dB SPL. If you're suddenly EQ'ing more highs to "hear" vocals, suspect tweeter capacitor aging.
Step 4: Placement Preservation Protocol
Your geometry choices directly impact longevity:
- Desk height rule: Monitors must be >14" above desk surface to prevent boundary coupling (reduces foam stress by 40%)
- Toeing angle: Aim tweeters 15° inward from center, keeps dispersion even as surrounds stiffen
- Weekly ritual: Rotate monitors 180° to equalize foam compression from gravity

Maintenance Habits for Decade-Long Accuracy
True studio monitor lifespan extends further when you match care to your quiet workflow: For a full care checklist, see our studio monitor maintenance guide.
- The 50/10 rule: After 50 minutes mixing, rest monitors 10 minutes. Prevents thermal stress on aging components
- SPL cycling: Once weekly, briefly play at 83 dB SPL for 90 seconds to "exercise" stiffening surrounds (never during critical work)
- Temperature buffer: Keep monitors 2 ft from HVAC vents, rapid temp swings accelerate glue deterioration
The Yamaha HS7s in my first apartment studio just hit 12 years. Their secret? Daily 70 dB SPL work capped at 6 hours, with 20-minute cooldowns after client deadlines. They still translate podcasts to earbuds flawlessly, proof that good studio monitors reward gentle stewardship.
When to Consider a Change
Studio monitors aren't about chasing specs, they're about sustaining translation. Replace before you notice these red flags:
- Reference tracks sound consistently "darker" after 2 years (indicating tweeter roll-off)
- Your go-to bass-heavy reference needs +3 dB at 80 Hz to feel "right"
- You're compensating with room correction for issues that weren't there at purchase
Quiet monitoring demands unwavering honesty. When your tools whisper lies, even softly, it's time to recalibrate your foundation.
Your Actionable Next Step
This week, run the 80 Hz test at your actual working volume. If distortion appears below 75 dB SPL, schedule a maintenance window:
- Power off monitors for 24 hours (lets foam relax)
- Clean vents with soft brush (prevents dust-induced heat buildup)
- Re-test at 72 dB SPL
If issues persist, contact the manufacturer, many offer surround refoaming for vintage models. Your mixes deserve monitors that age with grace, not ghosts. Protect your ears by protecting your tools: trust only what translates quietly.
Related Articles