Studio Monitor Frequency Response: What Actually Matters
By Jae Min Park • 3rd Oct
When your mix sounds amazing in your bedroom studio but falls apart on earbuds or in the car, the culprit often lies in studio monitor frequency response. But here's what most beginners miss: understanding frequency response isn't about chasing perfect specs, it's about recognizing how your monitors behave in your actual space. After helping hundreds of bedroom producers avoid costly revision loops, I've found that practical knowledge beats theoretical perfection every time. Let's cut through the confusion with a step-by-step approach you can apply today.
Why Frequency Response Gets Overhyped (And What Actually Matters)
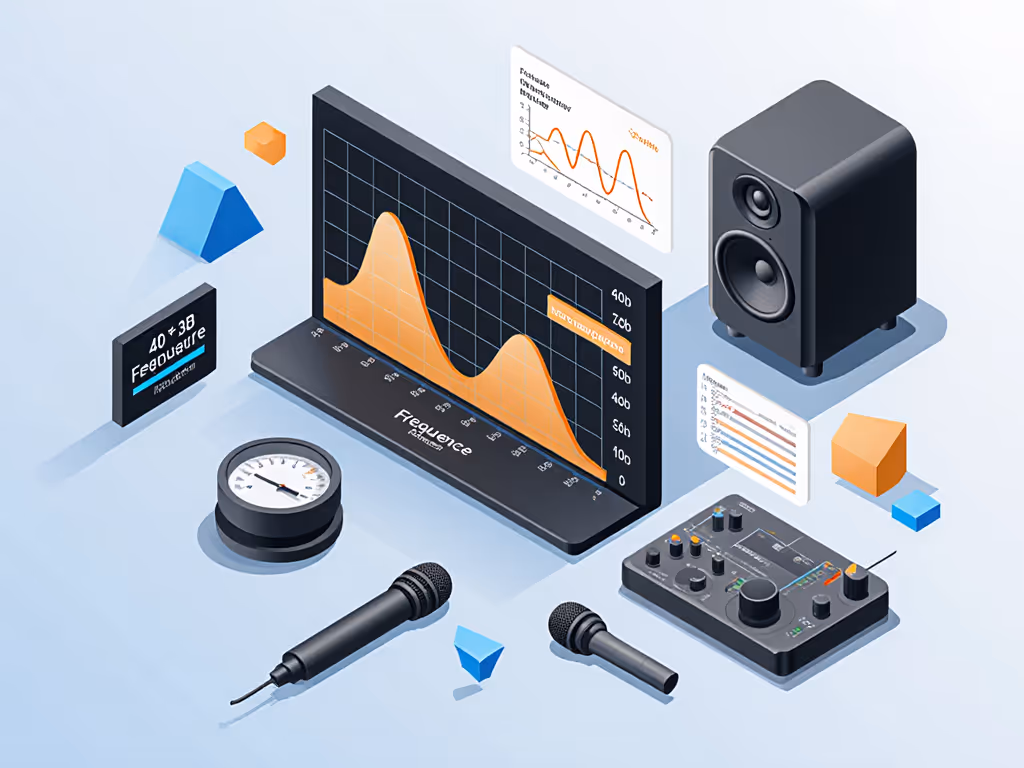
Many beginners obsess over frequency range numbers like "20Hz-20kHz," but that's just the starting point. True studio monitor frequency response refers to how evenly your speakers reproduce those frequencies. Consumer speakers often boost bass and highs to sound exciting, but studio monitors should deliver a neutral presentation.
The critical detail most specs hide? The tolerance range. A spec listed as "45Hz-20kHz ±3dB" means the speaker stays within 3dB of perfectly flat across that range. That ±3dB is your real-world accuracy window. Why does this matter? Because human ears need about 6-10dB difference to notice volume changes. If your monitor varies by just 3dB, those subtle shifts won't trick you into making bad EQ decisions.
Place, isolate, then decide
The Flat Response Myth: What "Flat" Really Means
"Flat frequency response importance" gets thrown around like gospel, but absolute flatness is impossible, and unnecessary. What truly matters is predictable consistency. Your monitors don't need to be ruler-flat; they just need to lie consistently so you can learn their quirks.
Here's the practical truth:
- Below 80Hz: Room modes dominate so severely that speaker response here is nearly meaningless in small spaces
- 80-250Hz: This "mud zone" is where most small-room mixes live or die, your monitor's consistency here matters most
- Above 5kHz: Most monitors are relatively flat, but dispersion (how sound spreads off-axis) affects your perception more than raw response
I used to see students chase "perfect" monitors while ignoring placement. Their "breakthrough" came from moving desks away from walls and using tennis balls under speakers, not from buying new gear. That's when I realized: confidence comes from a stable monitoring routine, not chasing specs or hype.
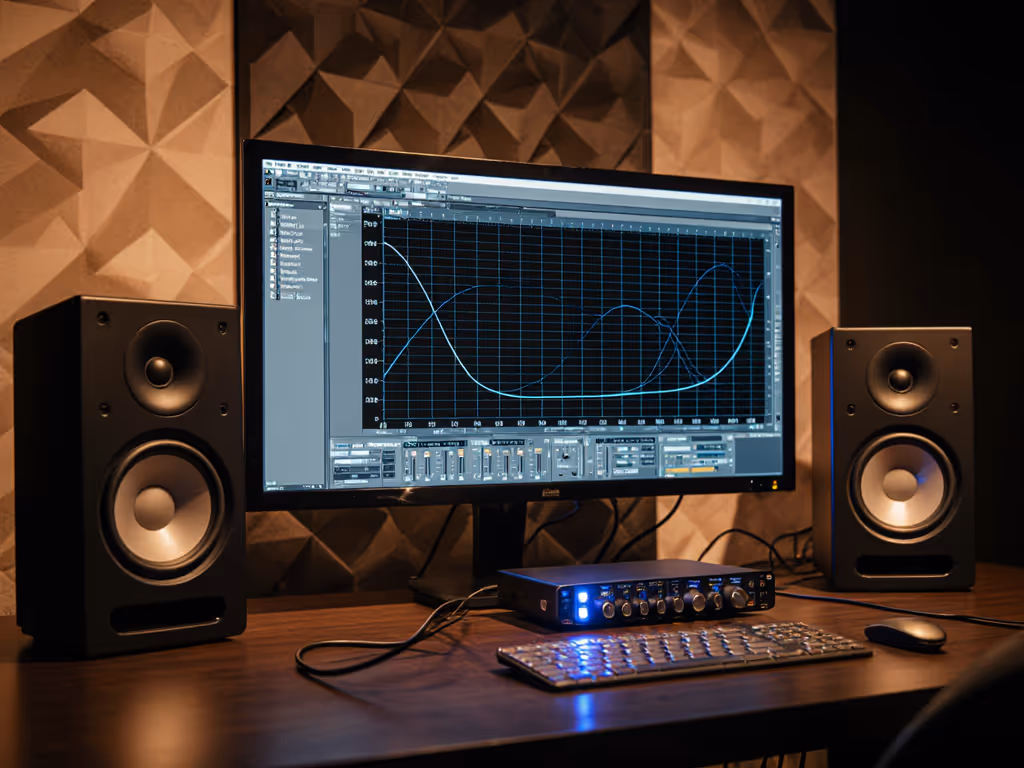
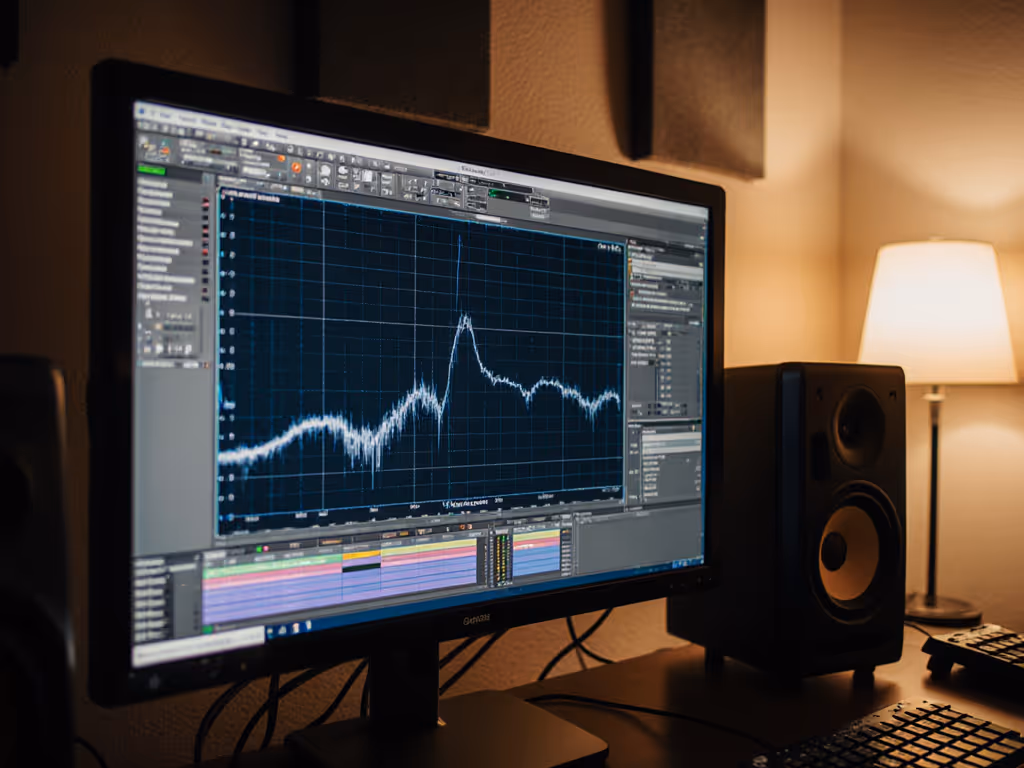
How to Read Frequency Graphs Like a Pro (Without the Math)
Understanding frequency response graphs separates the pros from the spec-sheet shoppers. Here's how to interpret them in three steps:
- Ignore the extremes: That "20Hz" spec? In a 10x12 room, wavelengths below 80Hz will be dominated by room modes anyway. Focus on 40Hz-15kHz.
- Check the tolerance window: Draw mental lines at ±3dB from center. Does the curve stay within? That's your usable range. Variations beyond this indicate problem frequencies.
- Identify consistent patterns: Look for smooth curves rather than perfect flatness. A monitor that consistently dips at 3kHz (common with dome tweeters) is better than one with random peaks and valleys.
Example: This graph shows a typical nearfield monitor. Note how response stays within ±2.5dB from 80Hz-15kHz (the sweet spot for small rooms), but drops below 60Hz where room acoustics dominate anyway.
Your Practical Frequency Response Checklist
Forget endless tweaking. Follow this proven workflow to evaluate why flat response matters in your specific environment:
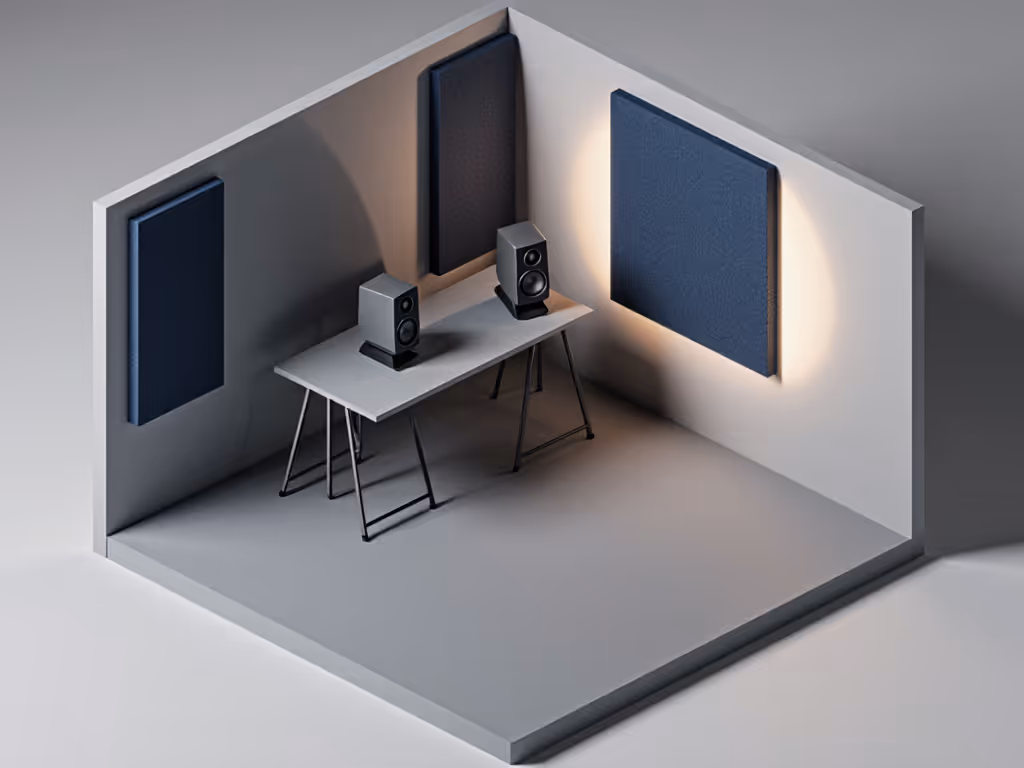
Room First, Monitors Second
- Place your monitors at ear height, forming an equilateral triangle with your head
- Position them away from walls (at least 18", more if possible)
- Angle them inward slightly (toe-in) to reduce early reflections
Isolation Is Non-Negotiable
- Decouple monitors from desks using basic isolation pads (tennis balls work in a pinch)
- Avoid placing on untreated wooden surfaces that resonate
- Check for rattles or vibrations by playing bass tones at low volume
Decision-Making Protocol
- Test with reference tracks you know well at moderate volume (70-75dB)
- Listen for consistent problems across multiple songs
- Adjust only if you hear the same issue on all reference material
Remember my teaching days? Students kept failing car checks despite expensive monitors. Then we moved their desks away from walls and added tennis balls under speakers. Suddenly their mixes traveled perfectly. That's when I realized the truth: Set it right once; spend your energy finishing songs.
The Real Translation Test: Beyond the Specs
No monitor spec sheet predicts how your mix will sound on a phone speaker, but your room setup does. Here's the only test that matters:
- Reference your mix on:
- Earbuds (the new standard for most listeners)
- A laptop speaker
- Your car stereo
- Note consistent problems across all systems
- Make one surgical adjustment in your DAW
If your mix translates everywhere except one system? That system is the problem, not your monitors. This simple process eliminates 90% of "translation anxiety" I see in beginners.
Why You're Wasting Time on "Perfect" Response
Let's be honest: In untreated rooms under 150 sq ft, your room's acoustics will distort frequency response by 15-20dB, far more than any monitor's inherent variance. For a deeper dive into why rooms dominate and how to treat them, read our room acoustics guide. That "±2dB" spec becomes irrelevant when your walls are adding or subtracting 10dB randomly.
This is why I always say: Place, isolate, then decide. Get your physical setup stable first. A $300 monitor in a well-treated room beats a $2000 pair vibrating on a wooden desk. Focus on creating consistency in your environment, not chasing mythical perfection on paper.
Next Steps: Build Monitoring Confidence, Not Spec Sheets
Stop worrying about whether your monitors hit 22kHz. Focus instead on building reliable habits:
- Spend 20 minutes optimizing placement and isolation
- Create a 3-track reference playlist you know inside out
- Work at consistent volume (70-75dB) to avoid ear fatigue
- Trust your room once set up properly
When you stop chasing specs and start trusting a stable routine, something powerful happens: your mixes translate better, revisions drop dramatically, and you finally gain the confidence to hit "export" without dread.
Further Exploration: Bookmark the Harman Target Response Curve (not as flat as you'd think!) and compare it to your favorite monitors' measurements. Notice how practical targets prioritize smoothness over absolute flatness, proof that real-world translation beats theoretical perfection.
Related Articles