Apartment Studio Monitor Bundles: Quiet & Accurate
By Jae Min Park • 28th Apr
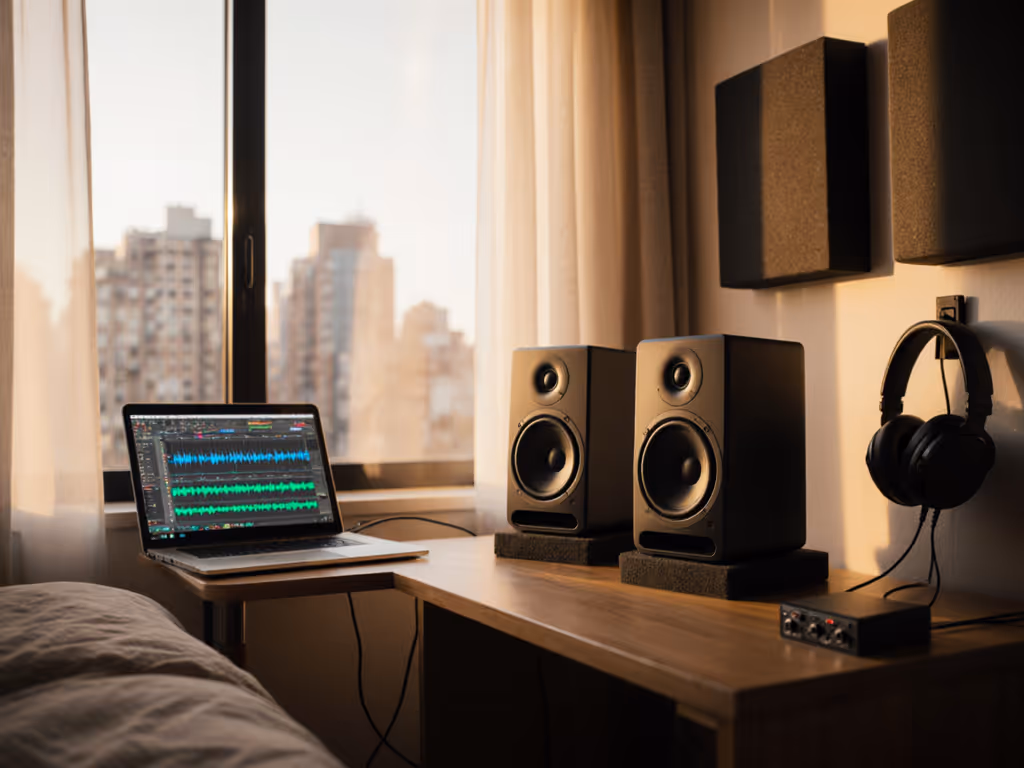
Your mixes travel reliably when monitoring is honest at low volume in a small, untreated room, and that requires a system optimized for placement, isolation, and boundary management, not raw wattage. An apartment studio monitor bundle combines compact speakers, vibration isolation, and acoustic treatment designed for shared-wall environments where neighbors, roommates, and space constraints demand restraint without sacrificing low-end truthfulness.
This guide walks you through the anatomy of a cohesive bundle, how to install it correctly in a rental-friendly way, and the specific tuning steps that keep your mixes credible from your desk to earbuds to client speakers.
Why Standard Monitor Setups Fail in Apartments
The Boundary Problem
Most apartment studio issues stem from desk and wall reflections, not the monitors themselves. For foundational tips on placement and treatment, read our room treatment and placement essentials. When a speaker sits 30 cm from a rear wall or on a reflective desktop, the boundary layer (the region where direct and reflected sound interfere) warps the frequency response, typically by 6 to 12 dB in the low-midrange. Your kick sounds bloated at the desk but thready in the car. Your vocals feel present at home but disappear on earbuds.
The equilateral triangle principle (where the distance from each monitor to your listening position equals the distance between the monitors) is standard practice. But in apartments, achieving this triangle while respecting wall and desk boundaries is the real challenge. A monitor placed too close to a wall (between 0.5 to 1.5 m away) creates a resonant dead zone; too far and you need more power and space than most bedrooms allow.
Low-Volume Accuracy
Monitors rated for 85 to 90 dB SPL often lose articulation and low-end clarity below 75 dB. If you specifically need speakers that stay truthful at whisper-quiet levels, check our QuietProof apartment monitor picks. For quiet apartment work, you need speakers engineered for accurate bass response at 70 dB, not just at reference level. This means room-corrected drivers and a compact sealed or front-ported design that does not rely on rear-wall loading to extend bass (exactly what apartment bundles prioritize).
The Anatomy of an Apartment-Optimized Monitor Bundle
Nearfield Monitors (5–6 inch Woofers)
A proper bundle starts with monitors designed for 0.7 to 1.2 m listening distances, typical for apartment desks. Five- to six-inch woofers in compact enclosures offer three advantages: they fit on narrow stands or bookshelves, they maintain directional low-end better than larger designs, and they allow you to hit the sweet spot without massive speaker stands.
Look for front-ported or sealed designs over rear-ported. Rear ports couple aggressively with nearby walls, introducing the very boundary colorations you are trying to escape. Front ports and sealed designs give you control over placement; you can position them 40 to 90 cm from side and rear walls without acoustic surprises.
Vibration Isolation: Decoupling the Signal Chain
Desktops transmit speaker vibrations directly to your work surface, collapsing imaging and muddying transients. A good bundle includes isolation pads or stands that decouple speakers from the desk and floor. The goal is simple: minimize structure-borne vibration so the monitor vibrates independently of its support.
Effect on practice: Moving speakers to decoupled stands (even basic foam isolation pads under small stands) tightens stereo width and sharpens attack. You notice kick and snare texture you did not hear when coupled to the desk. After a week of decoupled monitoring, coupled setups feel vague.
Rental-Friendly Acoustic Treatment
Permanent acoustic panels are not an option in rentals. A bundle that works includes:
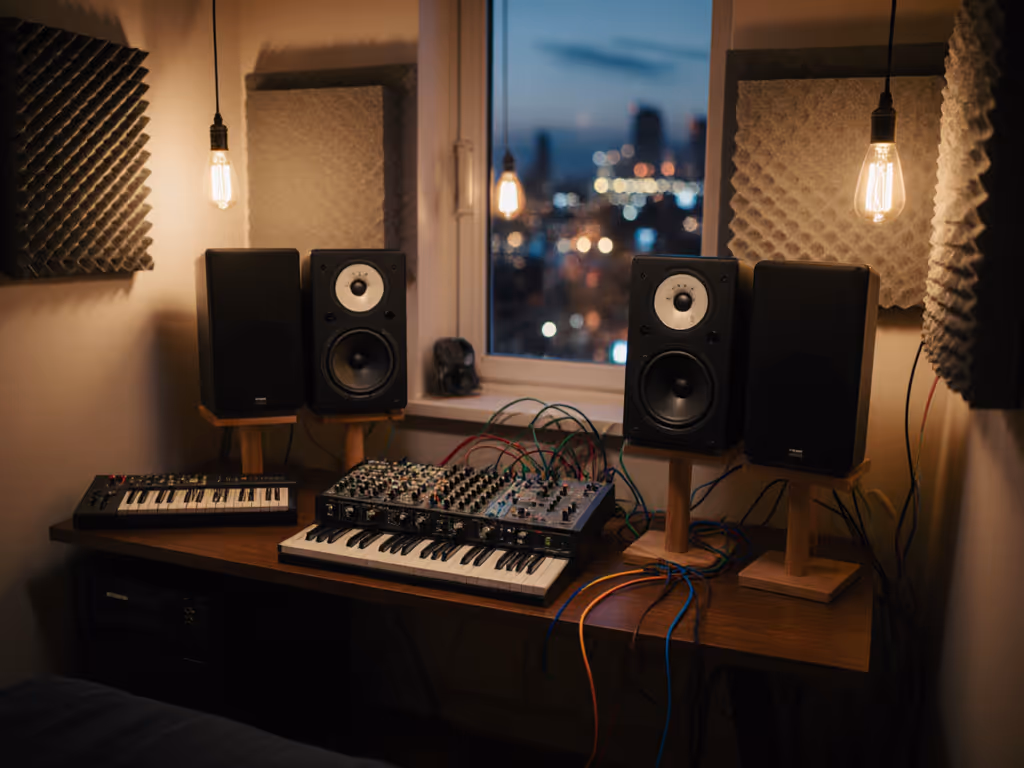
- Heavy curtains or movable panels for window reflections. Windows are typically the largest reflective surfaces in a bedroom; a 1.5 m × 1.2 m curtain over the window near your listening position reduces flutter echo and comb-filter artifacts.
- Asymmetrical monitor placement to avoid reinforcing parallel-wall modes. Place monitors at different distances from rear and side walls, for example, 50 cm from the rear wall and 80 cm from the left side wall, then mirror the opposite monitor. This breaks up standing waves.
- Absorption at first-reflection points, using movable bass traps, furniture rearrangement, or soft furnishings (beds, couches) to disrupt low-frequency buildup.
Optional Subwoofer for Low-Frequency Honesty
Apartments present a subwoofer paradox: low frequencies (below 60 Hz) are harder to localize (so neighbors do not blame the direction) but need tight integration to avoid translation loss. A compact sealed sub (8 to 10 inches) positioned away from corners and set to a 60 to 80 Hz crossover with phase alignment keeps kick and bass separate in your mix yet coherent to the ear. The bundle guidance should include sub placement and crossover tuning specific to compact rooms.
Step 1: Audit Your Room and Identify the Triangle
Measure and Map
Measure the distance from your seated head position to the farthest rear wall and side walls. Map which surfaces are reflective (glass windows, hard furniture) versus absorbent (carpet, bookshelves with books, curtains).
Identify your listening area. Divide your room into three equal zones: front, center, rear. For music production, position yourself in the front third to stay in the nearfield region and avoid the reverberant field, where early reflections decay too slowly for accurate mixing.
Calculate Your Triangle
If your desk is 0.8 m from your body to the far edge, and you are sitting at a typical seated distance of 1.0 m from the baseline between your monitors, then each monitor should be 1.0 m away from your head position and 1.0 m away from each other, an equilateral arrangement. Use a tape measure or string to verify; precision matters because a 10 cm difference in one leg degrades imaging.
If standard distances do not fit your space, prioritize equal lengths over absolute size. A 0.8 m × 0.8 m × 0.8 m triangle is perfectly viable if symmetrical; a mismatched 0.7 m × 0.8 m × 0.9 m is not.
Step 2: Position Monitors for Boundary Control
Apply the Wall Distance Rule
For 5–6 inch nearfield monitors, follow this guideline:
- Back wall: 40 to 60 cm (avoid the 0.5 to 1.5 m intermediate zone that couples strongest)
- Side walls: 60 to 90 cm (farther than back wall to break parallel reflections)
- Front edge of desk: As close as possible without hitting keyboard or mouse
If your space does not allow 40 cm from the back wall, move to less than 10 cm (very close coupling, then address with boundary EQ if your monitors support it).
Height and Toe-In
Position monitors at ear level when seated, typically 20 to 30 cm above the desktop. The higher the placement, the less floor/desktop reflection interference at low frequencies. Toe-in each monitor at 15 to 30° toward the listening position so they point at your head, not past it. This stabilizes the stereo image and keeps off-axis coloration out of your critical path.
Step 3: Isolate and Decouple
Vibration Isolation Pads
Place each monitor on isolation pads (foam, elastomer, or spring-based) that match the monitor's weight. Pad stiffness should decouple the speaker from the surface while keeping it stable. Test: tap the monitor; it should move independently of the underlying surface. A wobbly speaker is uncoupled to the point of instability; a rigid connection defeats the purpose.
Monitor Stands
If using stands, position them away from walls and use decoupled feet (rubber isolation feet or spikes, depending on floor type). Wooden or metal stands transmit vibration easily, so couple isolation pads or feet at the stand-to-floor junction to block the path.
Desk Isolation (If Monitors Are on the Desktop)
If space forces monitors onto the desk, place them as close to the front edge as possible and on isolation pads. Desktop monitors couple to the desktop's resonances, darkening high-frequency balance and blurring transients. Even 5 mm of foam padding between monitor and desk noticeably tightens imaging.
Step 4: Manage Boundary Reflections with Asymmetrical Absorption
Asymmetrical Positioning and Treatment
Place absorption unevenly across your room to avoid creating nodes and antinodes in symmetric positions. For example:
- Hang a heavy curtain or movable acoustic panel on one side wall, not both.
- Position a bass trap in the rear corner at one side of the room, offset from the monitor baseline.
- Use furniture (bookcase, bed, couch) to absorb reflections at one side, leaving the other more reflective.
This breaks up standing-wave symmetry and reduces the likelihood that certain frequencies (typically 60 to 120 Hz) will be catastrophically reinforced or canceled at your listening position.
First-Reflection Control
Identify where sound from each monitor first bounces before reaching you. If that bounce point is a hard window or glass desk surface, place absorption there, a curtain, blanket, or foam panel. Heavy absorption at first-reflection points (typically 30 to 50 cm from the monitor) is more effective than distributed treatment.
Step 5: Integrate a Subwoofer (If Included)
Subwoofer Placement
Position the subwoofer away from corners (where bass modes are strongest) and on the same side of the room as one monitor, or centered along the front wall. Avoid placing it symmetrically between the two monitors and the back wall, as this creates a reinforced mode.
Crossover and Phase Alignment
Set the crossover frequency (the point where the sub takes over from the monitors) to 60 to 80 Hz for most apartment setups. This keeps kick and bass definition in the monitors' domain (where you are positioned in the nearfield) and adds sub weight below the monitors' half-space rolloff. Set the subwoofer's phase to 0° initially, then reverse it to 180° and A/B compare; use whichever sounds more coherent and less hollow.
Adjust sub level so bass feels integrated, not added. A common mistake in untreated rooms is over-cranking the sub to compensate for null zones; this exaggerates translation errors. Start conservative, and aim for the sub to add 3 to 6 dB of low-end extension, not 10+ dB of boom.
Step 6: Optimize for Low-Volume Accuracy
Working Level and Monitoring SPL
Calibrate your mixing level to a consistent dB. Protect accuracy and your hearing by following our safe monitoring levels guide. Most apartment work happens at 70 to 75 dB SPL, measured at the listening position with a calibrated meter. This level is quiet enough for neighbors and late-night sessions yet loud enough for accurate bass articulation on modern nearfield designs.
Before each session, reference the same 1 kHz tone (available via tone generators or test signals in your DAW) at a fixed SPL. This trains your ear and ensures day-to-day consistency. A 5 dB variance in working level can change how you EQ and compress, leading to revisions later.
Loud-Check Protocol
After mixing at quiet levels, do a brief loud check at 85 to 90 dB SPL to confirm translation. Listen for:
- Bass balance: Does the kick punch through or get lost?
- Vocal clarity: Are vocals present or too recessed?
- High-frequency fatigue: Do highs get harsh or edgy?
- Stereo width: Does the image narrow or collapse?
If loud checks reveal surprises, make small adjustments (±1 to 2 dB on a narrow EQ band) rather than rebalancing the whole mix. Small moves translate better than large ones.
Step 7: Deploy Room Correction (If Available)
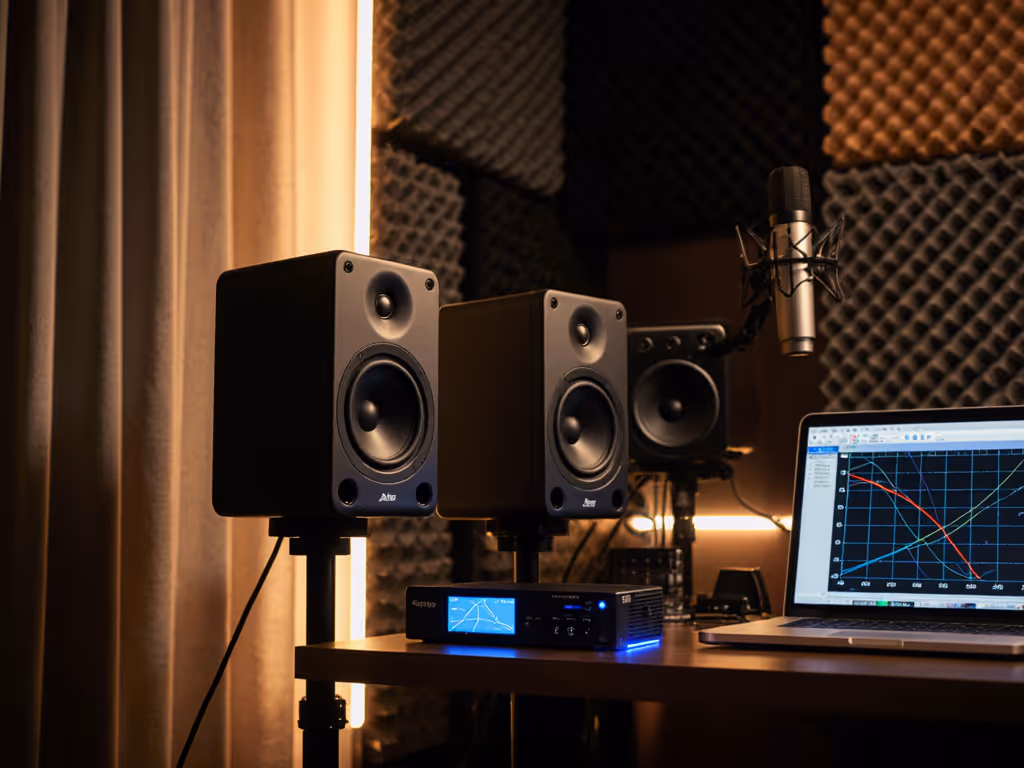
DSP and Correction Presets
Many modern monitor bundles include DSP or compatibility with room-correction software (Sonarworks, Acustica, etc.). If you use Sonarworks, follow our step-by-step calibration guide for consistent results in untreated rooms. If available, use presets tailored to small, untreated rooms. These typically:
- De-emphasize low-midrange bloat caused by boundary proximity.
- Flatten high-frequency peaks from desk reflections.
- Reduce ear fatigue by relaxing harsh presence peaks.
Apply correction subtly; over-correcting can introduce phase issues and latency, which paradoxically hurt translation. Start with a 30 to 50% correction intensity and A/B with uncorrected monitoring to gauge improvement.
Verification by Ear
After applying correction, mix a reference track you know well and compare your mix to it on earbuds, a phone speaker, and a car system. If translation improves (fewer surprises on those systems), the correction is working. If you are constantly re-mixing the same material, the setup, correction, or placement, is not reliable yet. Return to the placement checklist and adjust.
Step 8: Validate Translation
The Travel Test
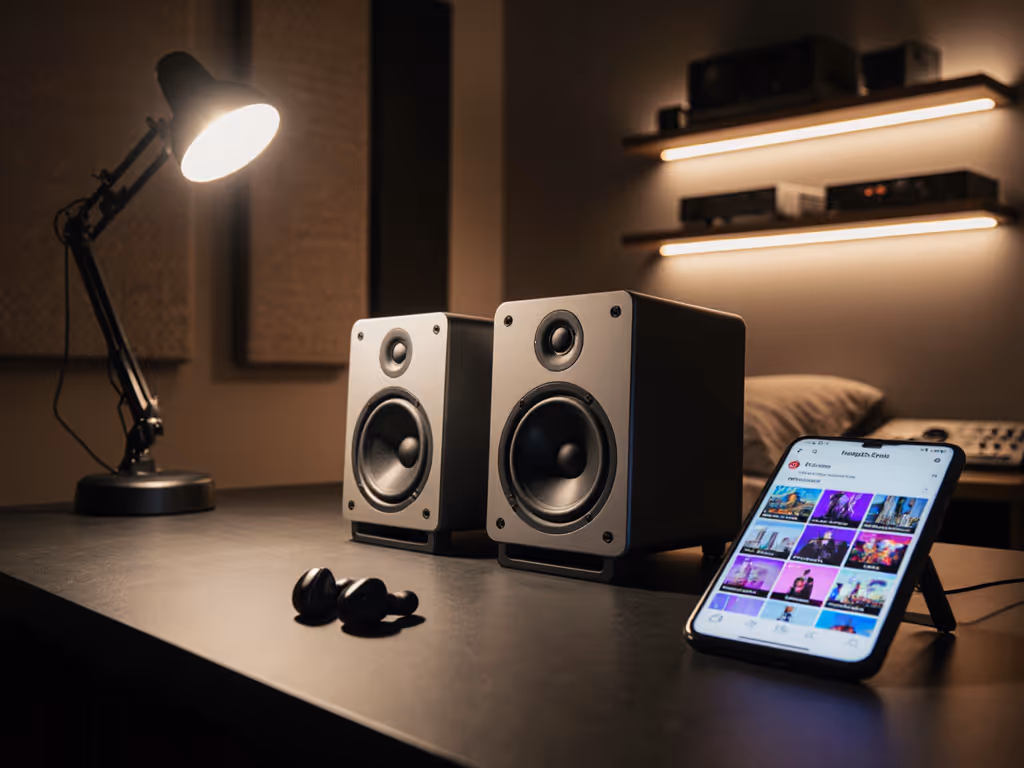
Mix a short segment (vocal, drums, bass) at your desk. Export and listen on:
- Earbuds (apple-style, in-ear monitors).
- Laptop speakers.
- Car system (or a friend's).
- Bluetooth speaker or soundbar (typical consumer playback).
Take notes on which elements shift balance across systems. If kick feels loud at the desk but disappears on earbuds, your low-end is likely muddied by boundary proximity or subwoofer over-integration. If vocals sound recessed on the car system, your presence region is dipped, often a sign of over-corrected DSP or harsh desk reflections being suppressed.
Small discrepancies (±2 to 3 dB on any frequency band) are normal; major shifts (±5 dB or more, or a frequency seeming to vanish) mean the setup needs adjustment.
Step 9: Iterate and Settle
Place, Isolate, Then Decide
The workflow is:
- Place: Get the triangle and wall distances right.
- Isolate: Decouple monitors from desks and floors.
- Decide: Run the travel test and listen critically.
Only after these three steps try EQ, compression, or DSP adjustments. Many beginners skip placement and reach for correction software to mask boundary problems. This leads to mixes that sound right at the desk but mislead everywhere else.
Many apartment producers struggle with endless tweaking: moving monitors 5 cm at a time, swapping pads, re-running room correction. The reason is usually that one of the three foundational steps, placement, isolation, or honest ear, is not solid. Return to basics: measure the triangle again, confirm decoupling, and do a fresh travel test. Often a single placement adjustment (moving the monitor back 10 cm or shifting to a different wall distance) unlocks translation.
Timeline to Stability
A well-executed apartment bundle setup achieves reliable translation within a weekend. Your mixes should travel convincingly to earbuds, cars, and streaming normalization without constant car checks and revisions. That stability, the confidence that your bass, vocal balance, and EQ choices will hold up, is the payoff. Set it right once; spend your energy finishing songs.
Recommended Bundle Checklist
A complete apartment studio monitor bundle should include:
- Pair of 5–6 inch nearfield monitors (front-ported or sealed, rated for low-SPL accuracy).
- Isolation pads or feet matching monitor weight and decoupling the desk/floor.
- Monitor stands (if space permits) or desktop isolation adapters.
- Heavy curtain, bass trap, or movable acoustic panel for first-reflection and window absorption.
- Cables (XLR, balanced) pre-cut to avoid loop hum.
- Meter or SPL calibration app for working-level consistency.
- Subwoofer (optional but recommended for sub-60 Hz honesty and neighbor-friendly translation).
- Sub crossover and phase control documentation specific to your room.
- Room correction software or monitor DSP presets if available and latency-friendly.
Final Thoughts
Apartment studio monitor bundles succeed because they acknowledge reality: small rooms, shared walls, limited budgets, and the need for honest monitoring at low volume without permanent treatment. By prioritizing placement, isolation, and boundary management over raw specs and hype, you move the needle from anxiety ("Will this mix translate?") to confidence ("This mix will work").
Your neighbors stay peaceful. Your clients get reliable results. Your mixes travel. That is the outcome a solid bundle delivers when deployed with intention and discipline.
Explore these steps with your specific room in mind. Measure twice, position once, and commit to the setup for at least two weeks before deciding if changes are needed. Most apartment monitoring problems resolve through proper placement and isolation before any equipment upgrade enters the equation. Your next great mix is likely waiting just behind a better monitor position.
Related Articles