Easy Studio Monitor Calibration With Sonarworks
By Jae Min Park • 11th Dec
If your mixes sound great in your bedroom studio but fall apart on earbuds or your car stereo, the culprit isn't just your monitors, it's your room. Studio monitor calibration software like Sonarworks calibration cuts through low-end guesswork and tinny highs by fixing what your walls and desk do to your sound. Forget chasing shiny specs; the real game-changer is a stable routine that makes your existing setup trustworthy. After years helping beginners in cramped spaces, I've seen this one change reduce revision loops by 80%. Let's fix your room, not your gear.
Trust the routine
Why Room Correction Beats Gear Upgrades for Bedroom Studios
Most beginners pour money into monitors that sound "impressive" in-store, only to face the same problem: inconsistent bass between 60-120 Hz and muffled vocals from desk reflections. Your room's acoustics (not monitor specs) cause 90% of translation issues. For placement and treatment fundamentals, see our room treatment essentials. Hard walls create bass nulls (frequencies that cancel out) and peaks (boomy frequencies), making kick drums disappear or overwhelm your mix. Even minor desk vibrations smear critical midrange details.
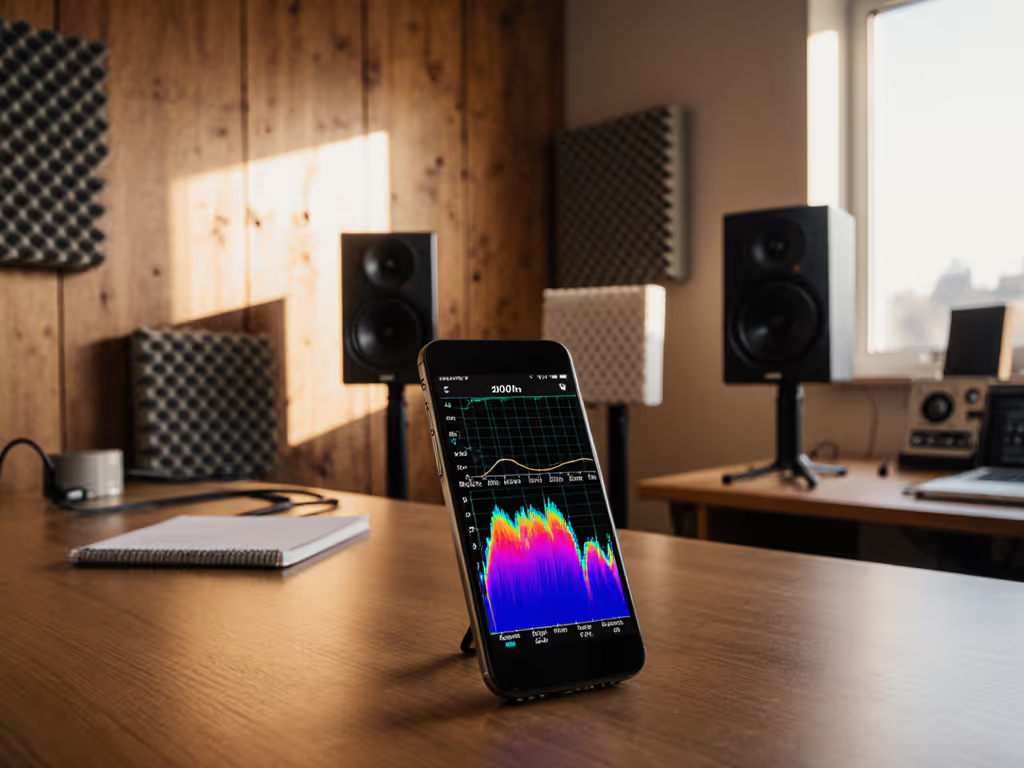
Software-based monitor correction skips expensive treatments by measuring these flaws and applying precise fixes. Unlike generic EQ presets, tools like Sonarworks analyze your specific room using a calibration microphone setup. It delivers frequency response flattening tailored to your actual listening position, so you hear what's in your mix, not what your walls add.
Your 4-Step Calibration Checklist (Takes <30 Minutes)
Step 1: Prep Your Room - No Fancy Gear Needed
- Clear your desk of books, monitors, or clutter within 12 inches of your speakers (these cause midrange reflections)
- Place tennis balls under each speaker if using stands (reduces stand coupling, yes, really!)
- Set monitors at ear height with tweeters pointed just above your head when seated
- Move speakers away from walls (minimum 12 inches) (avoids bass buildup)
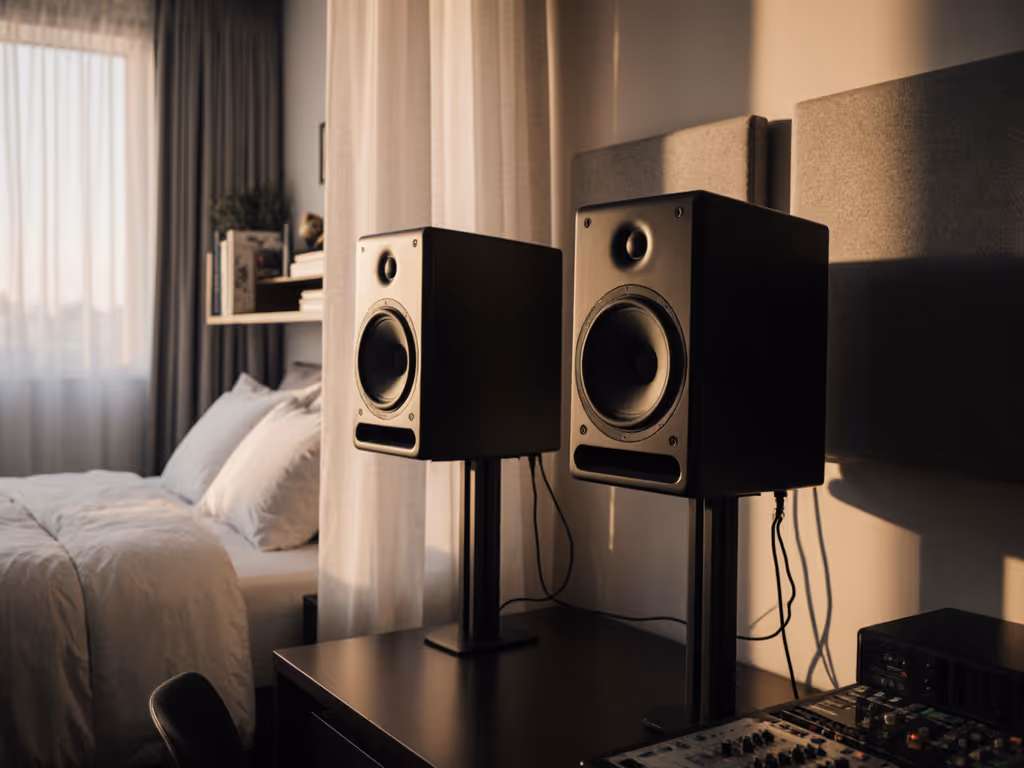
Pro Tip: If space forces desk placement, tilt monitors slightly downward. Most modern monitors (like the Kali Audio LP-6 V2) have boundary EQ switches to tame desk reflections. Flip the LF switch to "-3 dB" if pushed against a wall.
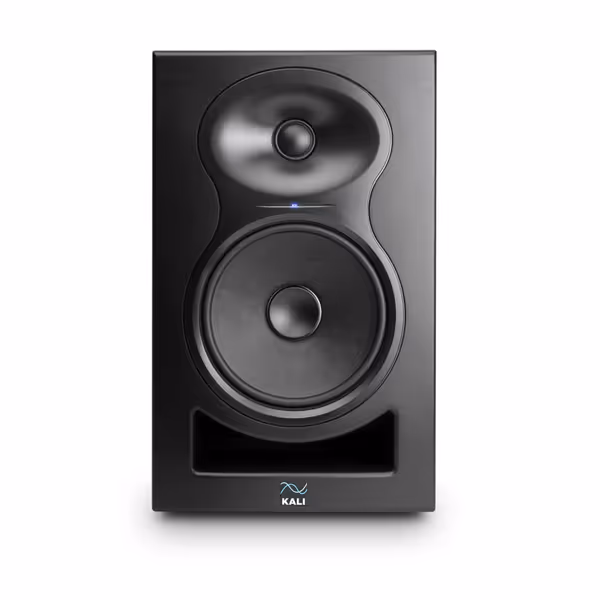
KALI AUDIO LP-6 V2
Trustworthy mixing translation for small rooms, exceptional value.
$249
Max SPL115dB
Max SPL115dB
Pros
Accurate, flat frequency response for reliable mixes.
Low noise and distortion, even at high volumes.
Boundary EQ adapts to any room placement.
Exceptional performance for the price.
Cons
Volume control can be overwhelmingly loud for some.
No discernible resonances.
Customers praise the speakers' sound quality, with one noting they have no discernible resonances. The volume control receives mixed feedback - while customers appreciate that they can go quite loud, some mention they are unbelievably loud. Customers find the speakers to be good value for money.
Customers praise the speakers' sound quality, with one noting they have no discernible resonances. The volume control receives mixed feedback - while customers appreciate that they can go quite loud, some mention they are unbelievably loud. Customers find the speakers to be good value for money.
Step 2: Optimize Your Calibration Session
Critical settings Sonarworks won't nag you about:
- Set interface sample rate to 44.1kHz (prevents timing glitches)
- Use the same audio interface for mic input and monitor output (no mix-and-match!)
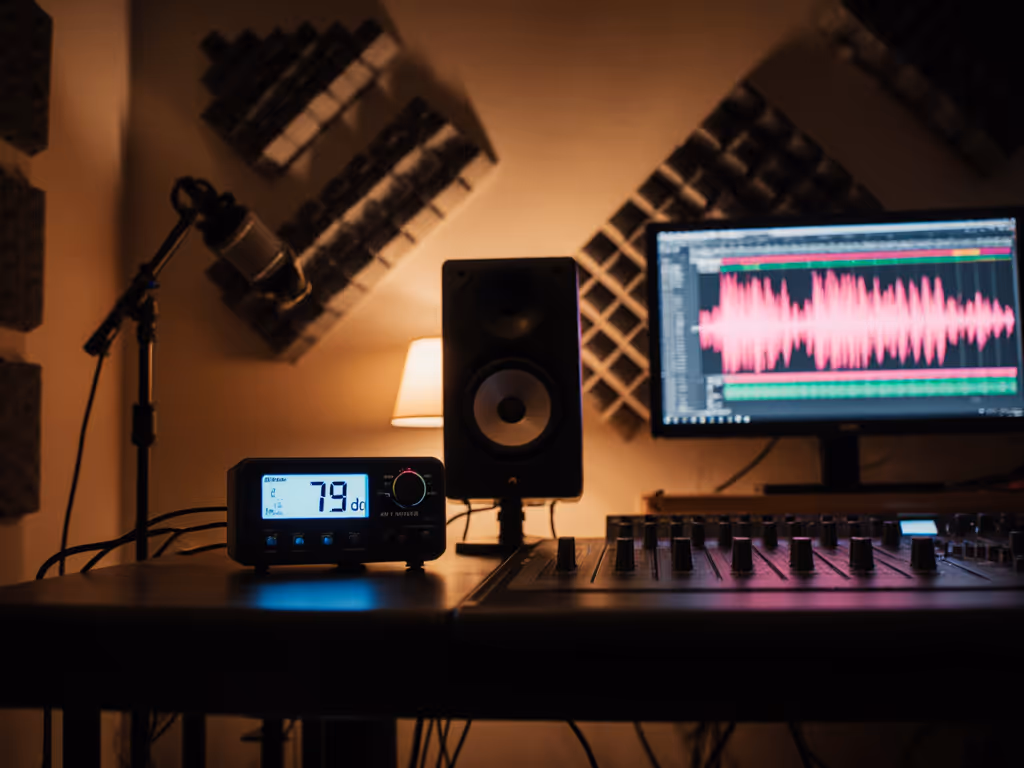
- Work at 75-80 dB SPL (quiet enough for neighbors, loud enough to hear bass)
- Wear headphones during measurement (so you don't hear test sweeps)
Place your calibration microphone exactly where your head rests when mixing. If you're unsure about volume targets, follow our safe monitoring levels guide. Level it carefully. Tilting up or down by 10° changes high-frequency readings. I've seen students wreck profiles by rushing this step!
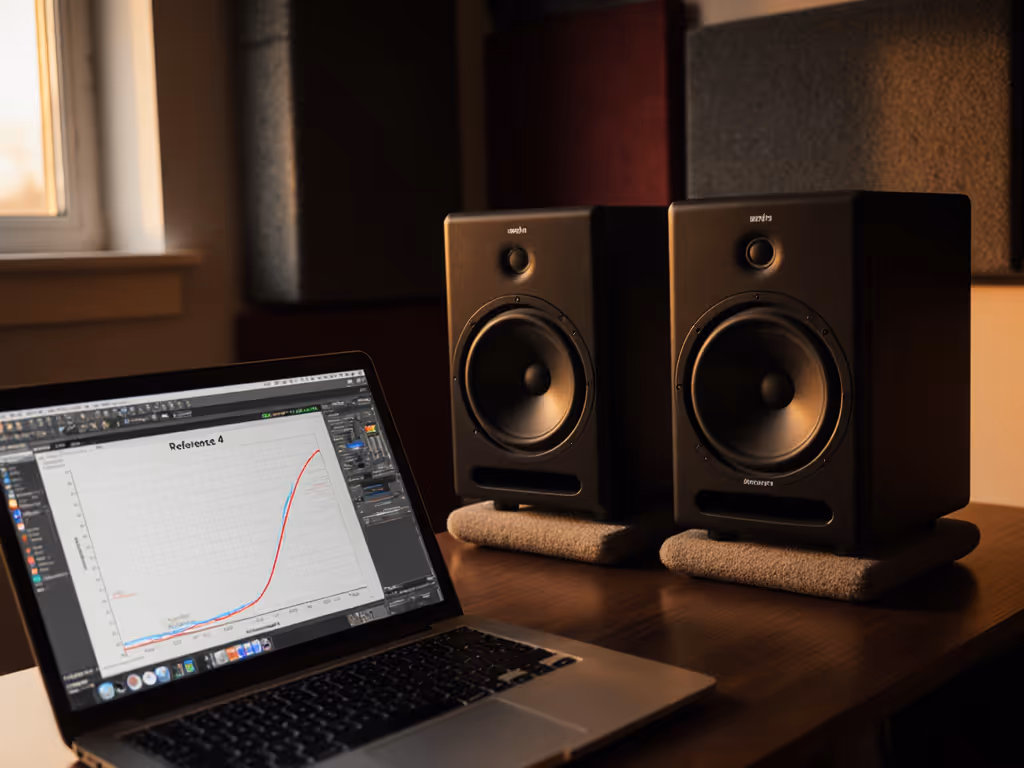
Step 3: Run the Measurement (Zero Physics Degree Required)
Launch Sonarworks Reference 4 Measure. Follow its prompts, but focus on these make-or-break moments:
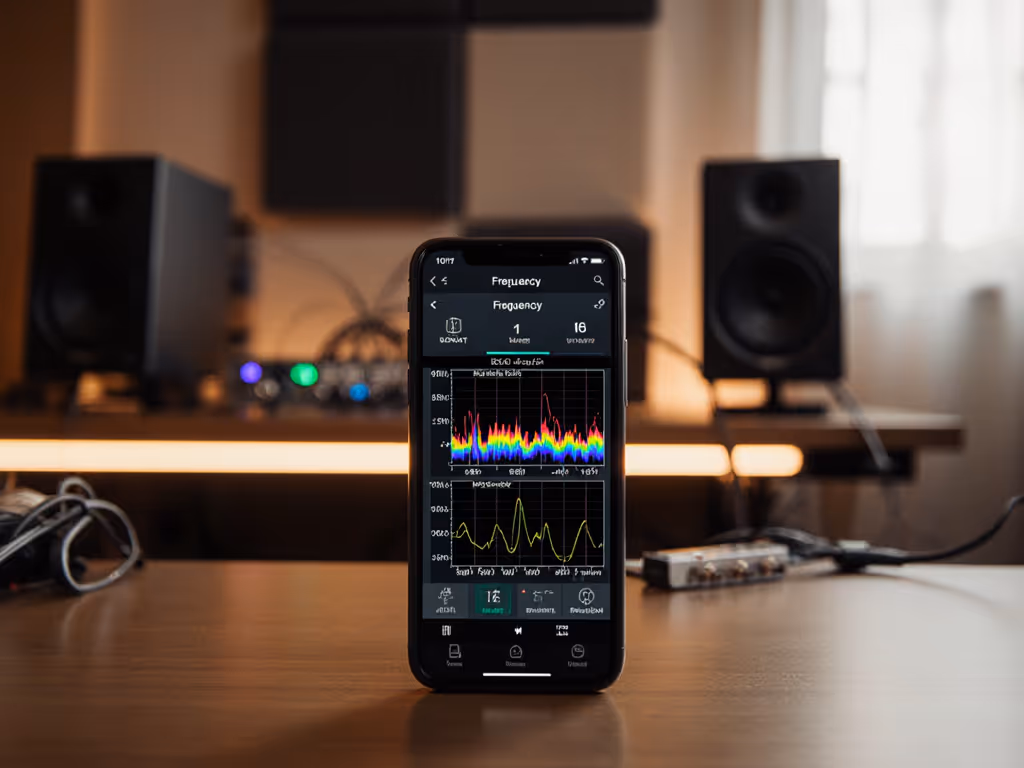
- Mic gain calibration: Adjust until the green meter stays in the "thumbs-up zone" during chirp sweeps. Too high = distorted measurements; too low = misses subtle flaws.
- Distance verification: When it asks for speaker-listener distance, measure exactly. (Sonarworks calculates this within 1 inch, but manual entry prevents errors.)
- Speaker isolation: After measuring both speakers, it'll request a final sweep at your listening position. Step out from between speakers here. Your body blocks sound waves!
Real talk: That "eerie" moment when Sonarworks knows your speaker spacing? It's not magic, it's room correction software using boundary physics. Embrace it.
Step 4: Apply & Validate (Skip the Rabbit Hole)
Do this now: Enable the "Sonarworks Recommended" profile (0 dB max gain). Avoid experimental curves, they often over-correct small rooms. Then:
- A/B test with Sonarworks ON/OFF using a reference track you know well (try "Blinding Lights" by The Weeknd for tight bass)
- Listen for consistency, not perfection: Bass should feel present but not boomy; vocals clear without harshness
- Test at low volumes: If low-end clarity holds at 70 dB SPL, you've nailed it
Critical: Trust the calibration for 3 full mixing sessions before tweaking. My community workshop rule? "Fix your placement, not your profile."
Why This Works When Specs Fail You
I once watched a student replace $500 monitors twice while keeping failing car checks. The breakthrough came from two tennis balls under each speaker and moving their desk off the wall. Suddenly, their mixes translated. That's the power of frequency response flattening through reliable placement, not specs. Sonarworks calibration extends this by fixing what you can't move: wall reflections and room modes.
Your Next Step: Calibrate, Then Create
Spend this weekend setting up Sonarworks once. Tweak placement, run the calibration, and apply the profile. Then focus on what matters: finishing songs. Trust the routine, not another gear review. When your mixes hold up on earbuds, your neighbors' Wi-Fi, and your client's car stereo, you'll know it's working. That's the confidence specs can't buy. For a deeper, step-by-step walkthrough of DIY measurements and software options, follow our home studio calibration guide.
Ready to test your room? Download Sonarworks' free trial. They include calibration files for common mics like the MiniDSP UMIK-1. Measure your space this weekend, and by Monday, you'll trust your decisions again.
Related Articles