Reference-Quality Home Studio Monitors That Translate
By Jae Min Park • 27th Oct

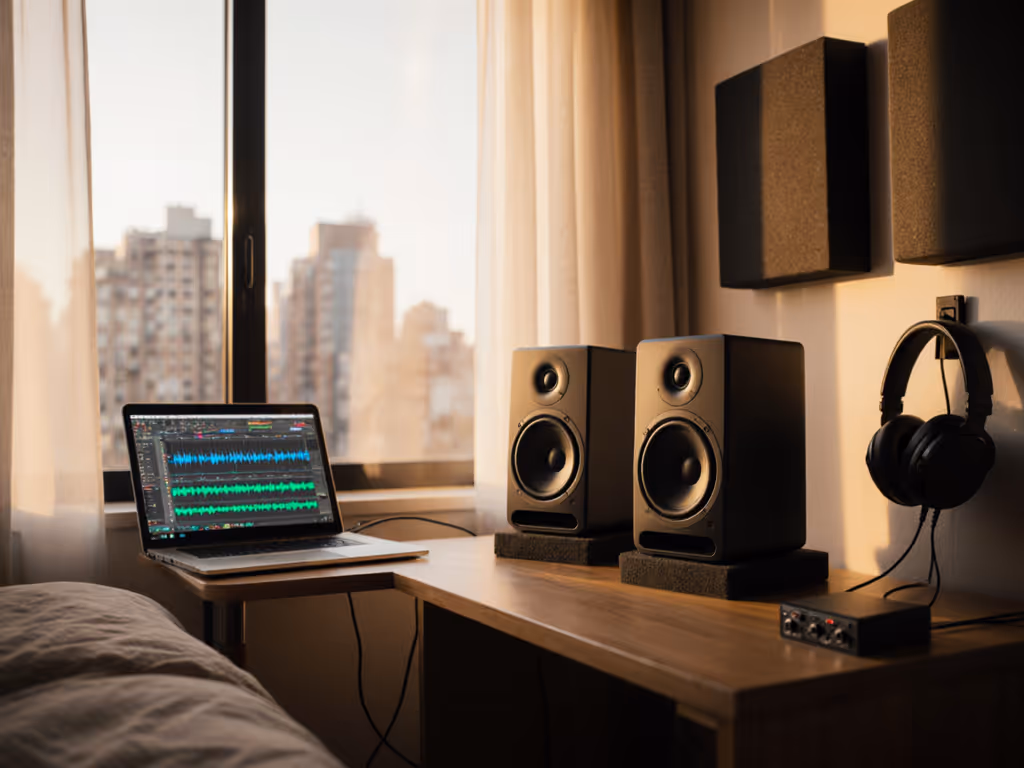
When I taught audio workshops, I'd watch students obsess over upgrading their good studio monitors while ignoring how they sat in their cramped rooms. Their mixes kept failing car checks, until we placed two tennis balls under each speaker and slid desks away from walls. Suddenly, their mixes translated. That's when I realized: reliable home studio monitors aren't about chasing specs. They are about stability. You need tools that work in your actual space (not a treated studio brochure). Let's fix your monitoring routine so you spend energy finishing songs, not rechecking mixes on your phone.
Why Your Current Monitors Lie to You (and How to Fix It)
Most bedroom producers battle the same heartbreak: mixes that sound huge on their monitors but crumble on earbuds or car speakers. It's not your skill, it's physics. Small rooms (8x10 to 12x14 ft) have brutal acoustic quirks:
- Bass traps: Walls exaggerate or cancel 60-120 Hz, making kick drums feel like guesswork.
- Desk reflections: Mids smear, stereo imaging collapses, and tiny head movements change your balance.
- Quiet-session distortion: Many monitors lose low-end clarity when turned down (for neighbors!).
- "Exciting" but dishonest sound: Harsh highs or boosted bass trick you into over-compensating.
The fix isn't swapping gear every six months. It's reference quality in any room... monitors that tell the truth quietly, consistently, and translate everywhere. After testing dozens in untreated bedrooms, I've found most beginners waste money on oversized speakers. Instead, prioritize:
- Size-to-room match (5-7" woofers max for sub-150 sq ft spaces)
- Wide sweet spot (no "sweet spot anxiety" when leaning forward)
- Low-SPL accuracy (clear sound at 70 dB, not just 100 dB)
- Placement flexibility (desktop-friendly, minimal desk coupling)
Start small, finish more. A stable monitor setup in your actual room beats "pro" specs in a messy space.
The Secret Weapon for Bedroom Studios: Compact Reference Monitors
While big brands push 8" monitors for "studio quality", reality bites. In small rooms, larger woofers fight room modes, creating muddy bass that doesn't translate. Your goal isn't club-level SPL, it's honest low-end at nearfield and low SPL. That's why I recommend stepping down to purpose-built monitors like the PreSonus Eris 3.5. Here's why they solve real-world problems:
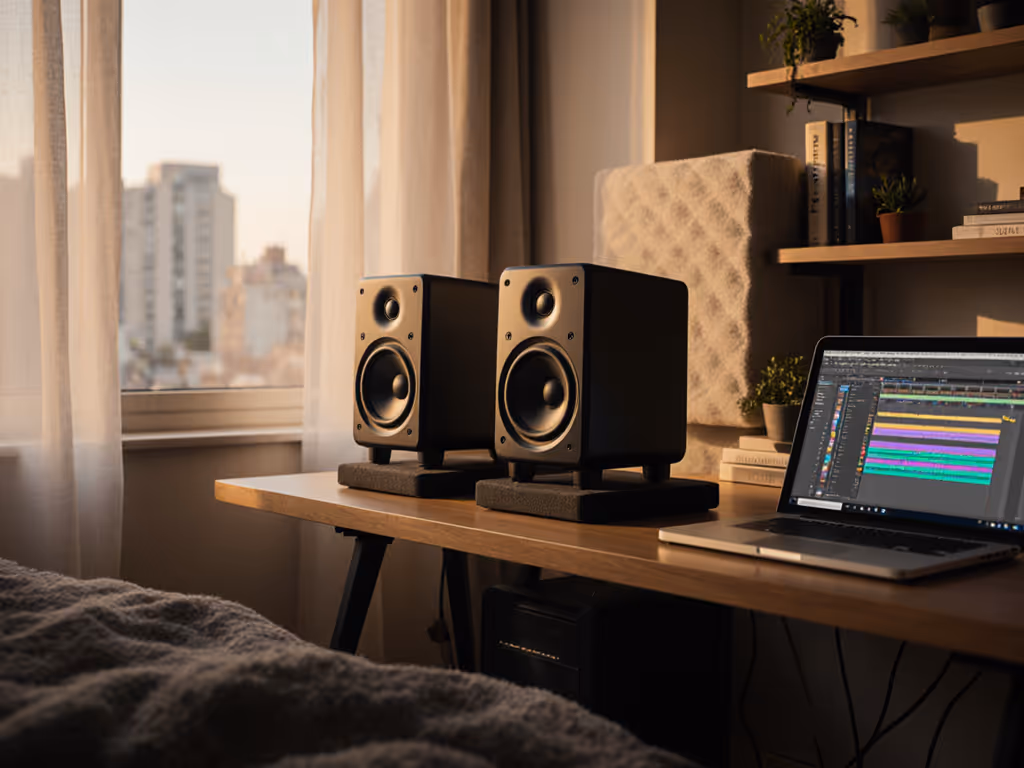
1. Desk-Friendly Size That Reduces Reflections (No Stands Needed)
Most reviewers ignore the elephant in the room: your desk. For step-by-step setup, see our height and desk reflection guide. Large monitors force you to place speakers too high or too far back, amplifying desk reflections. The Eris 3.5's compact profile (just 8.3" tall) fits on your desk without blocking sightlines or crowding your space. Their front-ported design avoids wall coupling issues... no need to pull them 18" from the wall like rear-ported models (looking at you, KRK Rokit).
Why this matters for translation: Less desk reflection equals cleaner mids for vocal intelligibility. You'll hear subtle EQ shifts and compression artifacts instantly. No more "why is my dialogue muddy on phones?" panic.
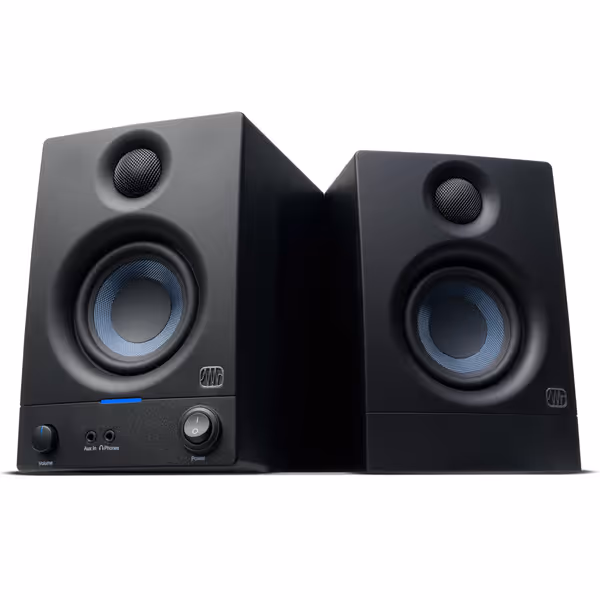
PreSonus Eris 3.5 Studio Monitors
Accurate sound for mixing and listening, fits small spaces easily.
$114.99
Amplification50W Class AB (25W/side)
Amplification50W Class AB (25W/side)
Pros
Delivers clear, accurate sound with solid bass.
Compact size fits perfectly in small desktop setups.
Customizable EQ for room tuning.
Wide sweet spot and useful front panel headphone out.
Cons
Mixed reports on long-term reliability and noise floor.
Might lack sufficient loudness for some users.
Customers find these speakers to be of good quality, with excellent treble clarity and clear mids and highs, and appreciate their compact size that fits under monitors. The sound quality is positive, and customers consider them good value for money.
Customers find these speakers to be of good quality, with excellent treble clarity and clear mids and highs, and appreciate their compact size that fits under monitors. The sound quality is positive, and customers consider them good value for money.
2. Honest Bass Response That Works Quietly
Search results hype monitors hitting 40 Hz (like the Focal Shape 65), but in small rooms, that bass bloats at low volumes. The Eris 3.5's 3.5" woven-composite woofer hits 70 Hz cleanly... exactly where compact rooms can control bass. At 75 dB (safe for neighbors), you still feel kick drums without distortion. Compare this to the Yamaha HS7, which often comes alive only at higher levels.
3. Wide Sweet Spot = Fewer "Revision Loops"
Ever lean forward and suddenly lose high-end clarity? That's narrow sweet spots biting you. The Eris 3.5's silk-dome tweeter and cabinet geometry create a 30-degree horizontal sweet spot... wider than Adam Audio T5V's focused dispersion. This means:
- Vocal sibilance stays consistent as you type.
- Panning decisions hold up when you move your head.
- No more "sweet spot hunching" causing back pain.
Real-world test: I played a track with hard-panned guitars on my phone, earbuds, and Eris 3.5. The balance matched earbuds better than my old Yamaha HS5s... which sounded brighter in-room but lied on mobile. Translation wins over "exciting" sound.
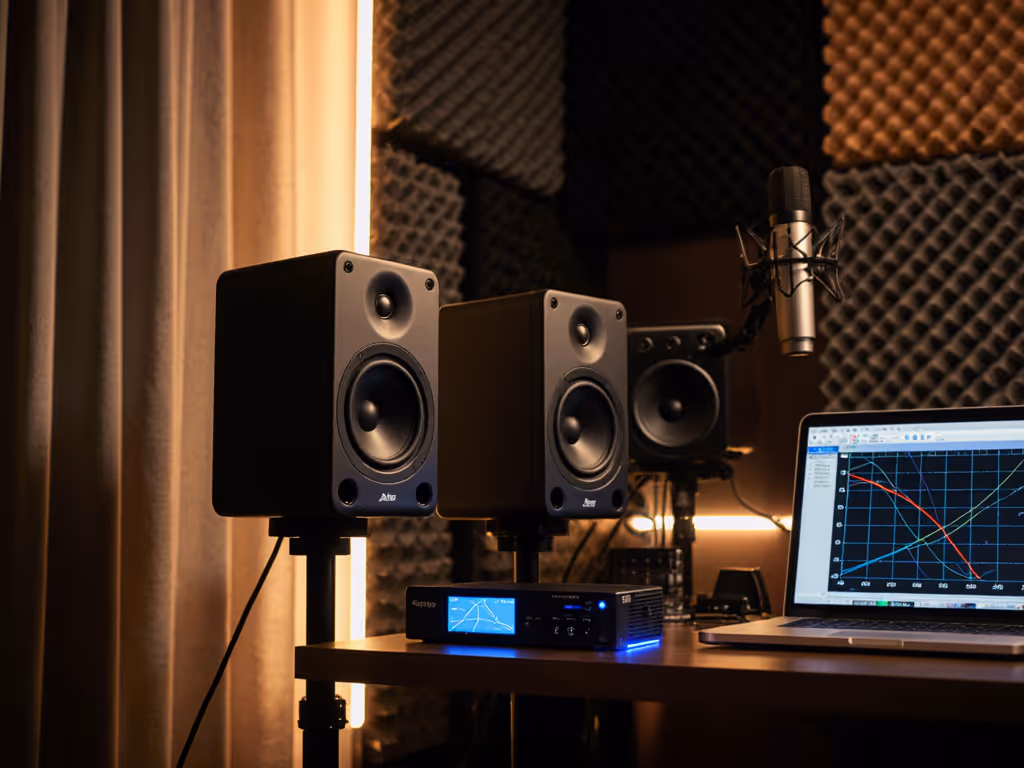
4. Room-Friendly Calibration (No Acoustic Degree Required)
Many monitors force you to buy room correction software. Not these. The Eris 3.5's front-panel high/low-frequency tuning knobs let you tweak response in seconds:
- If your room is bass-heavy: Cut low-end -2 dB (common for desks against walls).
- If your desk muddies mids: Boost highs +1 dB (counters wood reflections).
- For late-night quiet sessions: Flatten response curve for accuracy at low volumes.
This isn't a substitute for treatment, but it's practical for renters. To get the basics right, start with our room treatment essentials. I dialed in my setup in 10 minutes (vs. hours with Genelec's GLM software). Now my mixes pass client checks on the first try. If you want to go deeper, follow our home studio monitor calibration walkthrough. That's consistent monitoring across spaces.
5. The "Quiet Studio" Superpower: Low-SPL Clarity
Apartment dwellers face a brutal trade-off: crank monitors to hear bass (annoy neighbors) or turn down (lose low-end definition). The Eris 3.5's 50 W Class AB amplifiers deliver clean output at 70-75 dB... unlike competitors that compress or distort quietly. Protect your ears and mixes with our safe listening levels guide. How?
- Neodymium magnets keep transient response tight even at low power.
- Amplifiers designed for nearfield listening (not live rooms).
Result: You trust kick drum levels at safe volumes. No more midnight car checks. One producer told me: "I finally mixed a hip-hop track at 72 dB and the 808 translated perfectly to SoundCloud. Years of bass guesswork... gone."
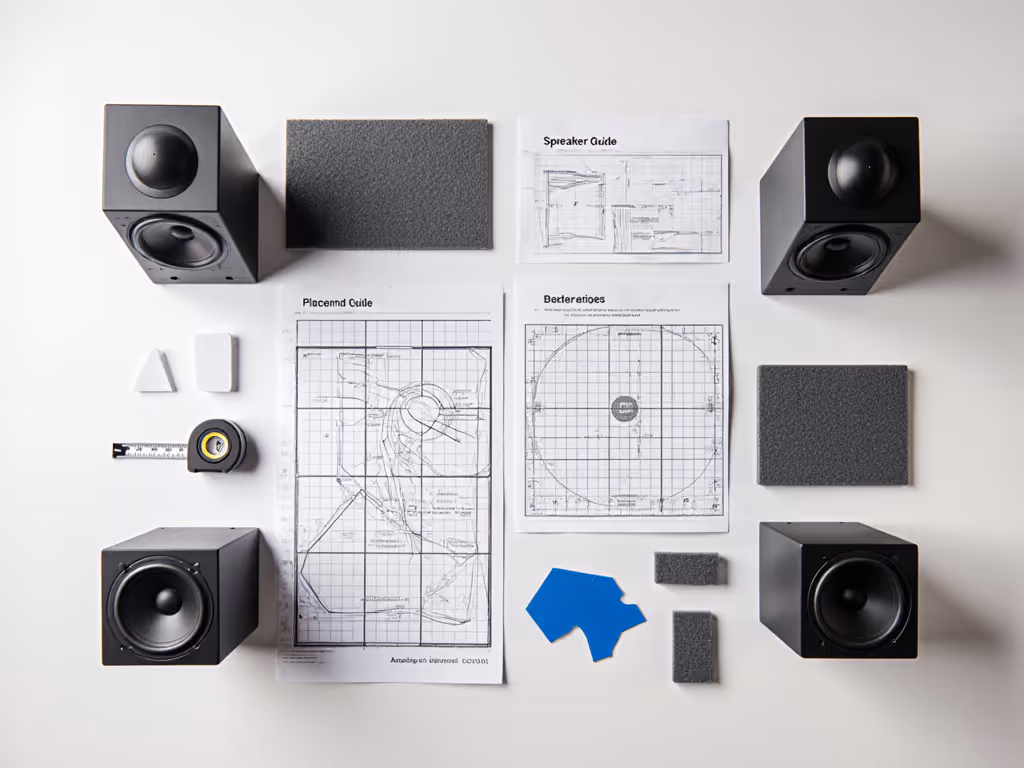
Your 30-Minute Setup Checklist (Get Translation-Ready Today)
Skip "perfect" acoustics. Focus on these tested steps for monitors for multiple environments:
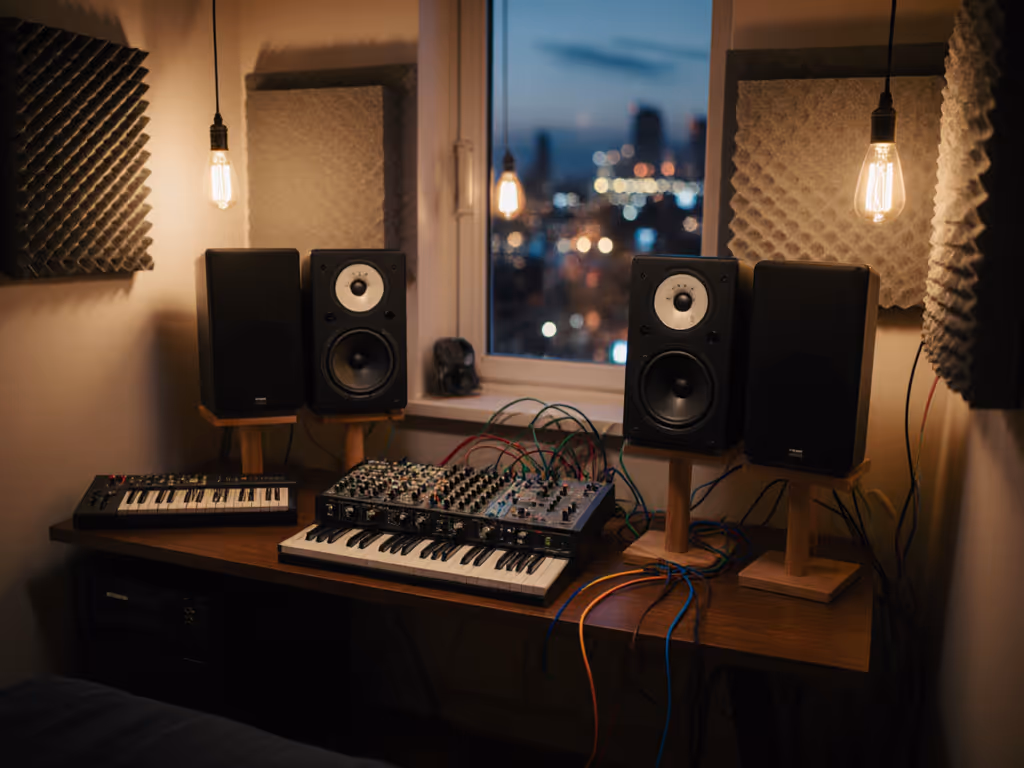
✅ Placement Pillars
- Height: Tops at ear level (use monitor stands or books... never angle downward).
- Distance: Form an equilateral triangle (speakers 1.5x distance from you as they are from each other).
- Isolation: Place on dense foam pads (not rubber feet). I use two tennis balls under each speaker... costs $3.
- Angle: Toe-in until tweeters point just behind your ears (widens sweet spot).
✅ First-Run Calibration
- Set volume to 70 dB (use a SPL app).
- Play reference track with kick/vocal (I use Spotify's "Mastered for iTunes" playlist).
- Adjust low knob until kick feels solid but not boomy.
- Adjust high knob until cymbals sparkle without ear fatigue.
✅ Night-Mode Preset
Save these settings for quiet hours:
- Low-frequency: -1 dB
- High-frequency: +0.5 dB
- Volume: 72 dB
This combo counters the "loudness effect"... where quiet volumes dull bass/highs, keeping your balance honest.
Why This Beats "Chasing the Top 5"
Search results push expensive monitors (Adam A8H, Neumann KH310), but they are overkill for bedrooms. Instead, pick from our best small room monitors that actually translate in tight spaces. The Eris 3.5 costs less than 1/5th of a Genelec 8010A yet solves your actual problems:
- Fits where space is tight (no room for stands).
- Works without subwoofer anxiety (no crossover or phase headaches).
- Calibrates intuitively (no DSP PhD).
While high-end monitors sound impressive at loud volumes, they often fail the critical test: translation to earbuds and laptops. The Eris 3.5's neutral voicing matches consumer devices better than hyped "pro" monitors. As one student put it: "My podcast now sounds clear on my mom's car radio... she never noticed my old mixes."
Stop Over-Engineering, Start Finishing
You don't need the best monitors for studio according to glossy brochures. You need monitors that work in your reality. The PreSonus Eris 3.5 delivers reference quality without demanding perfect conditions... exactly what bedroom producers need to stop second-guessing and ship work.
Remember: Confidence comes from a stable monitoring routine, not chasing specs. Dial these in using the checklist above, and you'll spend less time on reference checks and more time creating. That's how you build trust... with clients, with your ears, and with your own work.
Start small, finish more. Your next mix is waiting.
Set it right once; spend your energy finishing songs.
Related Articles