Reliable Mixes: Studio Monitors Optimized for Your DAW
By Jae Min Park • 14th Jan
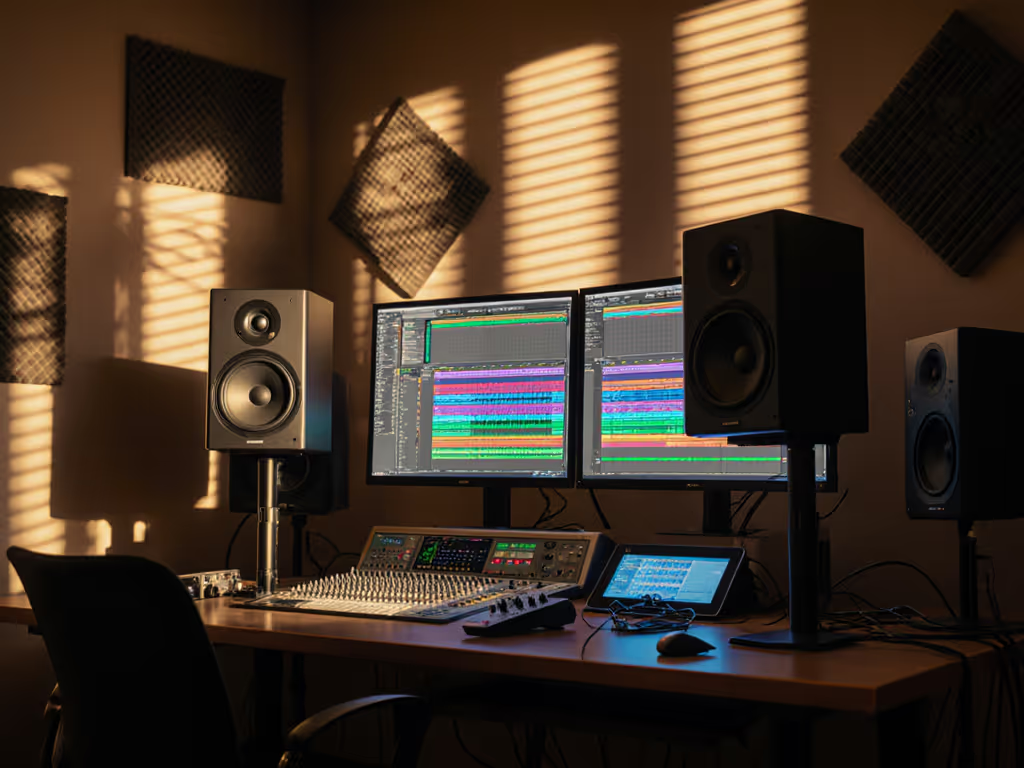
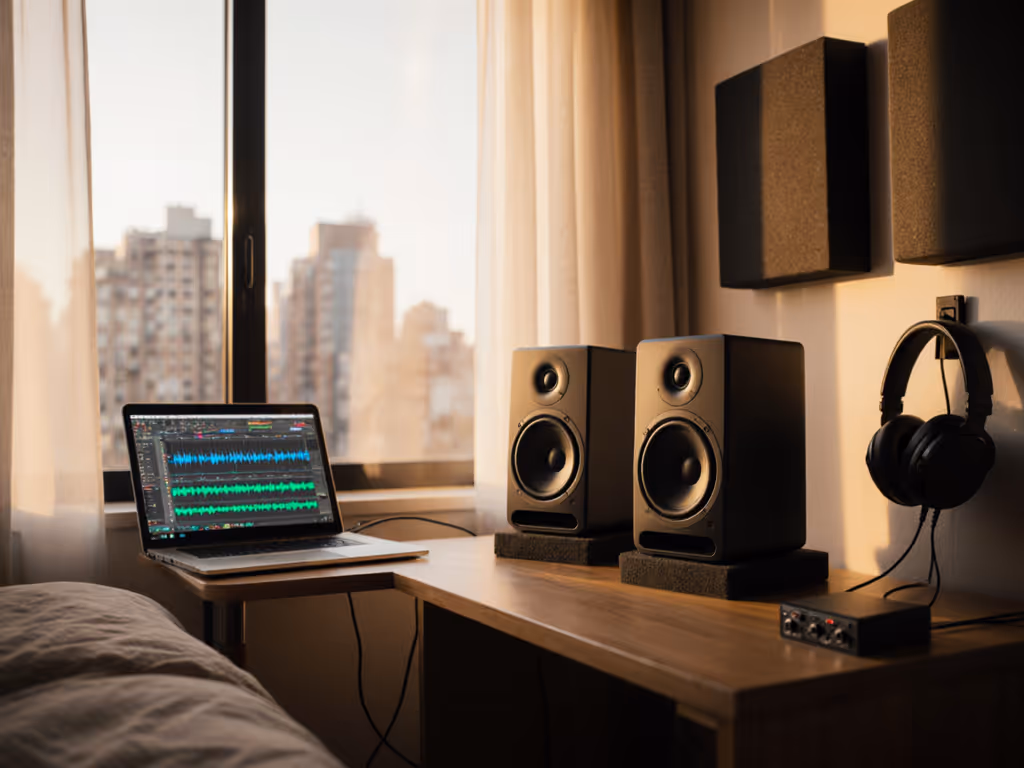
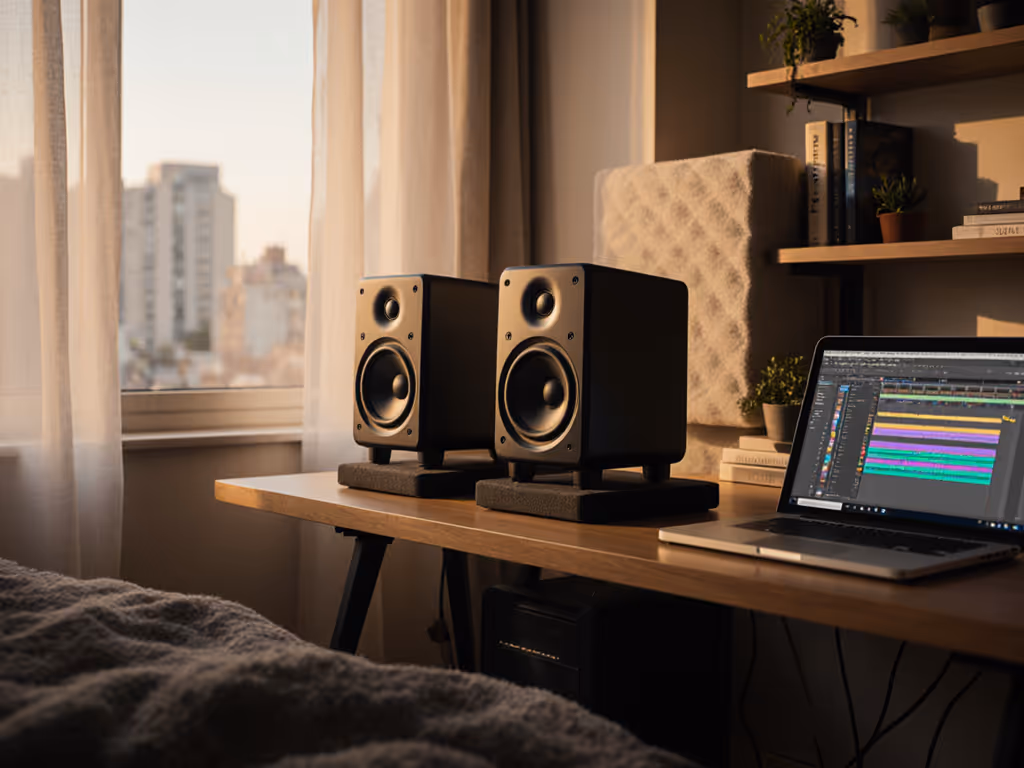
Finding good studio monitors that actually work with your specific workflow isn't about chasing specs, it's about understanding how your DAW's processing pipeline interacts with your listening environment. The right monitor selection by DAW creates a reliable feedback loop so you're hearing what your software is actually doing, not what your room is doing to your sound. After helping dozens of bedroom producers break free from endless revision loops, I've discovered that matching monitors to your DAW's workflow matters more than frequency response charts alone. Let's solve this once and for all.
Why Your DAW Matters More Than You Think
Most beginners treat monitors like generic speakers and then just plug them in and hope for the best. But each DAW processes audio differently, which affects how you should evaluate your mix. Let me share what I learned watching students in my community workshops: talented producers would upgrade to expensive monitors but still fail car checks because they didn't align their monitoring with their software workflow. For an overview of how monitor choice can speed up different DAW workflows, see our FL Studio vs Ableton monitors guide.
How Different DAWs Shape Your Monitoring Needs
Logic Pro Monitoring Setup: The Clarity Seeker
Logic Pro's clean channel strip and visual feedback work best with monitors that deliver neutral midrange reproduction. If your vocals or dialogue sound muddy in Logic but clear elsewhere, your monitors might be flattering the low-mids, a common issue with bass-heavy speakers in small rooms.
Ideal pairing: Monitors with flat 200-2000Hz response that won't mask Logic's pristine vocal processing. Avoid units that emphasize "bass punch" at the expense of vocal clarity. Look for models with detailed tweeters that complement Logic's transparent EQ curve visualization.
Ableton Live Speaker Recommendations: Movement-Friendly Imaging
Ableton users often move around during performance or production sessions. If your stereo image collapses when you shift in your chair, you're fighting your monitors, not just your room.
Ideal pairing: Speakers with wide sweet spots and consistent off-axis response. Front-ported monitors (like Neumann KH 80) work better than rear-ported in tight Ableton setups where space constraints prevent ideal speaker placement. Pay special attention to midrange coherence, because Ableton's synth-heavy workflows reveal timing issues immediately.
Pro Tools Monitor Calibration: Precision Tracking
Pro Tools' industry-standard recording workflow demands monitors that reproduce transients accurately. If your drum edits feel "off" despite careful timing, your speakers might be masking phase issues through slow woofer response. To understand why timing accuracy depends on phase coherence, follow our practical tests.
Ideal pairing: Monitors with fast transient response and low group delay. Look for multi-driver designs with time-aligned crossovers (like ADAM Audio A7V) that maintain coherence during complex multi-track sessions. Avoid speakers requiring heavy DSP correction that adds latency during recording.
Cubase Audio Workflow Optimization: MIDI Translation
Cubase's powerful MIDI editing means you need monitors that reveal the subtle dynamic relationships between virtual instruments. If your orchestral mockups sound huge in the box but thin elsewhere, your speakers might be exaggerating low-end.
Ideal pairing: Monitors with accurate low-midrange reproduction that won't mask the harmonic relationships between instruments. Pay attention to how well the speaker handles multiple simultaneous frequencies, a weakness here creates "translation shock" when your complex arrangements play back elsewhere.
The Small Room Reality Check
Let's address the elephant in your bedroom: your space isn't a studio. And that's okay. The breakthrough moment for most of my students comes not from expensive treatment but from understanding their room's behavior. For fundamentals on placement and treatment that make any monitors more honest, start with our room treatment essentials.
Common Small Room Problems & Practical Fixes
| Problem | Solution | Verification Method |
|---|---|---|
| Bass buildup below 100Hz | Move speakers away from boundaries (minimum 12") | Play 808 kick at low volume, should feel tight, not boomy |
| Desk reflections muddying mids | Elevate speakers to ear level | Voice at whisper level should remain clear |
| Narrow sweet spot | Adjust toe-in until phantom center appears | Pan vocal between speakers, should stay centered |
| Inconsistent bass translation | Keep monitoring level consistent (73-76dB SPL) | Mix should hold together when volume changes |
Set it right once; spend your energy finishing songs.
That teaching assistant experience taught me something crucial: the students who stopped chasing gear and started working with their space suddenly got reliable results. Two tennis balls under each speaker and moving desks off walls transformed their mixes. They weren't hearing "better" monitors, they were hearing honest ones that revealed what their DAW was actually doing.
The Translation Test You Should Be Running
Before investing in new monitors, try this 10-minute check with your current setup:
- Play a professionally mixed reference track in your DAW
- Set volume to comfortable working level (not too loud) For target SPLs and techniques that protect hearing without losing accuracy, use our safe monitoring levels guide.
- Walk around your room noting where the mix falls apart
- Sit in your sweet spot and close your eyes; can you still identify each instrument?
- Listen on your phone at 50% volume. Does the balance feel similar?
If more than 2 elements change significantly between locations, your monitoring environment (not necessarily your speakers) is the problem.
The No-BS Monitor Selection Checklist
Forget endless spec comparisons. Use this practical framework:
1. Size Appropriateness
- 5-inch woofers: Best for sub-10ft rooms, under 800sq ft
- 6-7 inch woofers: 10-15ft rooms, up to 1200sq ft
- Avoid larger woofers in small spaces, they will excite room modes more than extend bass
2. Port Type Matters More Than You Think
- Front-ported: Most forgiving in tight spaces, less sensitive to wall proximity
- Rear-ported: Requires 18+ inches from wall, better for larger rooms
- Sealed: Tighter bass but less output, good for very quiet monitoring
3. DSP Integration Reality Check
- Built-in room correction: Helpful but verify with ears, don't trust auto-calibration blindly
- External processors: Often better but add latency (problematic for recording in Pro Tools)
- None: Requires more careful placement but zero processing artifacts
4. DAW Compatibility Test
Before buying:
- Import your current project into the store's demo system
- Listen for how your DAW's automation moves translate
- Pay attention to how your most-used plugins sound (especially EQ and compression)
Monitor Reviews for Real Small Rooms
After testing dozens in actual bedroom environments, these models deliver the most reliable translation for specific DAW workflows.
ADAM Audio D3V: The Compact Workflow Hero
Best for: Logic Pro and Ableton Live users in ultra-small spaces
These desktop monsters solve the "where do I put speakers" dilemma. At just 6.5" tall, they fit on crowded desks while delivering shockingly full sound thanks to dual passive radiators.
Why it works: The front-firing port and angled enclosure eliminate desk reflections without stands. The ribbon tweeter reveals Logic's subtle automation moves better than conventional domes. Perfect for Ableton users who need wide dispersion during live tweaks.
DAW-specific tip: When using Logic's Match EQ, the D3V's neutral high end prevents over-correction; what you hear is what you get.
Real-world test: My student Maria used these for her podcast editing in Logic. Before, she kept boosting 3kHz to compensate for dull monitors. With the D3Vs, she cut that boost and suddenly her voice sounded clear on earbuds.
Pros:
- Fits where larger monitors can't
- Reveals high-frequency details without fatigue
- USB-C input for direct laptop connection
Cons:
- Limited bass extension (supplement with careful sub integration)
- Small sweet spot if not properly positioned
Neumann KH 80: The Translation Specialist
Best for: Pro Tools and Cubase users needing precise imaging
Don't let the size fool you. This 4-inch marvel outperforms larger monitors in translation tests. The waveguide design creates a shockingly wide sweet spot, perfect for Pro Tools editors who need consistent imaging during long sessions.
Why it works: Neumann's target curve mirrors how we actually hear at mix levels, making it easier to trust your decisions. The KH 80's compact size avoids exciting room modes that plague larger speakers in small rooms.
DAW-specific tip: When using Pro Tools' Elastic Audio, the KH 80's transient accuracy reveals timing issues that get masked by slower speakers. You'll spend less time fixing "mystery clicks."
Real-world test: David, a film composer using Cubase, switched to KH 80s after struggling with bass translation. The monitors' honest low-mid reproduction helped him fix muddy string arrangements that previously sounded fine in his room but muddy elsewhere.
Pros:
- Exceptional imaging stability
- Minimal boundary interference
- Works at very low volumes without losing clarity
Cons:
- Expensive for their size
- Requires careful placement to maximize benefits
Harbinger VARI SM505: The Budget Translator
Best for: Beginners in any DAW needing immediate perspective
This $200 pair punches way above its weight with a clever feature: three voicing modes (SMALL, NORM, REF) that simulate different monitor types. In small rooms, this lets you instantly check how your mix translates to consumer systems.
Why it works: The SMALL mode mimics laptop speakers, crucial for catching bass that disappears on phones. NORM gives you the neutral reference, while REF adds subtle high-end lift for detail work in Ableton or FL Studio.
DAW-specific tip: In Cubase, toggle between modes while adjusting reverb sends, what sounds lush in REF often becomes muddy in SMALL, revealing when you've overdone effects.
Real-world test: My workshop student Jamal used these for his hip-hop productions. The SMALL mode exposed bass frequencies that vanished on earbuds, saving him from endless revisions.
Pros:
- Built-in translation perspectives
- Front-ported for easy placement
- Surprisingly detailed for price
Cons:
- Bass can get boomy if too close to walls
- Plastic cabinet shows some resonance
Quick Calibration Wins (No Math Required)
You don't need acoustic degrees to get reliable results. Try these tomorrow:
Placement Protocol
- Form an equilateral triangle between speakers and your head
- Position tweeters at ear level (use books if needed)
- Angle speakers inward until they point just behind your head
- Keep at least 12" from walls and desk edges
Isolation Hack That Actually Works
Place each speaker on two tennis balls (yes, really) inside a fabric speaker pad. This decouples the speaker from desk vibrations better than expensive isolation pads, and costs pennies.
Verification System
Create three reference tracks in your DAW:
- One bass-heavy track (test low-end translation)
- One vocal-centric track (test midrange clarity)
- One complex arrangement (test imaging and separation)
Listen at your standard mix volume. If all three translate consistently across your phone, car, and laptop, you've nailed it.
The Real Goal: Stop Checking, Start Finishing
Professional monitoring isn't about having the "best" gear, it's about having a reliable workflow that lets you trust your decisions. The monitors that work best in small rooms aren't always the most expensive or highest-spec'd; they're the ones that reveal what your DAW is actually doing without adding their own personality.
Remember that workshop moment I mentioned? When students stopped chasing specs and started working with their actual space, their mixes suddenly traveled. Not because they bought better monitors, but because they chose monitors that matched their DAW workflow and room constraints.
Start small, finish more. Your next mix doesn't need perfect monitors, it needs honest ones that let you work confidently in your real space. Pick one of these setups, apply the calibration steps, and most importantly: stop obsessing and start shipping.
Start small, finish more
Related Articles