Small Room Spatial Audio Plugin Calibration
By Lila Okafor • 4th Jan
When working with spatial audio plugin monitoring in compact environments, your studio monitors face challenges that standard nearfield setups simply don't account for. Curves matter, but only as far as rooms allow. Your spatial audio workflow can deliver immersive results only when properly calibrated for your specific physical constraints, where boundary interactions and room modes significantly impact perceived spatial cues. In this FAQ deep dive, I'll provide evidence-based strategies that translate theory into practical small-room solutions, focusing on how to make spatial audio plugins work for you rather than against your acoustic limitations.
Why does spatial audio sound "off" in my small room even with proper plugin setup?
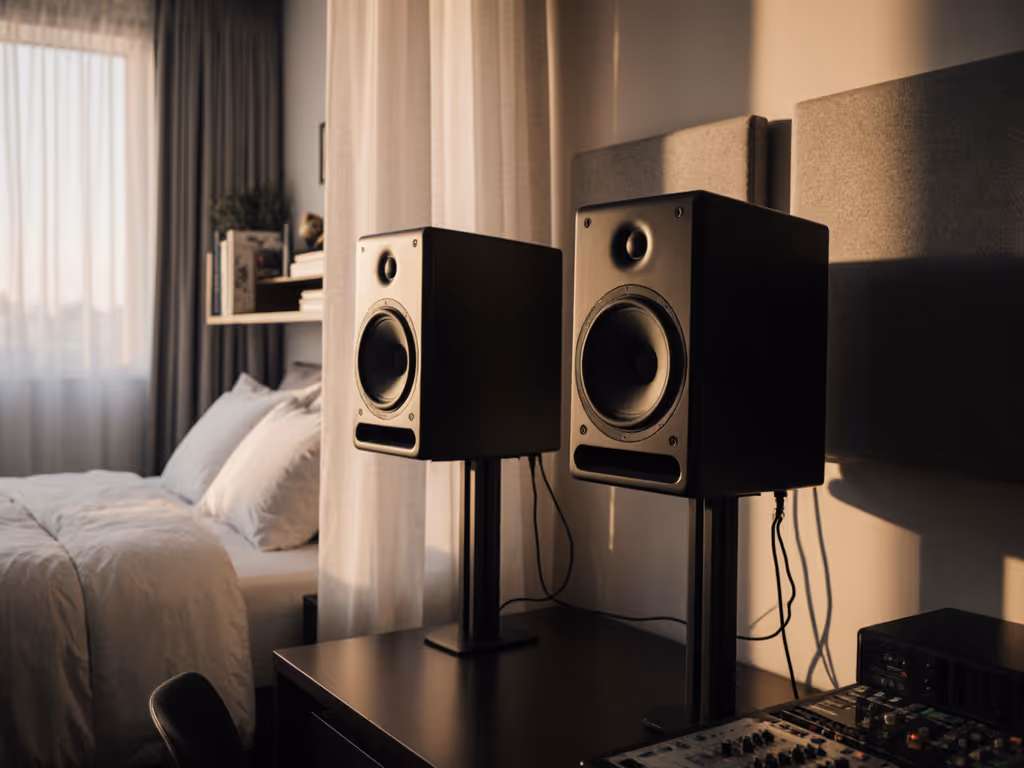
Small rooms (8×10 to 12×14 ft) create acoustic complications that distort spatial perception. The fundamental issue isn't your Dolby Atmos Renderer setup, it's the room's modal behavior below 300 Hz and early reflections that smear precise localization cues. At typical nearfield distances of 0.7 to 1.2 meters, your head receives both direct sound and boundary reflections within 10 ms, violating the Haas effect threshold where our brains separate direct from reflected sound.
This is where controlled directivity becomes critical. Monitors with stable off-axis response minimize early reflections that confuse spatial cues.
Lab measurements often show impressive angular dispersion, but these don't account for your room's actual acoustic behavior. For a deeper dive into why dispersion patterns matter in small rooms, see our off-axis response comparison. For example, a perfect 30° off-axis response on paper means little when your desk reflection creates a 3 to 5 ms delayed signal at 150 to 300 Hz that's 6 to 10 dB louder than the direct path. This is why many creators report "muddy" spatial mixes despite correct plugin configuration.
How should I calibrate my spatial audio plugins for reliable monitoring?
Forget the "follow the manual" approach. Proper spatial audio plugin monitoring requires room-specific calibration:
-
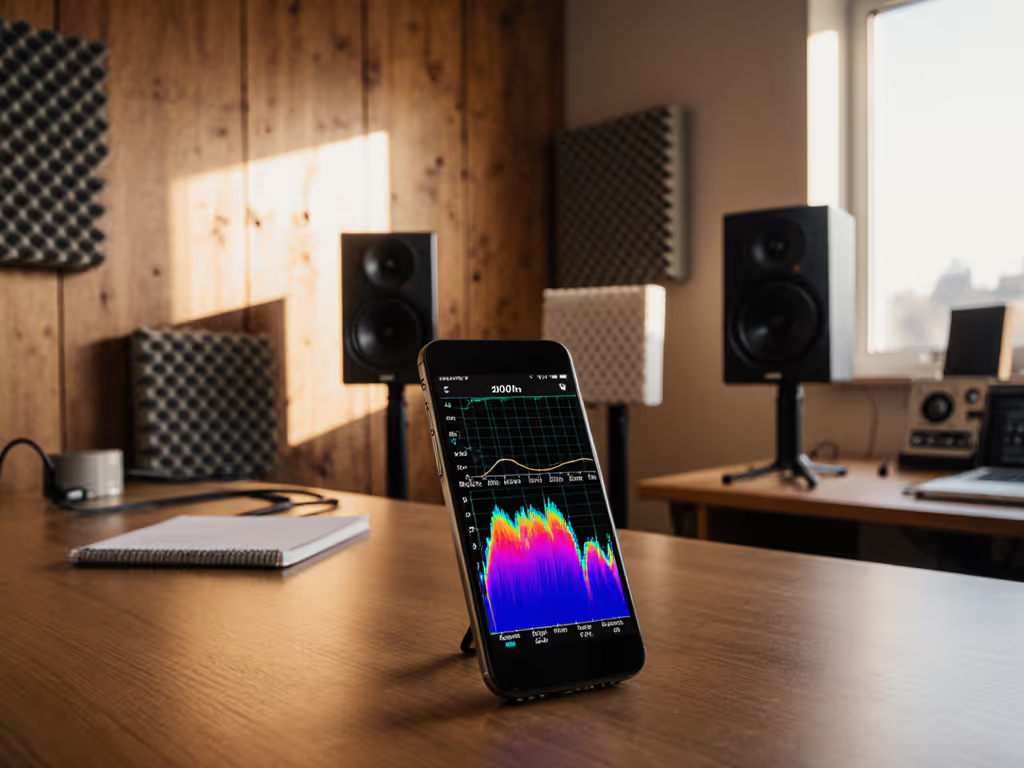
Establish your monitoring baseline first: Measure your room's frequency response at mix position with all speakers active (pink noise, 1/12th octave smoothing). Identify problematic peaks/dips above 80 Hz that will distort spatial imaging.
-
Apply minimal, targeted correction: Use low-latency linear phase EQ (max 12 dB range) on your master bus, not per-channel. Focus on smoothing room modes between 80 to 300 Hz where boundary effects dominate. For example, a 220 Hz peak typical from desk reflections might need a 3 dB cut at Q=1.2.
-
Verify with mono compatibility: Spatial audio plugins can create phase issues that disappear in mono. Periodically check your mix in mono to ensure critical elements (vocals, kick) remain present.
-
Implement reference tracks: Load spatial audio demo files matching your target format (e.g., Dolby Atmos demo discs) and match your plugin's output level to these references within 0.5 dB SPL accuracy.
A proper Waves Nx calibration shouldn't "fix" your room, it should compensate for predictable interactions between your specific monitors and space. This means taking measurements at your actual listening position rather than relying on generic target curves. For a step-by-step walkthrough, use our home studio monitor calibration guide.
What's the biggest mistake small-room engineers make with spatial audio plugins?
Over-correction. I recently worked with a podcaster who added 7 dB of 120 Hz boost through his Dolby Atmos Renderer setup to compensate for perceived "lack of power," not realizing his room actually had a 6 dB dip at that frequency. When we measured the room and applied just 3 dB cut at 115 Hz (Q=1.8) to flatten the response, his spatial imaging suddenly became coherent.
Most spatial audio plugins introduce 5 to 15 ms of latency. At 1 m listening distance, this translates to perceived source displacement of 1.7 to 5.1 meters, enough to destroy precise localization cues. Always engage your DAW's compensation feature and verify timing coherence with a phase meter.
How do I verify my spatial mix will translate to consumer devices?
Your 3D audio plugin performance must be validated through multiple reference points:
-
Binaural verification: Use headphones with known flat response (measured) to check spatial imaging. Avoid "spatialized" headphones as they add another layer of processing.
-
Downmix consistency: Every spatial audio plugin should offer downmix options. Check your mix in stereo, 5.1, and mono to ensure no elements disappear or become overwhelming.
-
One-meter reality check: Position your phone one meter from center speaker and record your spatial mix playing at 85 dB SPL. This approximates how consumer devices capture spatial audio for platforms like Apple Music.
-
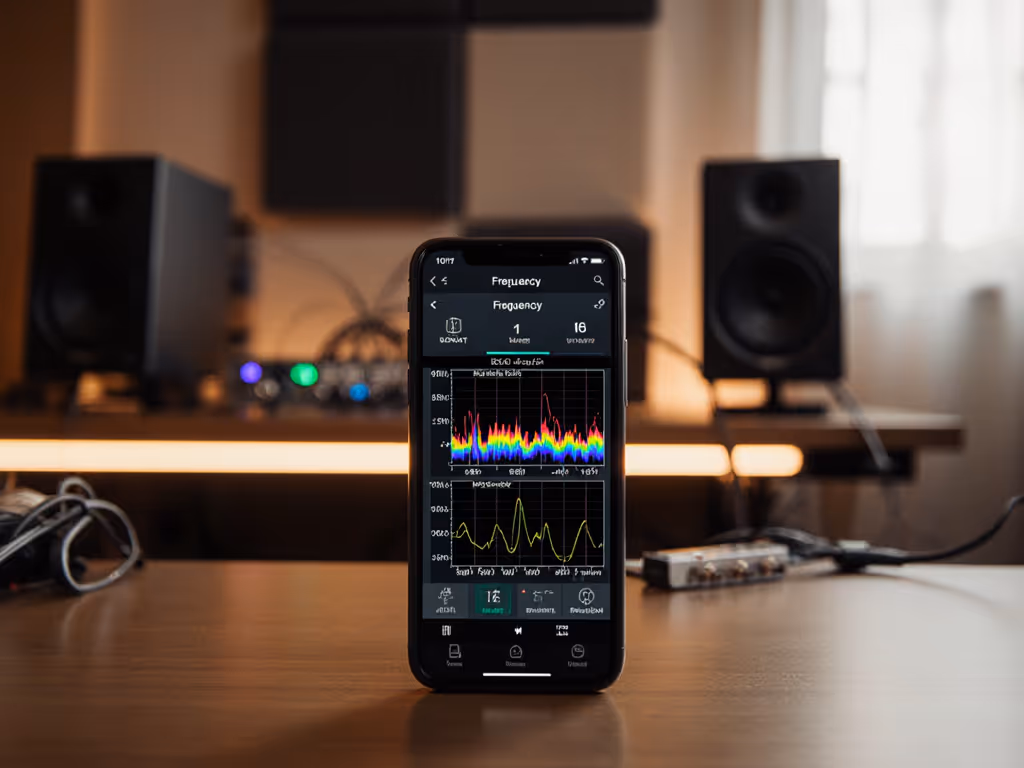
Spectral balance: Measure your room's frequency response at multiple points within your "sweet area" (typically 20×20 cm). Your spatial audio should maintain consistent tonal balance across this zone.
This process identifies when your room's acoustic issues are being misinterpreted as spatial problems. For instance, if your left channel sounds consistently brighter than right, it's likely a reflection issue rather than a plugin problem.
Can proper speaker placement improve spatial audio plugin effectiveness?
Absolutely, and this is where precise geometry matters more than marketing claims. For optimal spatial audio workflow in small rooms:
-
Height matters more than distance: Position tweeters at ear level, but raise your entire listening position so the vertical plane matches spatial audio's height channel requirements (ideally 10 to 15° above ear level). Avoid comb filtering from the desk by following our monitor height and desk reflection guide.
-
Asymmetry helps: Place your monitoring system slightly off-center to your room's longest dimension (38% rule) to distribute modal resonances asymmetrically.
-
Boundary management: Keep monitors at least 30 cm from all surfaces, but use absorptive panels on first reflection points (side walls, ceiling) rather than attempting full room treatment.
-
Angle strategically: Toe-in to 15 to 20° for spatial audio monitoring (vs. 30° for stereo) to reduce early lateral reflections that smear height information.
Monitors with controlled directivity (consistent off-axis response to ±30°) perform significantly better in these constrained setups. Ported designs require particular attention to boundary placement: rear-ported monitors often create problematic 60 to 100 Hz peaks when placed near walls, directly interfering with low-frequency spatial cues.
What's the most overlooked factor in spatial audio plugin monitoring?
Listener position stability. Your ears move constantly during mixing (leaning forward, turning slightly), which dramatically affects spatial perception in small rooms where the sweet spot is naturally narrow. Rather than chasing perfection, establish a repeatable head position using a simple visual marker (like tape on your desk).
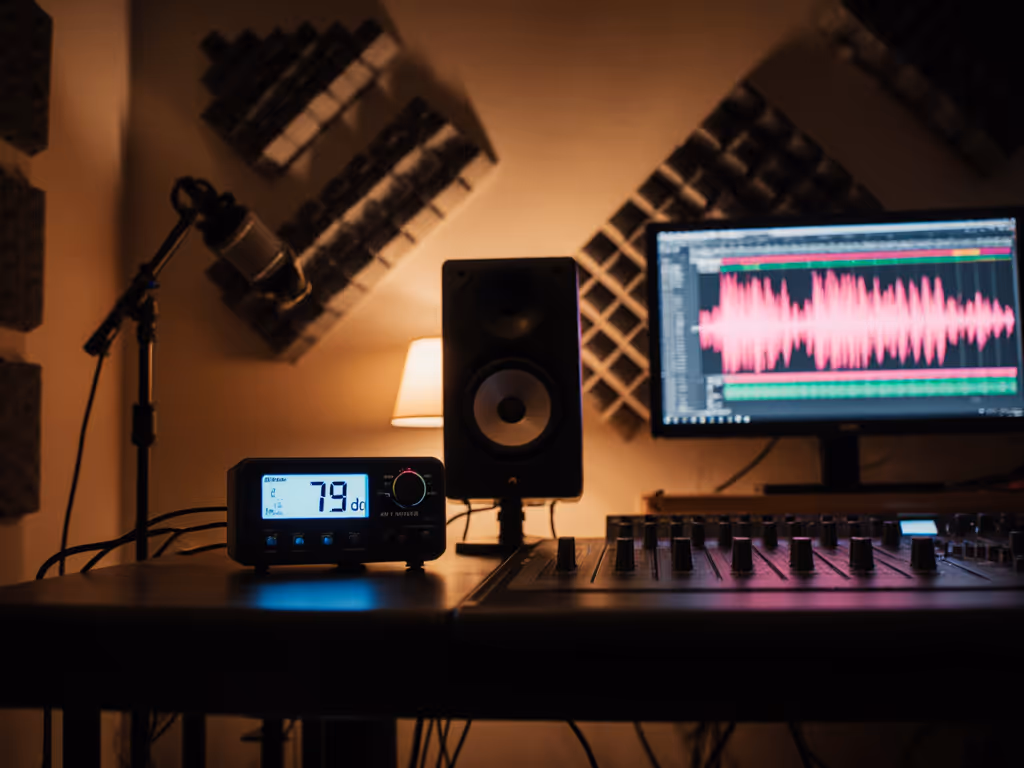
Crucially, work at consistent listening levels. Spatial audio plugins behave differently at 75 dB vs. 85 dB SPL due to how our brains process interaural time differences. Aim for 78 to 82 dB SPL for critical work, loud enough for accurate low-end assessment but quiet enough to avoid room mode excitation that distorts spatial imaging. Learn how to set safe, repeatable listening levels without sacrificing mix accuracy.
Final Thought: Embracing Small Room Realities
Spatial audio in compact environments isn't about creating cinema-grade perfection, it's about delivering mixes that translate reliably across consumer playback scenarios. Your room's acoustic limitations aren't obstacles to overcome with excessive correction; they're design parameters that should inform your spatial audio plugin monitoring approach.
Remember: controlled directivity and smooth power response make small rooms more predictable. When your monitors maintain consistent off-axis behavior, your spatial plugins can deliver accurate imaging within your room's actual acoustic constraints. Measure your space, calibrate deliberately, and trust the process, not the marketing.
Give this approach a one meter reality check in your own space, and you'll find fewer client revisions and more confidence in your spatial audio decisions. For those wanting to dive deeper into the measurement techniques mentioned here, I've compiled a free reference guide to small-room spatial calibration thresholds, available through our resource library.
Related Articles