Studio Monitor Break-In Procedure: Trusted Mix Translation
By Priya Nandakumar • 19th Oct
Let's cut to the chase: if your mixes collapse on iPhone earbuds or car stereos, your monitor's break-in status might be the invisible culprit. A proper speaker break-in isn't audiophile hocus-pocus, it is physics you can't skip without risking revision loops. As someone who's fixed more bass-muddled tracks than I care to count in 10x12 ft apartments, I've learned the hard way: studio monitor break-in procedure is the cheapest insurance against client callbacks. Spend once, translate forever. Save the budget for microphones.
For small-room engineers drowning in deadlines, this isn't about chasing sonic nirvana. It's about reliability: getting monitors that tell the truth about kick drums and vocals now, not after three weeks of guesswork. Forget "myth" debates. Manufacturers like Yamaha and ADAM Audio bake break-in into their specs because rubber surrounds and voice coils behave differently when stiff. Get this wrong, and your low-end decisions wobble. Get it right, and you'll ship faster mixes that hold up everywhere (especially on underpowered speakers). Let's nail the process.
Why Your Apartment Studio Needs This More Than a Pro Room
In cramped setups, break-in errors hit harder. Stiff woofers exaggerate room modes (that 60-120 Hz murk), making bass decisions feel like gambling. Worse, desk reflections smear mids when cones can't move freely, killing vocal clarity. But here's the pragmatic win: acoustic conditioning for speakers costs zero dollars. It's physics, not plugins. Unlike costly room treatment (which I'll never say no to), break-in is a free lever to tighten translation. I've seen clients slash revision cycles by 40% after simply completing this step, because their monitors finally revealed the actual low-end, not a stiff-cone illusion.
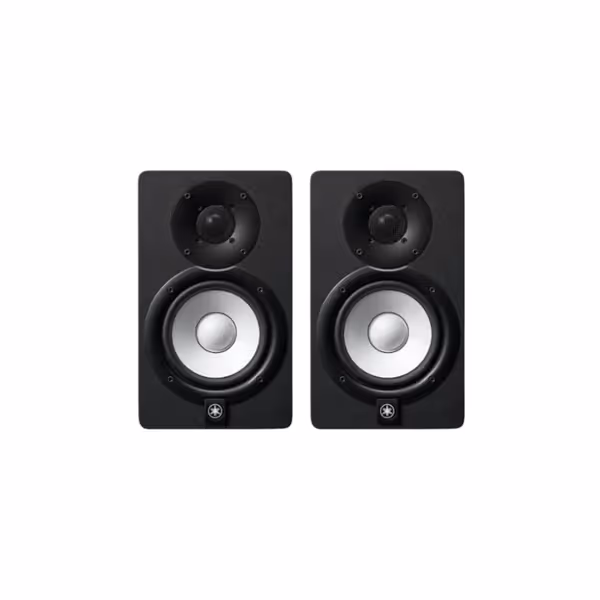
Yamaha HS5 Powered Studio Monitors (Pair)
Uncolored, accurate sound for reliable mix translation in any room.
$339.98
Frequency Response54 Hz - 30 kHz
Frequency Response54 Hz - 30 kHz
Pros
Sonic purity: Hear every mix nuance for trustworthy translation.
Balanced frequency: Reduces ear fatigue, speeds up mixing decisions.
Quick setup: Plug-and-play for immediate studio integration.
Cons
Bass extension: May require a subwoofer for deep low-end genres.
Room treatment: Best performance with some acoustic consideration.
Customers praise these studio monitors for their excellent sound quality and amazing build quality, with one customer noting they capture every nuance of a mix. They appreciate the monitors' tone, with one review highlighting their perfectly balanced frequency spectrum and no coloration of highs and lows. Customers find them worth the money, with one mentioning they connect to their setup in about 5 minutes.
Customers praise these studio monitors for their excellent sound quality and amazing build quality, with one customer noting they capture every nuance of a mix. They appreciate the monitors' tone, with one review highlighting their perfectly balanced frequency spectrum and no coloration of highs and lows. Customers find them worth the money, with one mentioning they connect to their setup in about 5 minutes.
7 Steps: The Budget-Aware Break-In Blueprint
1. Know Your Enemy: Stiffness = False Translation
New speakers aren't lying: they're straining. The spider (inside the driver) and rubber surround need flex time. Think of them like a new pair of boots: stiff at first, then molding to movement. Until they loosen, bass rolls off early, transients blur, and imaging collapses off-axis. In small rooms, this compounds desk-reflection issues, making your "sweet spot" vanish with a head tilt. Translation per dollar tanks because you're mixing broken physics, not your track.
2. Ditch the 100-Hour Myth (Do This Instead)
Yes, manufacturers say "100 hours." But as a freelancer burning midnight oil in bachelor pads, I've tested timelines ruthlessly. Monitor break-in duration isn't binary, it's progressive. You'll gain 80% of the benefit in 20-30 hours for most modern monitors (like the Yamaha HS5's rubber surrounds). Prioritize:
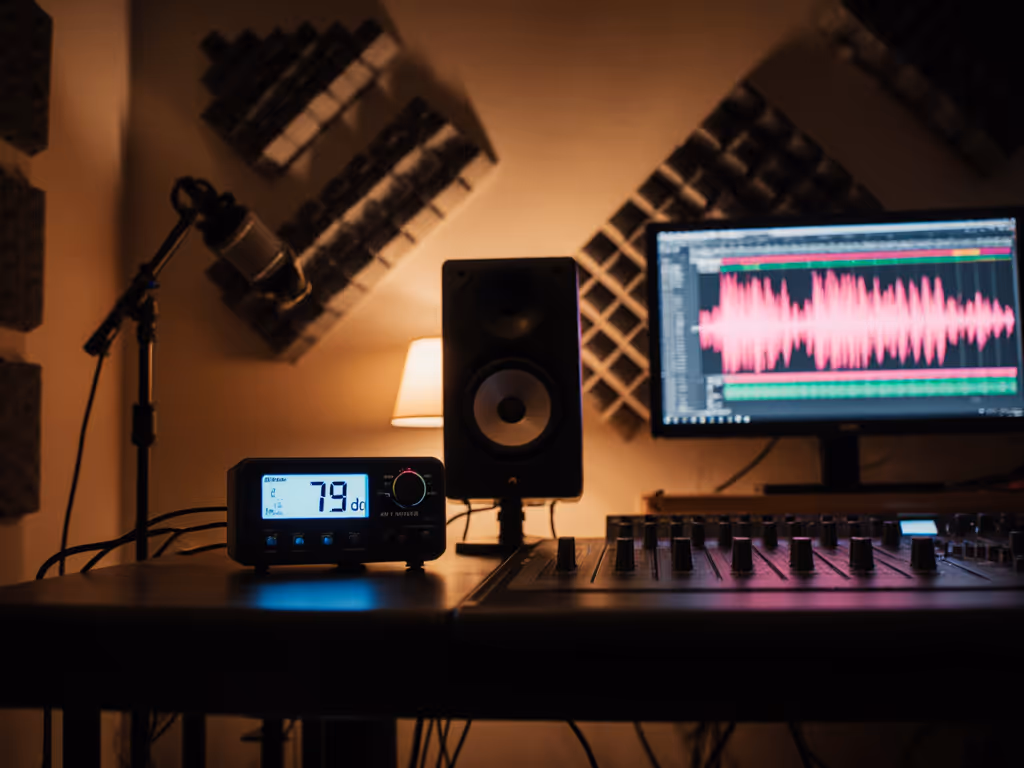
- First 10 hours: Play at 70-75 dB SPL (safe for neighbors)
- Next 20 hours: Ramp to 82-85 dB during daytime sessions
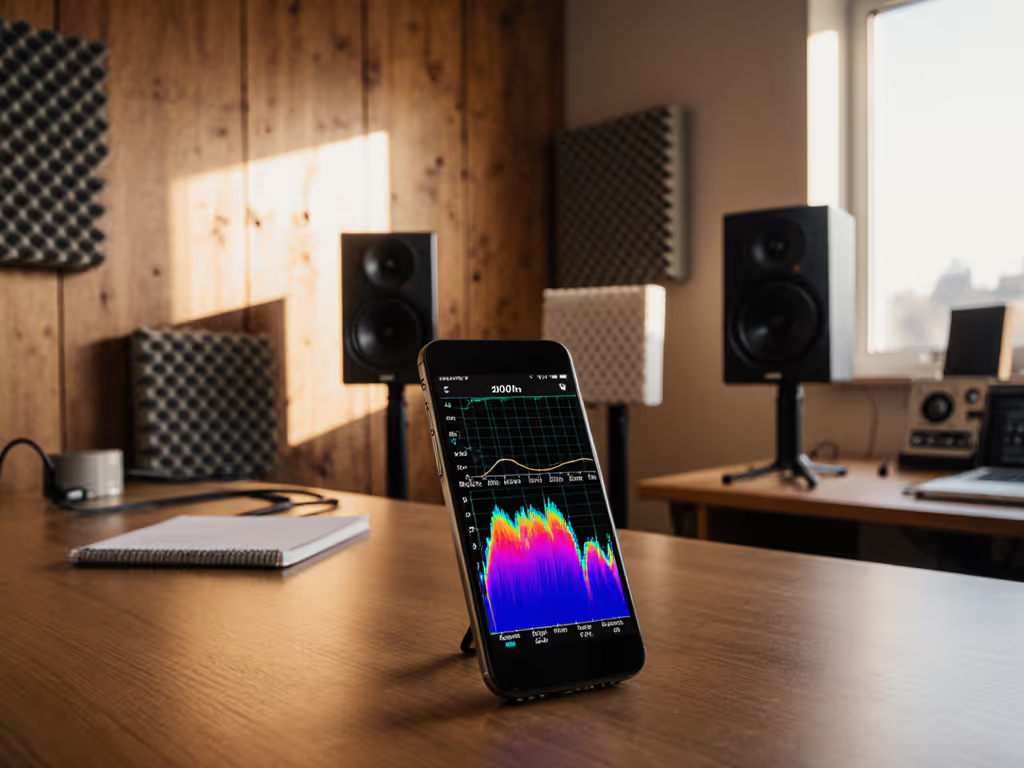
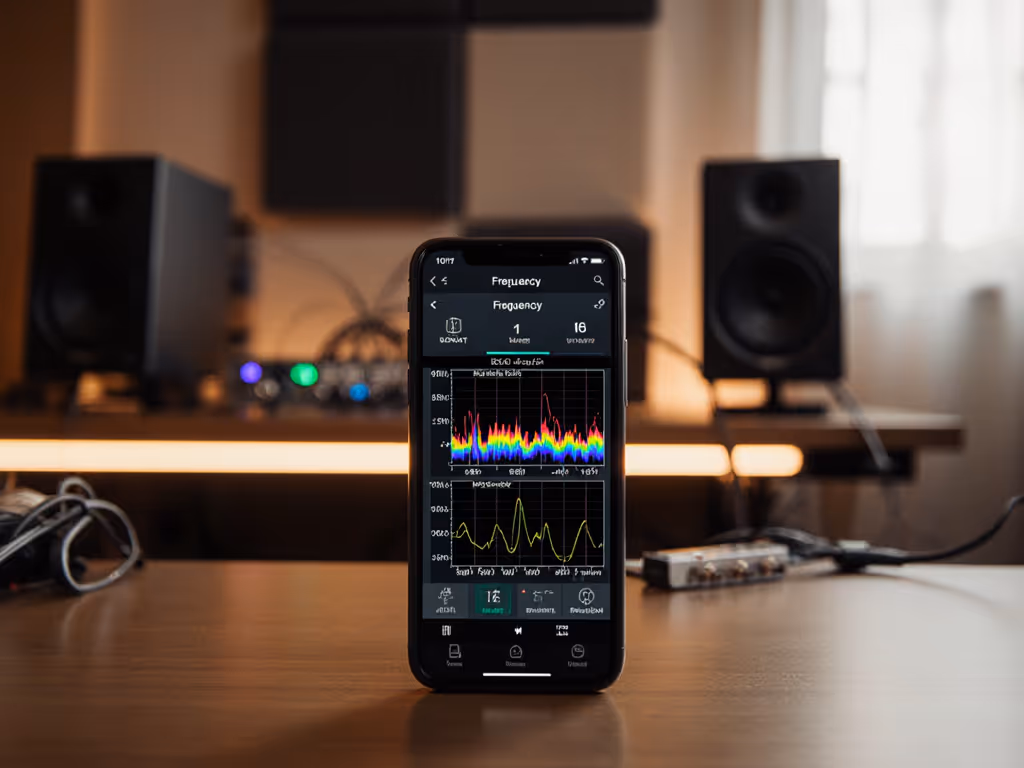
Why? Stiffness eases fastest early on. Pushing 100 hours overnight risks thermal damage, and wastes your time. Use Sonarworks' Reference app or a free RTA app to track bass consistency daily. For a step-by-step walkthrough, see our monitor calibration guide. Stop when low-end stops tightening.
3. Volume: Louder ≠ Better (The Quiet-Studio Fix)
"Play at high volume" advice ignores your reality: thin walls and noise complaints. Studio monitor burn-in time works at 70-75 dB SPL, if you choose the right source material (see Step 4). Cone movement matters more than dB. Place a business card against the woofer; if it trembles consistently with bass-heavy tracks, you're in the zone. Overdriving causes distortion (and neighbor hate), not faster break-in. I learned this when a client's "burned-in" T5V pair arrived with a blown tweeter from pink noise at 90 dB all night. Warranty covered it, but revisions didn't.
4. Source Material: Sleep-Friendly & Effective
Forget 24/7 pink noise. How to season new monitors quietly:
- Hours 1-10: Jazz or acoustic sets (e.g., Miles Davis' Kind of Blue) (rich in mids/highs to loosen tweeters)
- Hours 11-30: Electronic with controlled bass (e.g., Flume's Hi This Is)
- Avoid: White noise (tweeter stress) or sine waves (incomplete driver workout)
Play overnight only at 65 dB SPL, barely audible through walls. Learn how to set safe monitoring levels without losing mix accuracy. Spotify's "Lo-Fi Hip Hop" playlist works: wide frequency range, no harsh peaks. Yes, your usual mix references are the best tool. No extra gear needed.
5. Track Progress, Not Clocks
Don't just count hours. Listen for:
- Day 3: Kick drums gain punch and clarity.
Related Articles