Studio Monitor Grounding: Eliminate Hum Permanently
By Jae Min Park • 11th Jan
When you're deeply focused on crafting the perfect mix, nothing shatters your workflow like that persistent low-frequency buzz (studio monitor grounding issues that undermine your trust in the system). You shouldn't have to chase specs or drop major cash to eliminate hum in studio monitors. As someone who's watched countless beginners waste weeks trying to fix translation issues while ignoring simple setup fundamentals, I'll show you how to diagnose and solve ground hum permanently with minimal gear swaps. Confidence comes from a stable monitoring routine, not chasing specs or hype.
Understanding Ground Hum: The Silent Mix Killer
That annoying 50/60Hz hum you hear isn't just background noise, it's actively misleading your mixing decisions. When ground loops exist in your setup, they create electromagnetic interference that distorts low-frequency perception, making kick and bass decisions unreliable. This is especially critical in small rooms where boundary effects already compromise bass accuracy. For room-side fixes that complement grounding, see our monitor placement and room treatment essentials.
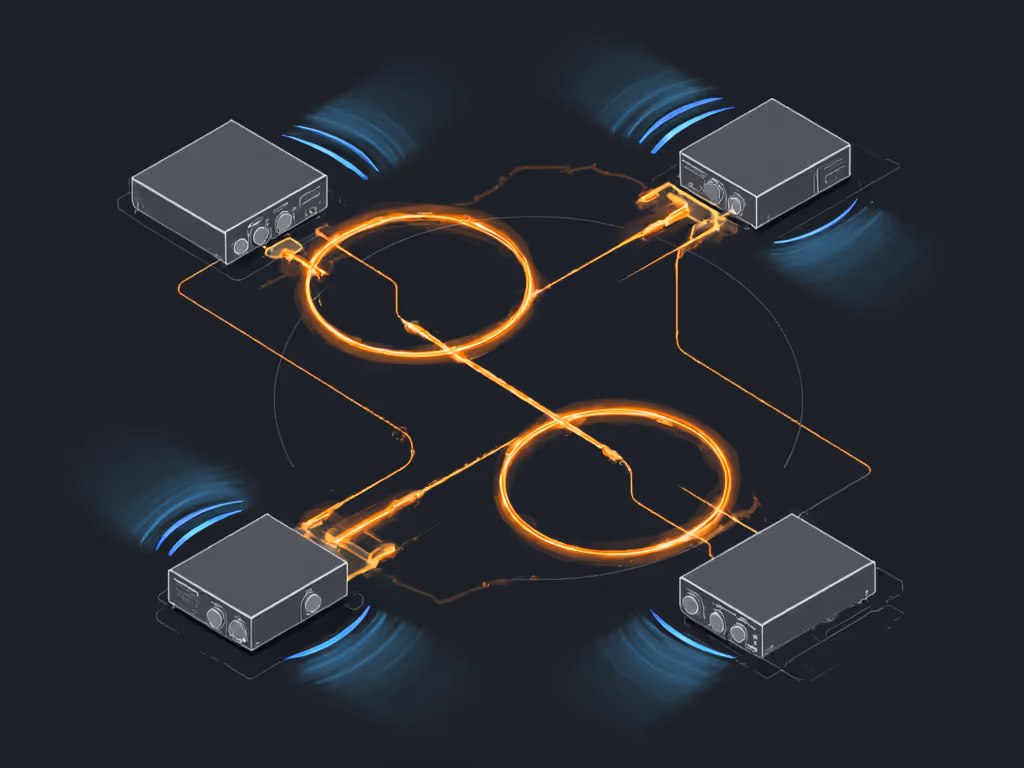
Ground loops happen when multiple devices connect to different grounding points, creating a circuit that picks up electromagnetic interference from nearby wiring. Think of it like water flowing through uneven pipes: the electricity takes unpredictable paths, generating that characteristic hum.
Why This Matters for Bedroom Producers
In cramped spaces with shared walls and apartment wiring, ground hum becomes normalized until you compare your mixes elsewhere. I've seen students upgrade from $200 to $1000 monitors yet still fail car checks because they ignored electrical fundamentals. The solution wasn't better gear, it was stable grounding and proper placement. When they placed tennis balls under their speakers and moved desks away from walls, suddenly their mixes traveled. That's when I realized: reliable monitoring beats impressive specs every time.
Step-by-Step Ground Hum Elimination Guide
Follow this systematic approach to diagnose and eliminate ground hum permanently. Address issues in this order to avoid unnecessary purchases.
Step 1: Isolate the Problem
Don't assume it's your monitors; ground hum can originate anywhere in your signal chain. Start with this diagnostic protocol:
- Power off all equipment and disconnect everything except your audio interface and monitors
- Gradually reconnect components one by one
- Note when the hum appears
- If hum persists with just interface and monitors connected, you've isolated the core loop For a broader checklist of fixes beyond grounding, see our quick studio monitor troubleshooting guide.
"Start small, finish more" (this philosophy applies equally to troubleshooting as it does to gear acquisition).
Step 2: Cable Check Protocol (The Low-Cost Win)
Faulty or improper cables cause 70% of ground hum issues according to industry service reports. For evidence-based guidance, read our balanced vs unbalanced cable tests. Verify your connections:
-
Convert all signal paths to balanced connections
- Use TRS or XLR cables everywhere possible
- Replace instrument TS cables with TRS where applicable
- Most modern interfaces and monitors support balanced connections
-
Inspect cable condition
- Check for frayed connectors or exposed wiring
- Test cables individually by swapping in known-good replacements
- Replace any cables showing physical damage immediately
Unbalanced TS cables act like radio antennas for electromagnetic interference, and upgrading to proper TRS cables often eliminates hum without additional gear. This is the single most cost-effective solution for bedroom producers.
Step 3: Power Source Strategy
Multiple grounded devices on different circuits create perfect conditions for ground loops. Implement this power management system:
-
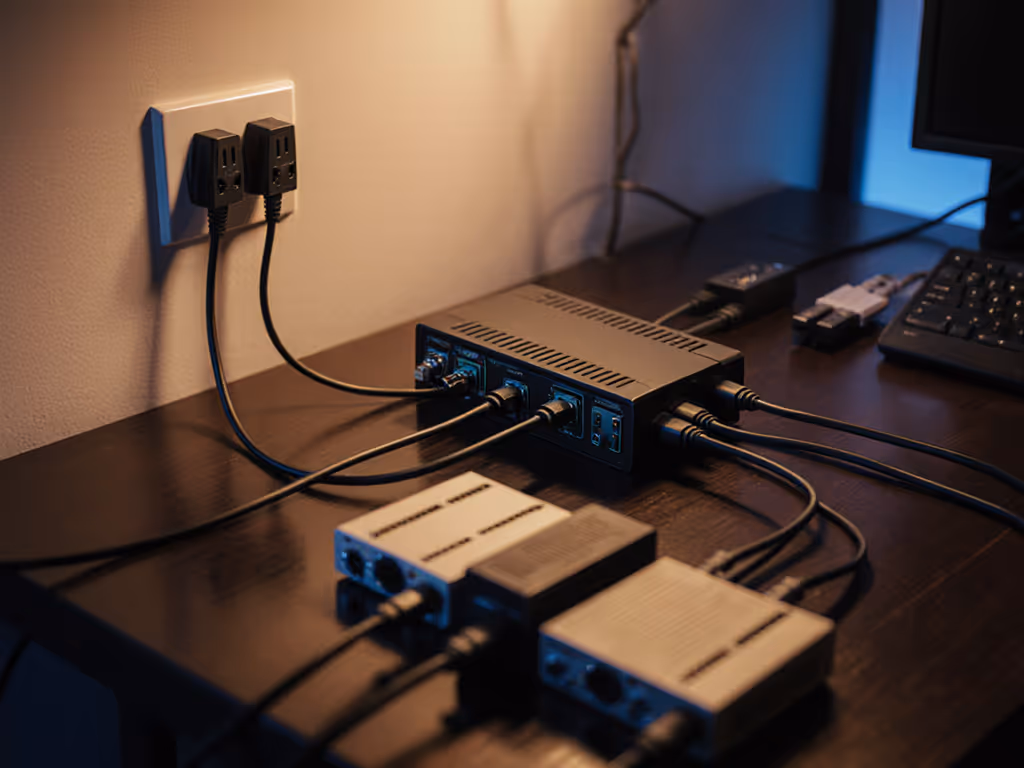
Consolidate all audio equipment on one circuit
- Use a single power strip or conditioner for all audio gear
- Avoid mixing circuits (e.g., desk outlets vs. wall outlets)
-
Implement proper grounding hierarchy
- Connect monitors → interface → computer on the same power source
- Never plug computer and audio interface into different outlets
- If using a subwoofer, include it in the same power chain
Consider a basic power conditioner (not for "sonic enhancement" but as a grounding reference point). A simple unit providing clean single-point grounding eliminates most loops while offering surge protection. This approach addresses studio electrical safety while eliminating noise.
Step 4: Audio Connection Verification
If hum persists after power and cable fixes, examine your signal paths:
-
Check USB connections
- Connect audio interface directly to computer (no hubs)
- Try different USB ports (avoid front-panel ports)
- Some interfaces develop ground issues with specific ports
-
Verify balanced signal integrity
- Ensure TRS cables are fully inserted (partial connection creates imbalance)
- Test with different monitors if possible
- Swap left/right channels to identify faulty channels
This step often reveals hidden issues like partially inserted cables or USB port inconsistencies that mimic ground loop symptoms.
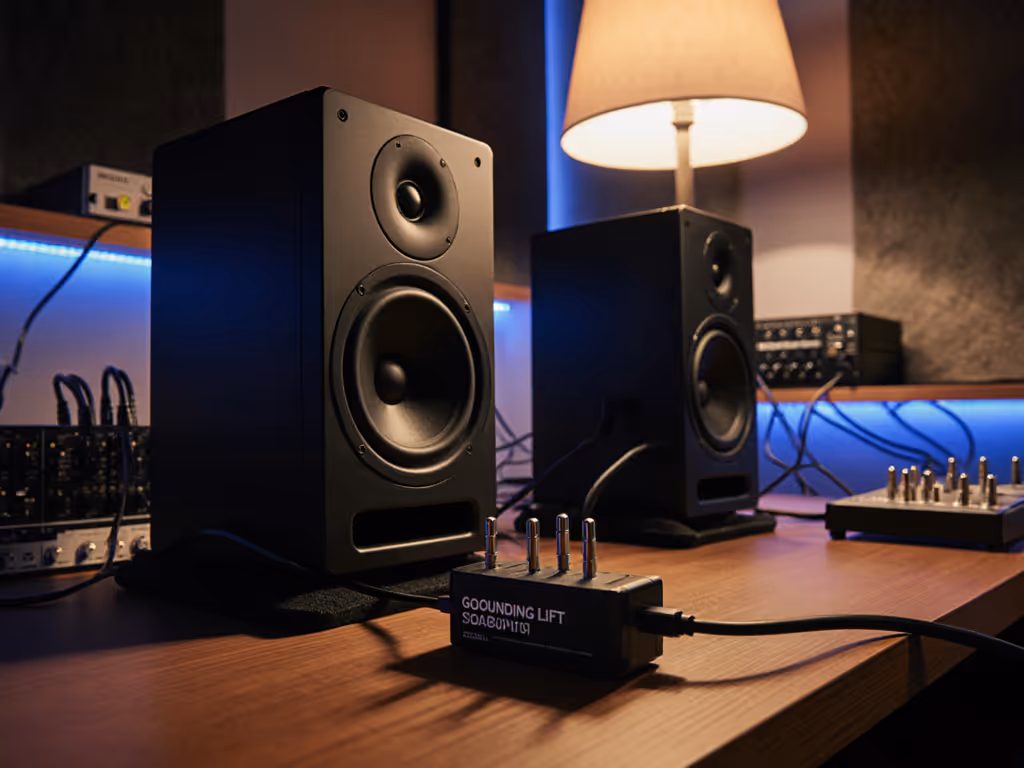
Step 5: Final Solutions for Stubborn Loops
For persistent issues in older buildings or complex setups, implement these ground loop prevention measures:
-
Ground lift adapters (use with caution)
- Only on non-critical equipment (never on powered monitors)
- Provides temporary testing but compromises safety
-
Isolation transformers
- Insert between interface and monitors
- Breaks the electrical connection while passing audio
- Affordable units ($30-$60) solve most remaining issues
-
Galvanic isolation for computers
- Use USB isolation adapters for laptop connections
- Essential for producers using wall-wart power adapters
Never compromise safety for noise elimination; proper audio grounding maintains electrical safety while solving audio issues.
Creating a Hum-Free Workflow
Prevention beats constant troubleshooting. Implement these hum elimination techniques as standard practice:
-
Startup checklist (30 seconds before each session)
- ✓ Verify all cables fully seated
- ✓ Confirm all audio gear on same power circuit
- ✓ Check monitor power connections
-
Cable management protocol
- Keep audio cables away from power cables
- Never run parallel to power lines (cross at 90 degrees)
- Maintain at least 6 inches between cable types
-
Documentation system
- Photograph your setup after successful hum elimination
- Note which outlets everything connects to
- Save this reference for future troubleshooting
The Confidence Connection
Ground hum isn't just an annoyance, it actively erodes your trust in your monitoring system. When you spend energy chasing noise instead of making creative decisions, you're more likely to overcompensate in your mixes. I've watched countless bedroom producers fix their translation issues not by upgrading gear, but by establishing rock-solid monitoring fundamentals.
That persistent hum you hear? It's not just disturbing your peace, it's distorting your perception of low frequencies, making bass decisions unreliable. When you eliminate these electrical issues, suddenly your mixes translate better to earbuds, phones, and car systems with fewer reference checks.
Set it right once; spend your energy finishing songs. Your monitoring environment should be the stable foundation that lets creativity flow, not a constant source of troubleshooting anxiety.
Ready to deepen your understanding of studio fundamentals? Explore our free workshop series on creating reliable monitoring environments in small spaces (where we cover studio monitor grounding alongside practical placement strategies that actually work in bedroom studios). Because the best monitor setup isn't the most expensive one, it's the one that lets you trust your ears and finish more music.
Related Articles