Studio Monitors for Phantom Center Accuracy in Small Rooms
By Lila Okafor • 7th Aug
Quick answer
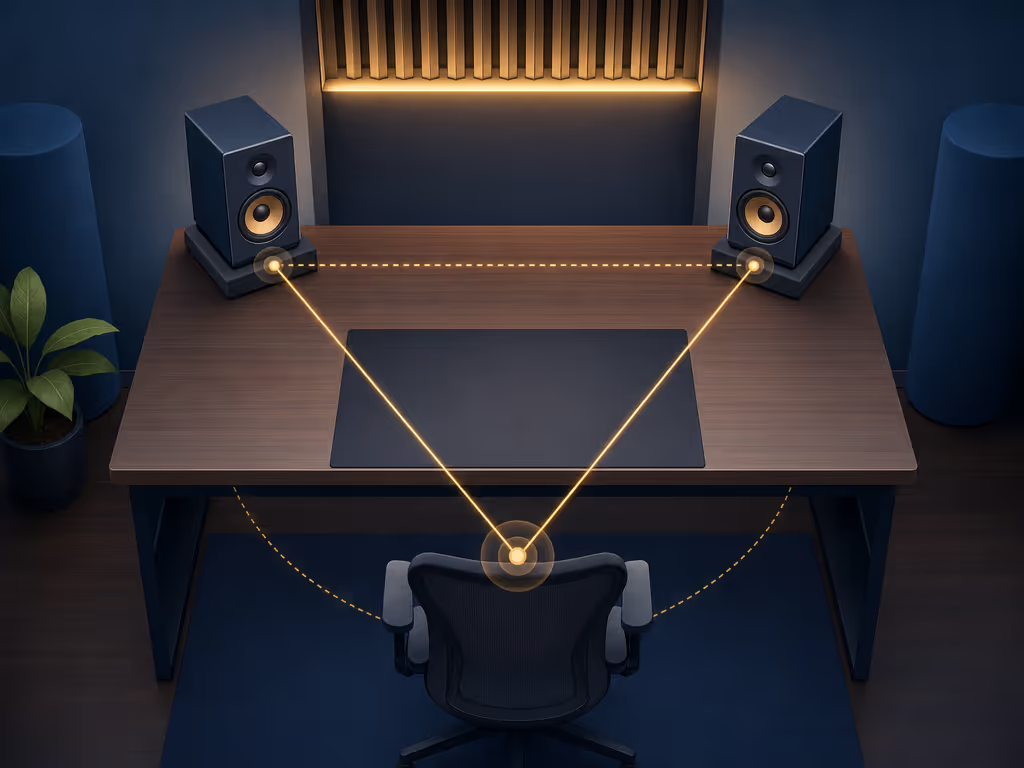
For a practical small-room setup, start with two monitors and your head forming an equilateral triangle, aim both at the listening position, and align their height and acoustic environment.
- Key distinction: For the greatest stereo-imaging accuracy, Genelec advises similar reflections from the left and right monitors. Match side-wall distances, monitor height, listening position, and toe-in as closely as possible.
- 38% rule: Treat the 38% listening-position rule as a starting point, not a guarantee. Test several positions, especially in rooms that are square, narrow, or irregular.
- Important caveat: Rear-wall cancellations can be deep and cannot be reliably fixed with level EQ. Adjust geometry first, and follow the monitor manufacturer’s clearance requirements.
Manufacturer placement guidance emphasizes placement, symmetry, aim, and reflections when setting up studio monitors. In a compact workspace, begin with a focused center at the listening position and a stereo field that remains stable as you assess the setup.
Curves matter, but only as far as rooms allow. A monitor's on-axis response may be useful context, but asymmetric reflections and an off-center chair can complicate the setup. Start by making the two sides of the setup behave as similarly as the room permits.
FAQ: What is the starting geometry for a focused center image?
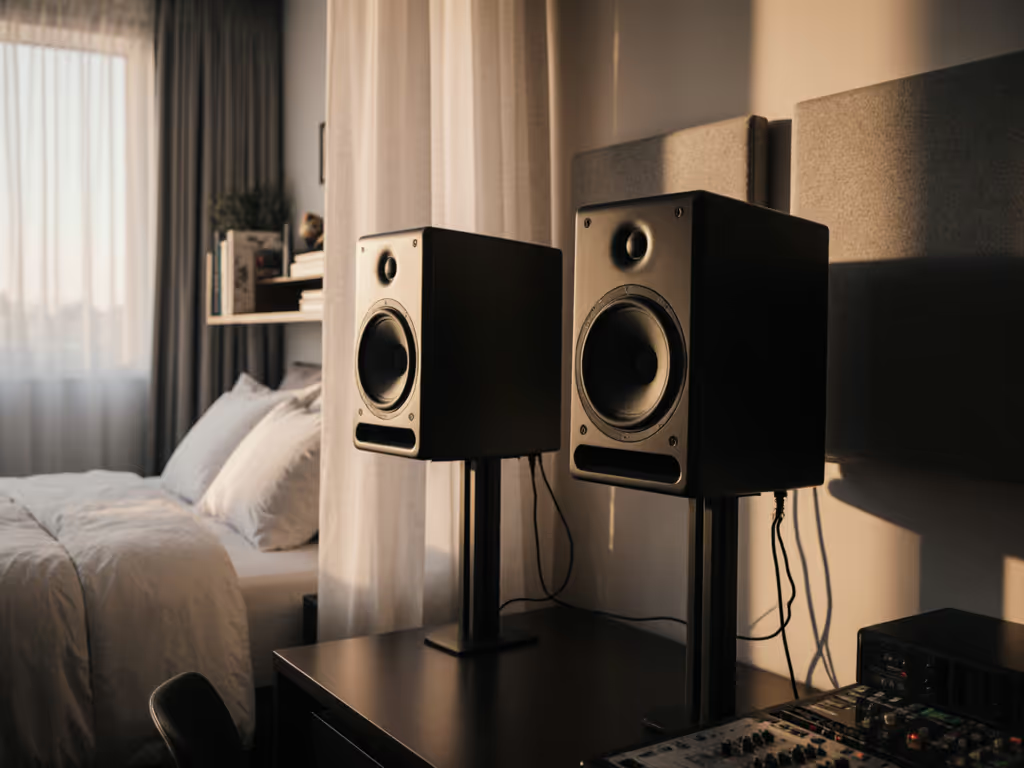
Use two monitors and your head as the three points of an equilateral triangle: the distance between the monitors matches the distance from each monitor to the listening position. ADAM Audio presents this as its basic stereo-monitor geometry, with the monitor front panels turned inward toward the listener.
Genelec's placement guidance expresses the same orientation in angular terms: place the monitors at a 60° angle and aim each one at the listening position. These are starting coordinates, not proof that a particular desk or room is solved. For a deeper walkthrough of ideal monitor height and placement, use the same geometry-first approach before making tonal adjustments. Their value is that they make the left and right signal paths comparable before you begin adjusting anything else.
A practical setup sequence
- Find the room's left-right symmetry axis. Put the chair on it as closely as the space allows.
- Set equal distances. Match the monitor-to-listener distance on both sides, then match the monitor-to-monitor distance to create the triangle.
- Aim both monitors at the listening position. This is the basic monitor toe-in for imaging recommended in the manufacturer placement guidance.
- Match height and vertical aim. ADAM advises that the acoustical axis, drawn perpendicular from the area between woofer and tweeter, should meet your head at ear height. If a monitor sits low, raise or angle it so that axis reaches the listening position.
- Listen, move, and listen again. Acoustics Insider recommends moving the monitors and testing listening positions for a strong, focused center and wide, stable stereo field.
This sequence is deliberately plain. A few millimetres of visual neatness are less important than avoiding obvious asymmetry: one monitor beside a hard wall while the other opens into a different acoustic environment is not an equivalent pair of paths.
For phantom-center work, build the triangle first; optimize the room interaction second.
FAQ: Why does symmetry matter more than "extra width" in a small room?
A broad presentation can be misleading if the center becomes vague or if a vocal seems to pull to one side. Genelec's stated condition for greatest stereo-imaging accuracy is similar reflections arriving from the two monitor sides.
Genelec advises that stereo imaging is most accurate when reflections from the left and right monitors are similar. Its suggested means are concrete: equal nearest side-wall and rear-wall distances, equal monitor height, and a listening position that is symmetric left to right. ADAM likewise advises keeping both the side-wall distances and the acoustic reflection quality of the two sides as similar as possible. One reflective side and one absorptive side can skew the stereo image.
That makes left-right balance on studio monitors a placement check. Check these first:
- Are both monitors the same height?
- Is the chair centered between them?
- Are their nearest side-wall distances comparable?
- Does one side face a notably different mix of glass, furniture, or soft material?
- Are both monitor fronts aimed consistently toward the listening position?
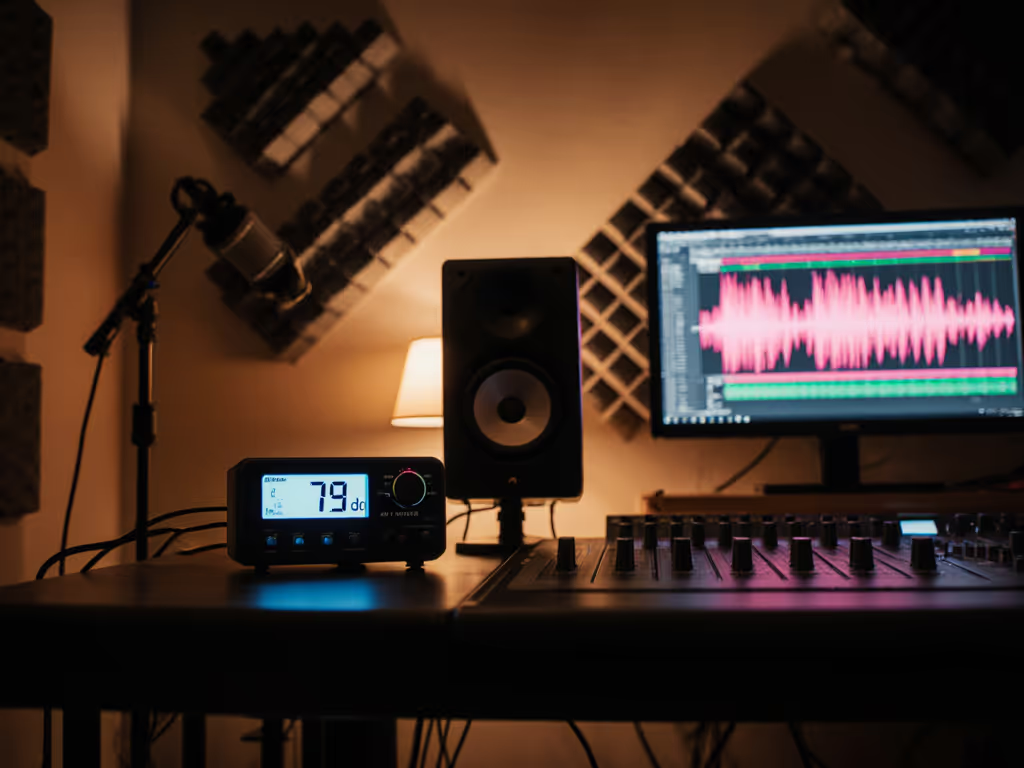
The reason to work at nearfield distances is also room-related. ADAM notes that identifying sound location and hearing focused stereo images becomes harder when reflected sound predominates over direct monitor sound. Its general rule is that monitor spacing and listener distance should not exceed roughly one third of the room's average length-and-width dimension, but it explicitly qualifies that rule as dependent on room size, monitor position, dispersion, and reverberation time. Treat it as a boundary for experimentation, not as a fixed limit.
My shorthand remains: Predictable off-axis response matters. Stable behavior away from the direct axis is useful to assess, while the two sides of the room should contribute similar reflections.
FAQ: How should I set monitor toe-in for imaging and vocal focus?
For monitor toe-in for imaging, begin with both front panels turned inward so they aim at the listening position. Establish a center that is clear and stable at the chair, then assess the apparent width of the material.
ADAM's height guidance is equally important here. A monitor significantly above or below ear height will not be heard as intended; if its physical position is constrained, angling it can bring the acoustical axis to ear height. This is a useful distinction: horizontal aim and vertical aim are separate adjustments. Correct one without neglecting the other.
For stereo image focus for vocals, use Acoustics Insider's listening check: move the monitors and listen for a strong, focused phantom center and a wide, stable field. If the center remains unsettled, return to geometry and side-to-side reflection similarity before changing tonal balance. That order prevents a familiar trap: trying to EQ away a placement mismatch.
I have watched a desk-centered room bump make a bright top end feel more persuasive than it was useful. Once the desk arrangement and toe-in were corrected, a modest low-latency shelf preserved the sparkle while the work became less revision-prone. The lesson was not that a shelf fixes a room; it was that placement tells you what correction is actually addressing.
FAQ: What should I do about walls behind the monitors?
Rear-wall distance can produce a cancellation between direct and reflected sound. Genelec explains that this occurs when the monitor-to-wall gap equals one quarter wavelength, and says the first cancellation notch can be 6-20 dB deep. Crucially, output-level equalization does not correct that cancellation because it changes the direct and reflected sound together.
That is why a deep dip should not automatically lead to more EQ. Change geometry first.
For close rear-wall placement, Genelec's general guidance is to place the front of the monitor less than 60 cm from the wall, while retaining at least 5 cm of clearance for a rear bass-reflex port. This is not a universal instruction for every studio monitor: port layout and the manufacturer's own requirements still govern. Use the monitor manual where it differs.
At the listening position, Genelec advises at least 1 m from walls to avoid sound-pressure maxima associated with resonances. If the room will not permit that distance, do not invent a magic percentage. Move the listening position forward and backward and assess where the low end feels most balanced; Genelec notes that shifting position can help when a location falls in a modal null.
FAQ: Is the 38% rule the answer for speaker placement?
No. The 38% rule is a starting-point guideline for balancing front-to-back room-mode energy, not a universal placement rule. Acoustics Insider notes that it considers only one room dimension and becomes less applicable as the space departs from an ideal rectangular shape. If your room is square, unusually narrow, or L-shaped, our guide to adapting monitor placement to room shape explains why standard percentages may need adjustment.
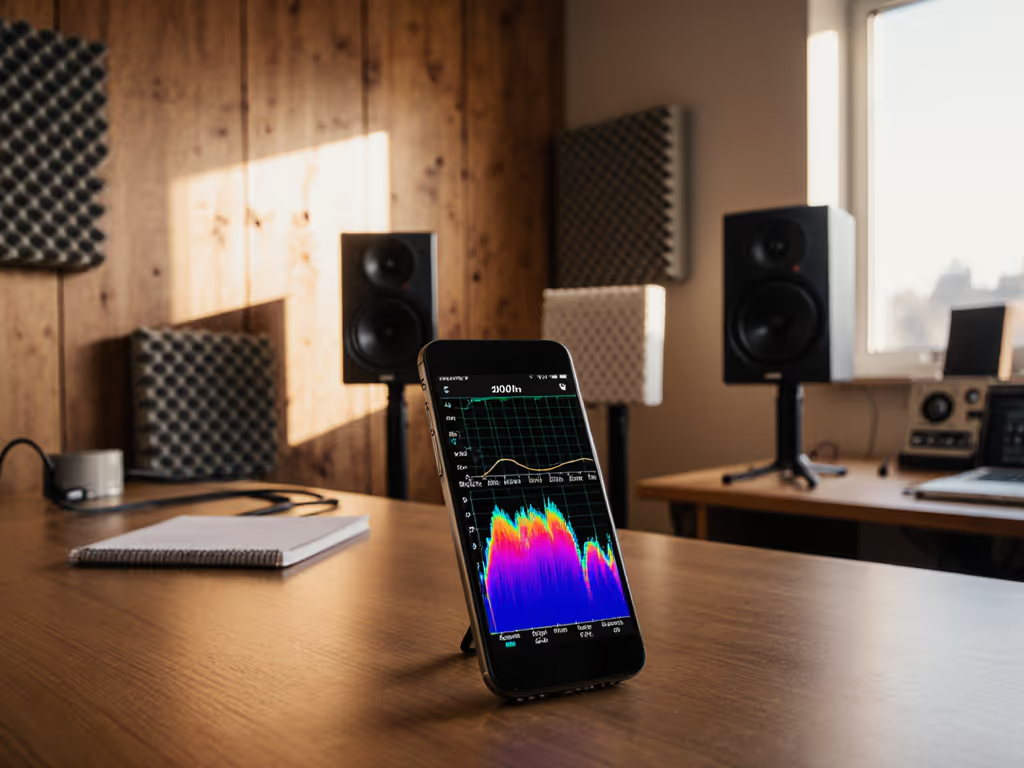
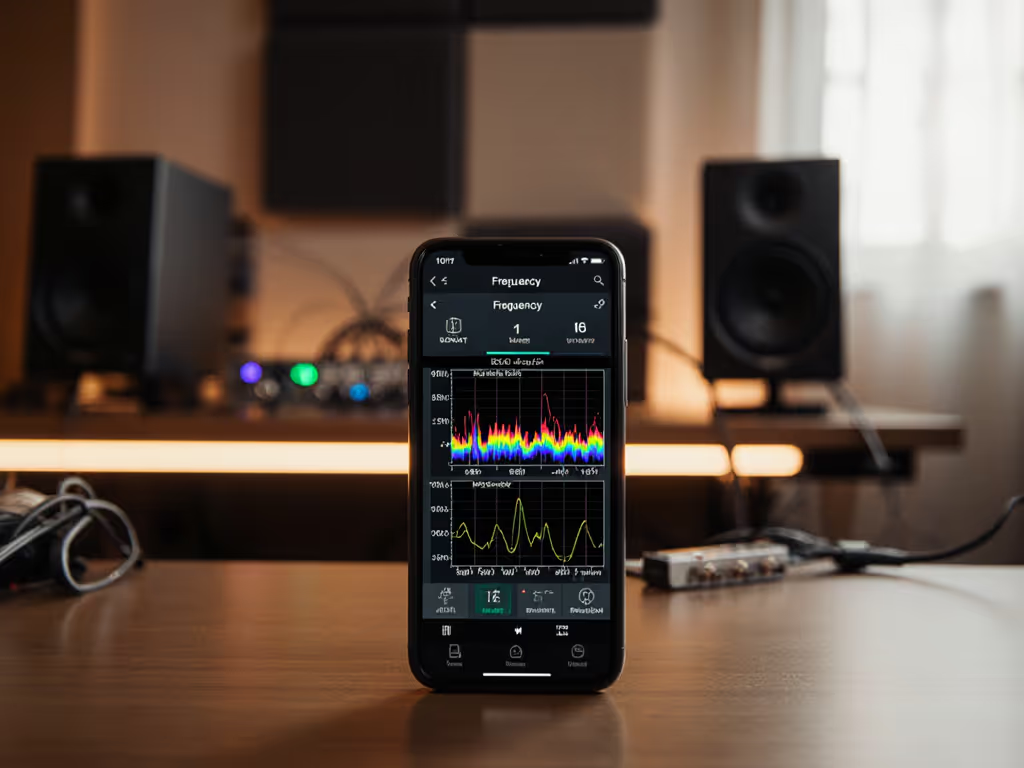
Use it only as an initial location to test. Then evaluate several positions with the stronger priority intact: a focused center, a stable stereo field, and the most balanced low end you can obtain through placement. Once placement is repeatable, a step-by-step home studio monitor calibration process can help verify what your ears and room are telling you. In a compact, furnished room, those observations are more actionable than forcing the chair to a percentage that conflicts with symmetry or wall clearance.
FAQ: Do I need one monitor or two for this task?
The stereo geometry discussed here requires two monitors and a listener position: the two speakers and your head form the triangle. A single monitor is outside this particular phantom-center placement exercise because there is no left-right stereo layout to align.
Further exploration: make one change at a time
Set the triangle, align height and aim, and reduce left-right asymmetry before you decide the monitors are the problem. Then test a few forward-back listening positions rather than treating any percentage rule as final. Keep a short record of each move and what happened to the focused center, stereo stability, and low-end balance.
That is the efficient path through a small room: not endless tweaking, but controlled comparisons. When the geometry is repeatable and reflections are reasonably matched, use a focused-center and stable-field listening check to compare each setup change at the desk.
Related Articles