Tinnitus Studio Monitoring: Calibration Tactics
By Lila Okafor • 27th Feb
Tinnitus studio monitoring requires a disciplined, measurement-first approach. If you experience persistent ringing or sensitivity to loud sound, your mixing environment must prioritize reproducibility and safe listening levels, and that begins with calibration. Unlike subjective room tuning, calibration anchors your monitoring to an objective standard, ensuring that every session protects your hearing while delivering consistent, translatable mixes.
Why Calibration Matters for Tinnitus Sufferers
When you have tinnitus, working at variable volume levels compounds fatigue and masking. You might push monitors louder to overcome the ringing, then compensate by mixing overly bass-light or top-end-shy. The result: revisions spiral. Calibration decouples volume variability from mix decisions. By locking in a specific sound-pressure level (SPL) that suits your room and hearing sensitivity, you create a repeatable anchor (the same starting point every session, free from guesswork).
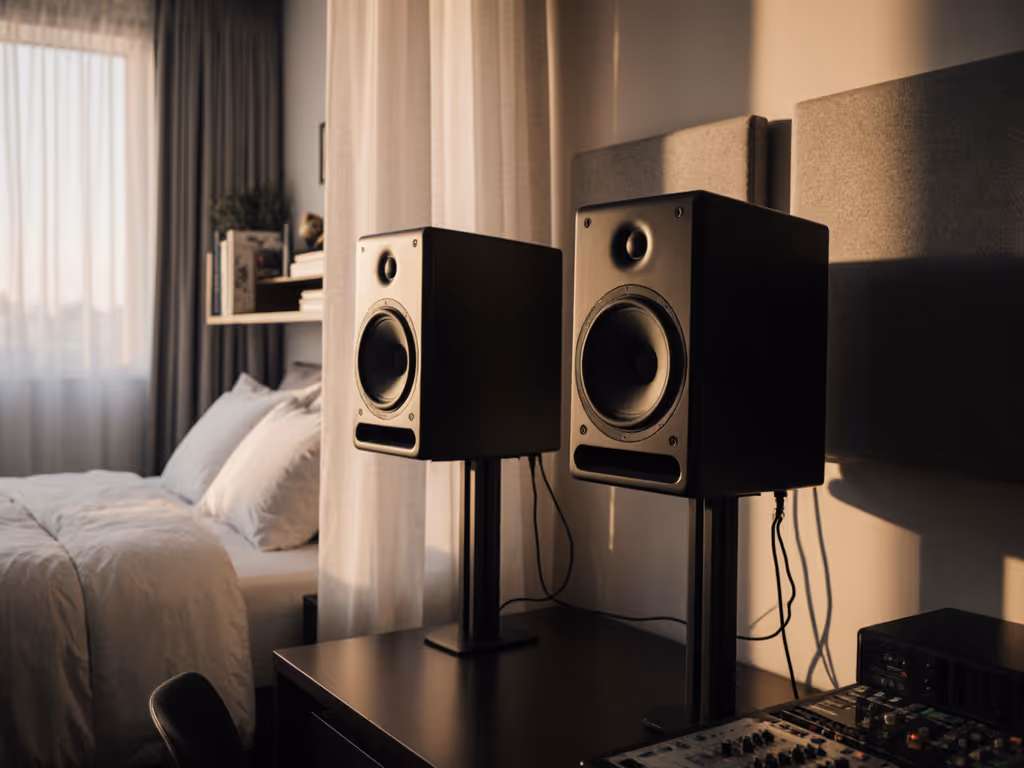
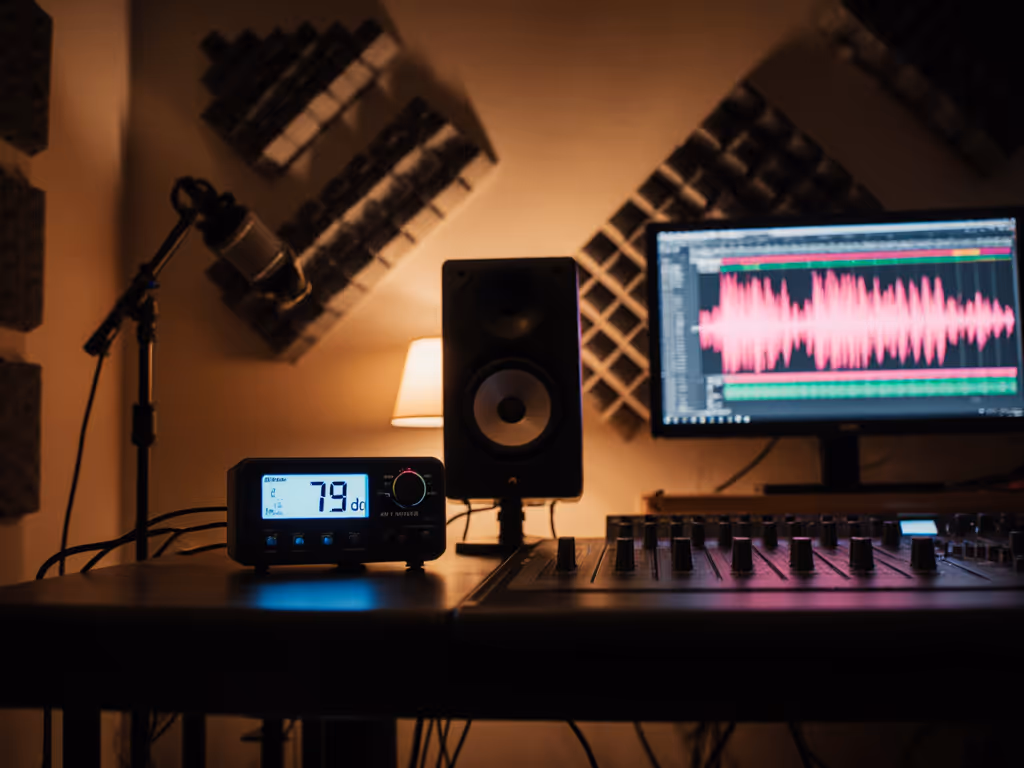
For small rooms typical of bedroom and desktop setups, research confirms that 79 dB SPL yields the flattest human hearing response.[1][2] This level sits comfortably above ambient noise without triggering ear fatigue or tinnitus flare-up for many sufferers. Crucially, it is measurable and reproducible, not subject to mood or ear fatigue.
Uncalibrated vs. Calibrated Monitoring: A Practical Contrast
Most home studios operate uncalibrated: speakers turned up by feel, volume nudged higher as the day wears on. At that workflow, tinnitus sufferers face a double bind: either they risk loudness-induced symptom exacerbation, or they mix quietly and lose low-frequency detail. Neither path yields trustworthy mixes.
Calibrated monitoring inverts this problem. You measure your monitors at the listening position using a C-weighted SPL meter (not A-weighted, which filters out low and high frequencies your ears cannot hear at very low levels). C-weighting preserves the full frequency picture, critical for tinnitus monitoring where frequency sensitivity is often heightened.[1][4]
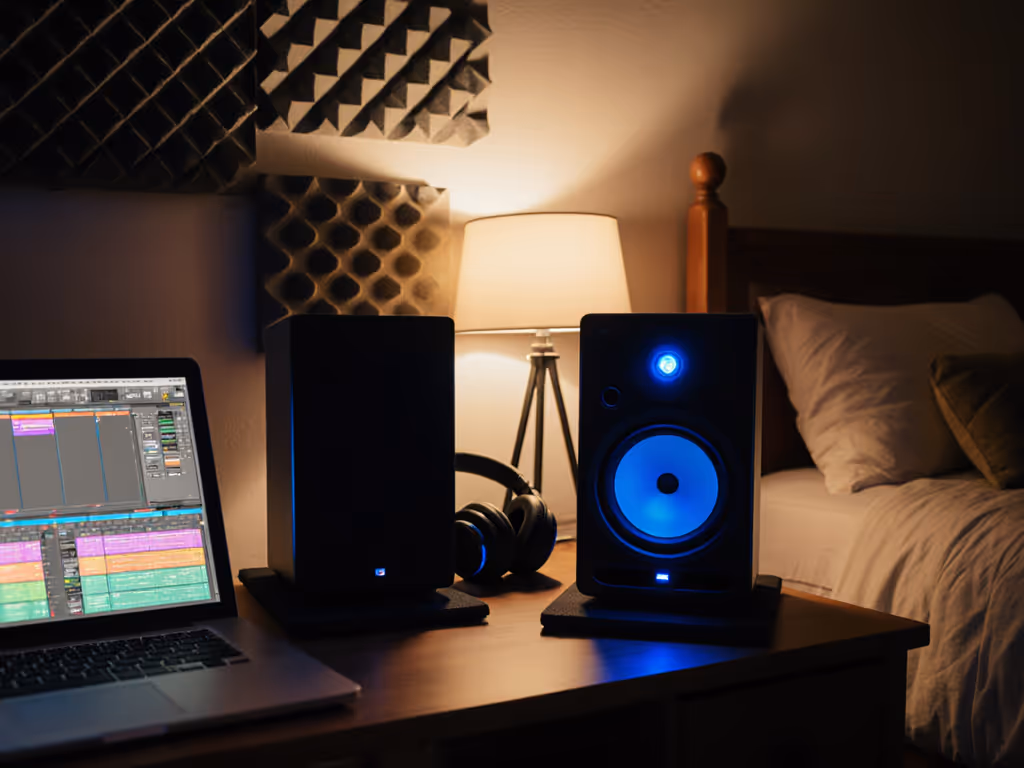
Once calibrated, your monitors deliver consistent frequency balance at a safe, repeatable level. Each time you sit down, you know exactly how loud you are working and what your mix will sound like across earbuds, cars, and streaming platforms. The tinnitus does not change the mix; the mix does not change because you are chasing volume.
The Calibration Process: Measurement Caveats and Precision
Setup and Signal Generation
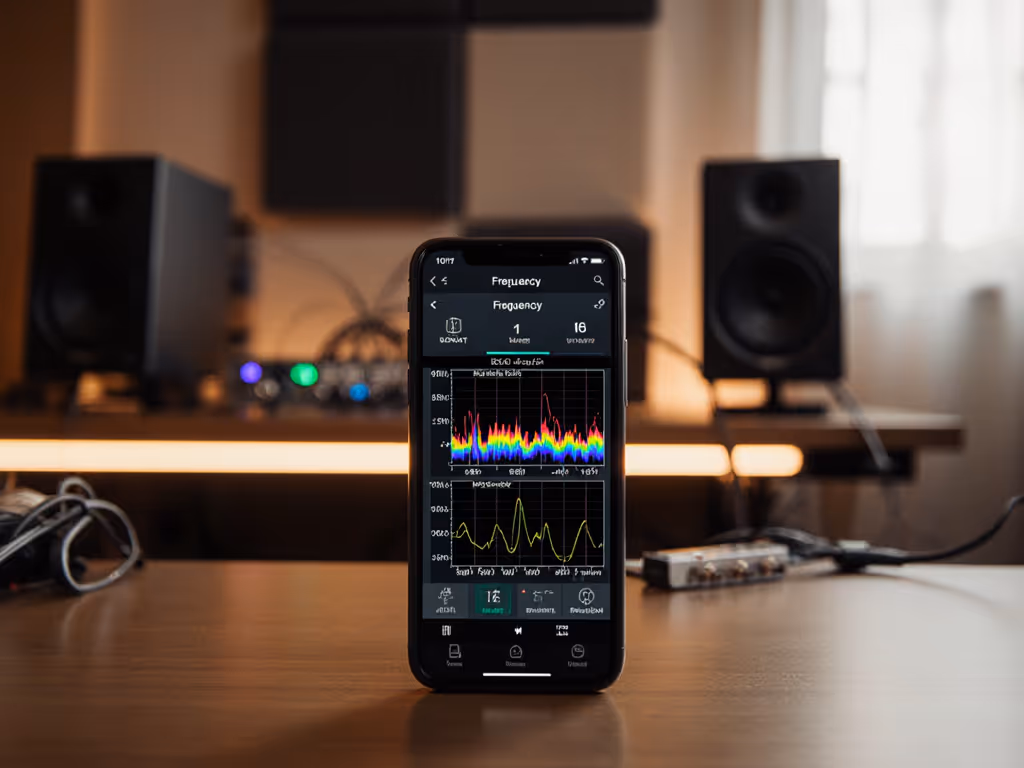
Begin by generating pink noise (a tone containing every frequency band at equal level) at -20 dBFS (decibels relative to full scale) in your DAW.[1] Pink noise is the calibration standard because it represents no frequency bias, unlike music or speech. Hard-pan the signal to one speaker to isolate it, or use mono and center the pan. If your interface has an output meter, verify the signal sits precisely at -20 dBFS before proceeding; many engineers skip this step and introduce error at the source.
SPL Meter Placement and Configuration
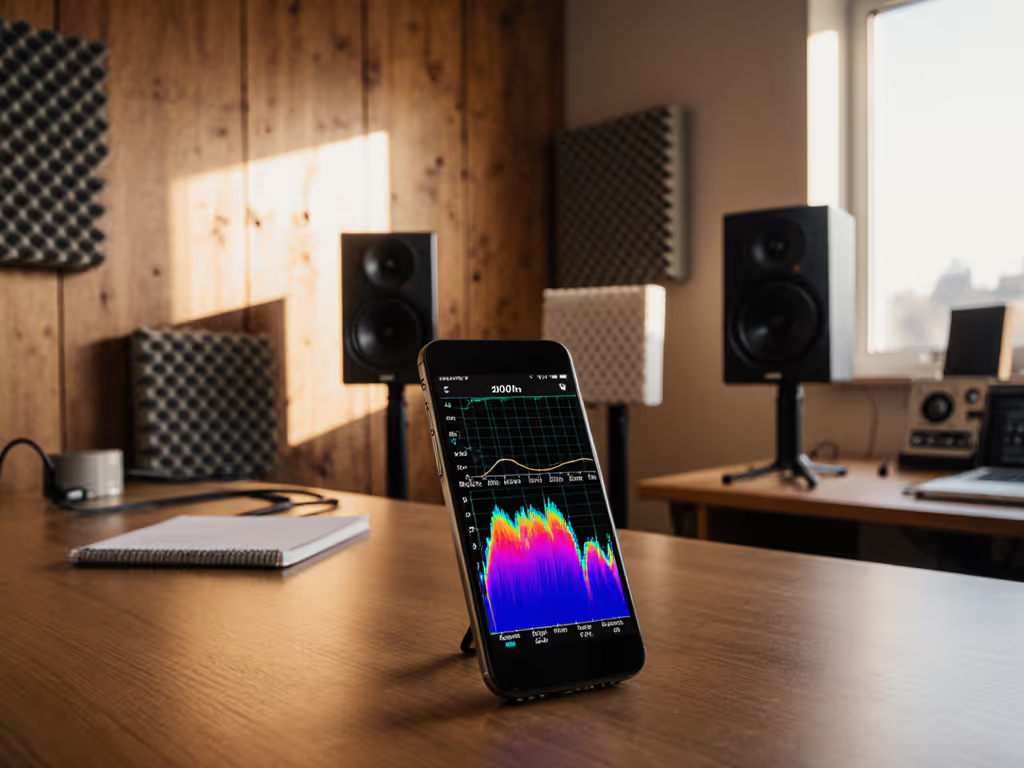
Position your SPL meter or phone app at ear level in your seated listening position, microphone pointed upward.[1][2][6] If you're calibrating with a phone, follow our smartphone calibration guide for app picks and accuracy tips. This matters: a meter aimed sideways or at the console will register room reflections, not your direct field. Configure the meter for C-weighting and slow response time.[1][2] Slow response allows the meter needle to settle, filtering out transient spikes. C-weighting, as noted, preserves low and high frequencies.[4]
Per-Speaker Calibration
Pan the pink noise fully to the right speaker and slowly turn up the rear-panel gain knob until your SPL meter reads 76 dB SPL.[1][2] Do not adjust the monitor controller volume; use only the speaker's rear trim. Mute that speaker and repeat for the left, aiming for less than ±0.5 dB difference between them.[1] If one speaker deviates more than 0.5 dB, you have a gain mismatch, common in multi-unit setups, requiring correction before proceeding.
Stereo Combined and Polarity Confirmation
Pan the pink noise center and play both speakers together. Your SPL meter should now read approximately 79 dB (a 3 dB increase because two equal sources combine).[1][2] If you do not see a +3 dB rise, your speakers may be out of phase, canceling energy. Check speaker wiring polarity (+ to +, - to -) and re-measure.
Measurement Caveats: When Data Misleads
Calibration is powerful but bounded. An SPL meter confirms that your setup outputs a predictable level at one point, your listening seat. Room modes, desk resonances, and boundary reflections still vary across inches.[1] One-meter reality check: calibration assumes your ears stay centered in that sweet spot. If you slide 30 cm left or tilt back, low-frequency balance will shift, especially at modes near 100-200 Hz where small rooms are most problematic.
For tinnitus sufferers, this is not a flaw, it is a reason to calibrate. Knowing that your center position is stable gives you a controlled experiment: if a mix translates poorly, it is not because you were mixing at a chaotic volume level. You can isolate other variables, such as speaker placement, desk height, and toe-in angle, and measure their effect. To reduce desk bounce and set ear-level alignment, use our monitor height and desk reflection guide.
Applying Calibration to Tinnitus-Safe Workflow
Once you have calibrated to 79 dB SPL, record where your monitor controller volume sits. Mark it with tape or a photo if your controller lacks a digital display.[1] Every session, return to that mark.
During a mix, reference at that level for the bulk of the work. Occasionally check your mix at very low volume (45-50 dB SPL) to confirm lead elements remain audible; this prevents over-compressed, detail-buried mixes that pump on consumer playback. Afterward, briefly play at 85 dB SPL to ensure no elements become piercing or fatiguing; tinnitus sufferers should stop immediately if ringing spikes.[1]
This three-point reference (quiet, calibrated, loud) replaces the chaotic volume-chasing that tinnitus makes dangerous. For tinnitus-specific gear choices and workflow tips, check our monitors that translate with hearing loss. You work protected, data-anchored, and reproducible.
Integration with Room Correction
Calibration does not solve room modes or desk reflections; it establishes a reliable baseline from which to apply further refinement. If you use a tool like Sonarworks SoundID Reference (or similar DSP), the calibrated 79 dB SPL point becomes your reference level for measurement and curve generation. For step-by-step software setup, see our Sonarworks calibration walkthrough. DSP targets the frequency-response errors in your room; calibration ensures you experience those corrections at a consistent, safe SPL each day.
Measurement Discipline and Tinnitus Trust
A client came to me after months of bright, detail-fatiguing mixes. Her monitors were loved for their "sparkle," but overlaid on lab data, they boosted 4-8 kHz by 4 dB. Her small bedroom exacerbated the peak through boundary reflections. When she lowered the monitors 15 cm and adjusted toe-in, the desk modes shifted. Then a low-latency shelf EQ rolled the peak 2 dB. The sparkle remained; her tinnitus stopped flaring. The curve was real, but only interpretation tied to room context made it actionable.
Calibration is the first step in that chain: Curves matter, but only as far as rooms allow.
Next Steps: Calibration as Foundation
Once calibrated, revisit your monitoring setup monthly. Use the same pink-noise signal, SPL meter settings, and ear position to confirm your speakers have not drifted (electronics age; gain pots creep). Document the reading; a sudden 2 dB change may signal a failing amplifier or driver.
For deeper tuning (addressing specific modal resonances or boundary issues), consider measuring your room's frequency response at your listening position using a measurement mic and software like REW (Room EQ Wizard). Calibration tells you how loud; measurement reveals what frequencies. Together, they frame a tinnitus-safe, repeatable workflow.
Your mixes will become more predictable, your ear fatigue will drop, and your revisions will shrink. That is the payoff of discipline: data now, confidence later.
Related Articles