Studio Monitor Timeline: Evolution for Reliable Mix Translation
By Mateo Sørensen • 29th Nov
If you're searching for good studio monitors that tell the truth in your compact space, you're not alone. The quest for reliable studio monitors that translate across systems begins with understanding their evolution (not just the tech specs, but how each era solved real-world problems like yours). As someone who's mixed through every generation, I've learned that quiet, consistent monitoring reveals truth faster than loud, sporadic sessions. Today, we'll walk through key milestones that shaped modern monitoring, then translate that history into actionable steps you can implement this weekend (no construction required).
The Early Days: Why Translation Was Born from Limitation
Let's rewind to the 1940s, when studios relied on the Altec Lansing Duplex 604. This coaxial monitor dominated recording rooms for decades, not because it measured flat, but because engineers knew its character. Its pronounced midrange forced careful balancing, crucial when records were pressed directly to vinyl with no digital safety net. By the 1960s, Tannoy's dual-concentric design became the UK standard, its smooth high-frequency roll-off preventing ear fatigue during marathon sessions. For a modern comparison of these designs, see our coaxial vs traditional monitors guide.
Key insight for your small room: Early monitors succeeded because they revealed flaws at safe listening levels. Engineers couldn't crank volume in shared studio buildings (or risk blowing tube amps). They learned to trust subtle cues at 70-75 dB SPL, a habit that saved their ears and improved translation. Today's compact creators face similar constraints: neighbors, thin walls, and the need for mixes that work on earbuds. Set a 30-minute timer: Listen to your current mix at 73 dB SPL (use a free SPL meter app). Note what disappears. Repeat tomorrow. This builds your "quiet reference memory," the foundation of reliable translation.
Quiet work that translates beats loud work that impresses.
The NS-10 Era: When Honesty Became Iconic
The Yamaha NS-10's story reshaped studio history. Launched in 1978 as a consumer hi-fi speaker, it flopped until engineers discovered its brutally honest midrange and stiff bass response. Unlike warm-sounding alternatives, the NS-10 refused to flatter poor arrangements. Its sealed cabinet (no port turbulence) and rigid construction meant low-end didn't smear when pushed, a godsend for producers working in untreated rooms. By the 1990s, nearly every major studio had them, often positioned horizontally on stands to minimize boundary reflections.
Here's how this applies to your desk:
- Placement matters more than price: NS-10 users avoided desk placement (causing bass boom) by using sturdy stands. Your action step: Place monitors at ear height, forming an equilateral triangle with your head. If stands aren't possible, tilt speakers slightly upward using rubber isolation pads (not books or cardboard!). To dial in angles and avoid desk reflections, follow our monitor height and placement guide for small rooms.
- The "desert island" test: Great engineers would check mixes on NS-10s last before finalizing. Your checklist: After 2 hours of work, mute all processing and listen quietly for 5 minutes. If vocals/narration feel strained, reduce 2-5 kHz by 1-2 dB.

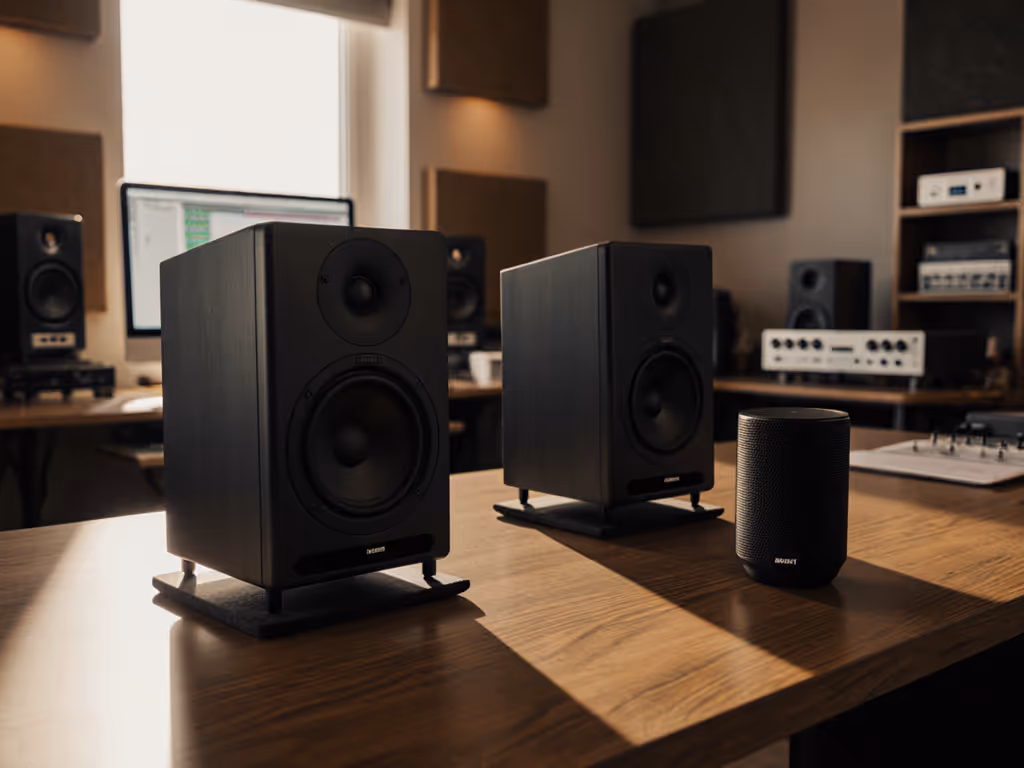
JBL Professional 305PMkII
Reliable mixes, even in imperfect small rooms.
$189
Speaker Size5-Inch
Speaker Size5-Inch
Pros
Improved transducers deliver deeper bass, lower distortion.
Boundary EQ neutralizes desk/wall low-end issues.
Wide sweet spot for consistent off-axis listening.
Excellent sound and imaging for the price.
Cons
Reports of audible hiss for some users.
Durability concerns; some failures after 6 months.
These speakers deliver excellent sound at both low and high volumes, perfect for desk use.
These speakers deliver excellent sound at both low and high volumes, perfect for desk use.
Modern Evolution: DSP and Small-Room Solutions
Today's audio reference evolution solves problems early engineers could only dream of. Yamaha's 1998 MSP5 introduced self-powered designs (removing amp variables), while modern monitors like the JBL 305P MkII integrate Boundary EQ to counteract desk reflections, a game changer for apartment producers. Crucially, latency-safe DSP now lets you apply subtle room correction without workflow disruption. If you're new to measurement-based tuning, start with our step-by-step monitor calibration guide.
From NS-10 to modern monitors, the core challenge remains: making decisions that hold up everywhere. Here's your small-room optimization flow:
4-Step Translation Workflow for Compact Spaces
-
Set SPL Discipline: Begin sessions at 70 dB SPL for 45 minutes (use a timer). Adjust volume down if you feel tension in your jaw or shoulders.
-
Placement Protocol: Position speakers 12-18" from the nearest wall. If desk-bound, activate Boundary EQ (if available) and tilt upward 5-10 degrees. Check: Fist-sized gap between monitor and wall/books behind it.
-
Isolation Check: Place a sheet of paper under each speaker. If it slides easily when you tap the cabinet, add decoupling pads. Pro tip: Stack two dense mouse pads for instant isolation.
-
Translation Test: Every 90 minutes, mute your room correction and listen to 30 seconds of reference track. Note frequency imbalances before reapplying correction.
Remember my early career mistake? I burned out chasing volume until a mentor forced me into quiet mixing for a month. My clients noticed fewer notes because I stopped fixing what I couldn't hear properly. Now I chase clarity at calm levels and sleep easier.
Your Action Plan: Start Today, Hear Tomorrow
The iconic studio monitors timeline shows us that translation reliability, not hype, fuels great engineering. Forget "audiophile debates"; focus on habits that build trust:
- Monday: Set your volume knob to 12 o'clock. For one session, don't touch it, adjust mix balance instead.
- Wednesday: Implement the 45-minute timer for quiet monitoring. Note ear fatigue levels before/after.
- Friday: Test mixes on earbuds at the same volume level as your studio. If bass feels weak, reduce lows by 0.5 dB increments until translation improves.
Protect your ears, your most valuable tool. Learn how to set targets and avoid fatigue with our safe monitoring levels walkthrough. When you prioritize consistency over loudness, your mixes gain the quiet confidence that travels everywhere. Start small, stay disciplined, and watch your client revisions drop. Your future self (and your neighbors) will thank you.
Related Articles