USB Studio Monitors Explained: Built-In USB DAC Workflows
By Jae Min Park • 2nd Sep
At a glance
USB Audio Class provides a framework for digital audio devices, but a USB socket alone does not establish a speaker's audio function, recording features, or interface-like controls. The strongest choice depends on whether you need a straightforward playback chain or a conventional interface-based setup.
- Best overall: For documented, repeatable playback, choose a signal path supported by the available product-specific information: a direct USB-audio path when that function is established, or an audio interface feeding active monitors.
- Best for recording: An interface-plus-monitor setup remains the conventional option for a recording workflow.
- What decides it: Check the available product-specific information for USB audio support, operating-system compatibility, formats, power, analog inputs, controls, and recording functions. Windows USB Audio 2.0 support does not establish every speaker's implementation.
Important: No specific USB studio-monitor model or measured USB-monitor latency was documented here, so connector-based assumptions and universal product rankings are not justified.
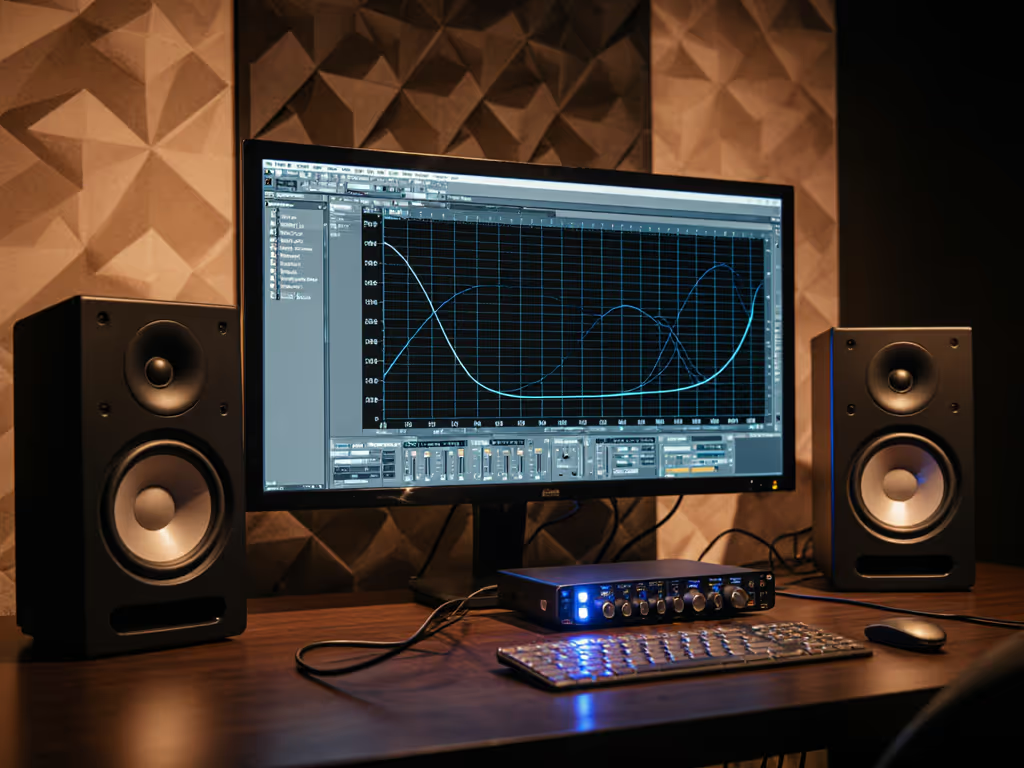
USB studio monitors and USB studio speakers sound like the simplest possible desktop upgrade: connect a laptop, open the DAW, and hear the mix. The useful reality is a little more precise. USB can carry digital audio between compatible devices, but a USB socket alone does not tell you what a speaker can do, where conversion happens, or whether it replaces the jobs of an audio interface.
For small-room creators, that distinction matters. A clean signal path is helpful, but it will not rescue a monitoring routine that changes every session. Start small, finish more: understand the workflow, check the right documentation, then keep your setup stable long enough to learn it.
1. Start with the one job every playback system must do
Digital-audio playback through loudspeakers requires digital-to-analog conversion (often shortened to D/A conversion or DAC conversion) before speakers transform the audio into sound waves.
That gives you two broad playback paths:
- Conventional active-monitor path: computer → audio interface → analog line-level signal → active monitors.
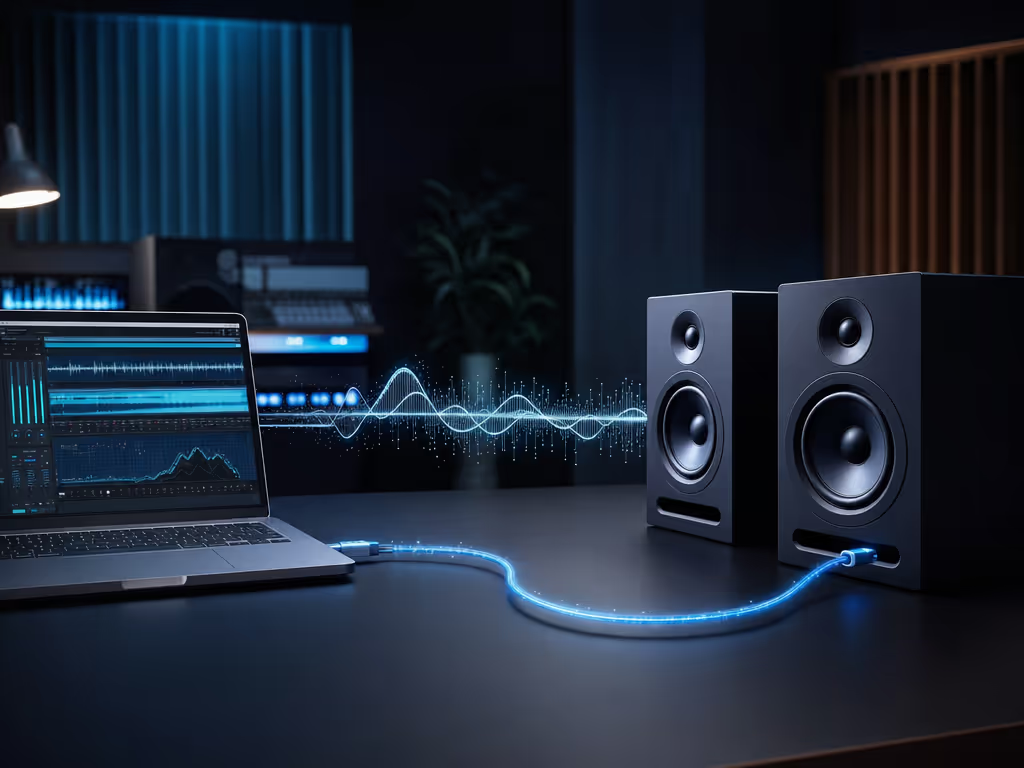
- Direct USB-audio path: computer → documented USB digital-audio connection → D/A conversion somewhere in the speaker's playback path → sound from the drivers.
In a typical active-monitor setup, the interface sends a line-level analog signal to the monitors. The active monitors then amplify that incoming signal internally to speaker level.
A direct digital USB connection changes where the handoff occurs. It does not remove the need for D/A conversion. If a speaker receives a digital USB audio stream, conversion must happen somewhere before its drivers can make sound.
USB describes a connection and audio-transport framework. It does not, by itself, describe a complete monitoring system.
2. Understand what "USB DAC in studio monitors" actually means
The phrase USB DAC in studio monitors is useful shorthand, but it can hide several unanswered questions. A speaker may receive digital audio by USB only if its specific design supports that function. The presence of a USB-shaped port does not prove that it is an audio input; it could serve another role.
When a product is documented as accepting USB digital audio directly, the practical meaning is straightforward: the computer sends audio digitally, and the playback chain converts it to analog before the speaker drivers produce sound. Product-specific information is needed to establish details such as USB Audio Class support, available channels and formats, driver behavior, volume control, power role, and analog-input availability.
Those details determine whether the speaker fits your desk, DAW, and daily habits. They are not minor spec-sheet trivia. For a broader explanation of studio monitor specifications that matter, compare the documented inputs, conversion details, and control options before you buy. They define the workflow.
3. Know what USB Audio Class 2.0 tells you, and what it does not
USB Audio Class 2.0 is a standardized framework for audio devices connected over USB. On Windows, an in-box USB Audio 2.0 driver has been included since Windows 10, version 1703. When a compatible USB Audio 2.0 device is connected, Windows can enable that class driver, although a device maker's available driver may be installed instead.
Microsoft's class driver supports PCM formats from 8 through 32 bits per sample. That is a statement about the Windows driver's capability, not a promise that every connected device offers every format or sample rate.
For a buyer, the takeaway is pleasantly boring: "plug and play" is conditional. It depends on the speaker's actual USB implementation and the operating system. Do not buy based on the connector alone. Look for product-specific information that explains USB audio operation before treating a speaker as a PC or laptop plug-and-play monitor.
4. Compare the two workflows by what they simplify
Direct USB monitoring workflow
Where a speaker system is documented to receive a digital USB audio stream directly, the path can be conceptually tidy: USB carries digital audio to the playback chain, and D/A conversion occurs somewhere before the drivers produce sound.
The appeal is fewer boxes between laptop and speakers. For editing, mixing, and general playback, that may be exactly what you want, provided product-specific information confirms the needed behavior.
Interface-plus-monitor workflow
The conventional workflow is also simple:
- Connect the computer to an audio interface.
- Connect the interface's line outputs to active monitors.
- Use the interface and monitor controls as documented for output level.
Here, the interface occupies the middle of the chain. It is designed to link real-world audio and the digital realm, and conventional setups use its D/A conversion for playback. Where the equipment supports it, balanced analog connections are more resistant to picked-up noise than unbalanced analog connections.
Neither diagram automatically produces better mixes. The better choice is the one whose controls, connections, and behavior you can repeat without second-guessing.
5. Do not mistake a USB speaker for a recording interface
This is the most expensive assumption to make from a product photo.
Some readers see the phrase integrated USB audio interface speakers and assume USB-equipped monitors can replace an audio interface for recording. That is not something the USB connector establishes.
Before treating a speaker-based USB setup as a recording front end, look for product-specific evidence that it provides the recording functions your workflow requires.
Without product-specific evidence of the needed functions, treat the device as a possible playback endpoint, not as a complete recording front end. That one distinction prevents a lot of last-minute rewiring when a vocal session is already running late.
6. Keep latency claims in the correct lane
What should you conclude about USB monitoring workflows? Not much without model-specific information. There is no universal "zero-latency USB monitor" conclusion to draw from the connection type. In interface-based setups, low-latency performance depends partly on the computer and substantially on the interface. A USB-equipped speaker may have its own behavior, but that requires documentation or testing for that exact device.
For mixing and editing, the more practical question is usually whether playback is stable and predictable. Verify the complete signal path before you rely on it.
7. Use a stable setup before blaming the DAC
A USB path can remove one layer of cabling, but it does not settle every setup decision. Nor does a more elaborate path automatically make a system harder to use. Keep the signal path and day-to-day operating routine consistent while you evaluate it.
Use this short routine:
- Choose one primary playback path for a project.
- Confirm the computer and DAW are sending audio to the intended device.
- Set a working level you can use consistently.
- Change one variable at a time when troubleshooting.
- Keep a familiar reference track and make the same outside-room checks.
That routine gives you useful comparisons. A home studio monitor calibration guide can help you refine your workflow without changing the entire signal path. Changing speakers, driver settings, and volume all at once gives you a foggy answer.
8. Separate "studio monitor" from "computer speaker" by purpose
The terms overlap in casual conversation, but the intended goal differs. Fluance describes studio monitors as intended for flat-frequency-response playback without coloration, while describing powered speakers as often voiced to make recordings sound pleasing.
That is a manufacturer's comparison rather than a guarantee about every product. Still, it points to the right question: are you trying to enjoy a finished record, or make reliable decisions while creating one?
If your mixes repeatedly come back harsh, dull, or thin on other systems, a monitoring setup aimed at honest decision-making is more relevant than a speaker voiced for instant excitement. USB connectivity is secondary to that purpose.
9. Use this pre-purchase checklist
Before committing to USB studio speakers, get direct answers from product-specific information:
- Does this exact model accept USB digital audio?
- Which operating systems does its documentation support?
- Does it use a class-compliant driver, a manufacturer driver, or both?
- What playback formats and sample rates does it expose?
- How are left/right channels connected and controlled?
- Does it also accept analog line-level input?
- What functions, if any, support recording rather than playback?
- Where will its volume control live in your everyday workflow?
If those answers are unclear, an interface feeding conventional active monitors may be the clearer system to operate. Clear is valuable. It means fewer surprises, fewer revision loops, and more attention on the actual mix.
Further exploration
Where a speaker directly receives a digital USB audio stream, USB can carry that stream to the playback chain, and D/A conversion is still required before the drivers produce sound. Build the simplest documented signal path that serves your work, then keep it consistent for a few projects.
Set it right once; spend your energy finishing songs.
Related Articles