Acoustic Treatment & Monitor Pairing: Real Translation Wins
By Mateo Sørensen • 19th Feb
Your acoustic treatment and monitor pairing work as a system, not separate purchases. A pristine pair of monitors placed poorly in an untreated room will lie to you just as much as budget speakers in an acoustically sound space. The truth lives in the dialogue between them, and learning to read it at low, quiet levels is where real translation wins happen.
I learned this the hard way. Years ago, I chased hype-driven volume and flashy-sounding gear. My mixes sounded impressive in my room but crumbled on earbuds and car stereos. A mentor forced a month-long experiment: mix quietly, treat my room deliberately, and choose monitors for honesty, not excitement. The shift was profound. My clients noticed fewer revision notes. I stopped second-guessing bass decisions. And I discovered that quiet work that translates beats loud work that impresses, every time.
This guide walks you through the real pairing: how to choose and position monitors alongside acoustic treatment so that you build trust in your listening environment, not anxiety.
Why Monitor Pairing Matters More Than You Think
Most small-room engineers treat monitors and acoustic panels as independent decisions. You buy the speakers, then patch the room. But room treatment and monitor compatibility determine whether your ears hear truth or illusion. For a broader overview of how placement and treatment work together, see our room treatment and placement essentials.
Here is the problem: small rooms (8×10 to 12×14 feet) have modal resonances that pile up around 60-120 Hz. Without treatment, your monitors can't fight room nodes, they surrender to them. A kick drum that sounds punchy in your space may vanish on a phone speaker because the low-end exaggeration was the room lying, not the monitors revealing. Conversely, harsh-sounding monitors in a treated room often just need repositioning and gentle panel placement; your brain will adapt and trust them.
The pairing works like this: place your monitors in a geometry that minimizes desk reflections, then use acoustic panels at specific mirror points to catch the early reflections your monitors can't escape. The treatment does not replace monitor quality (it allows that quality to shine).
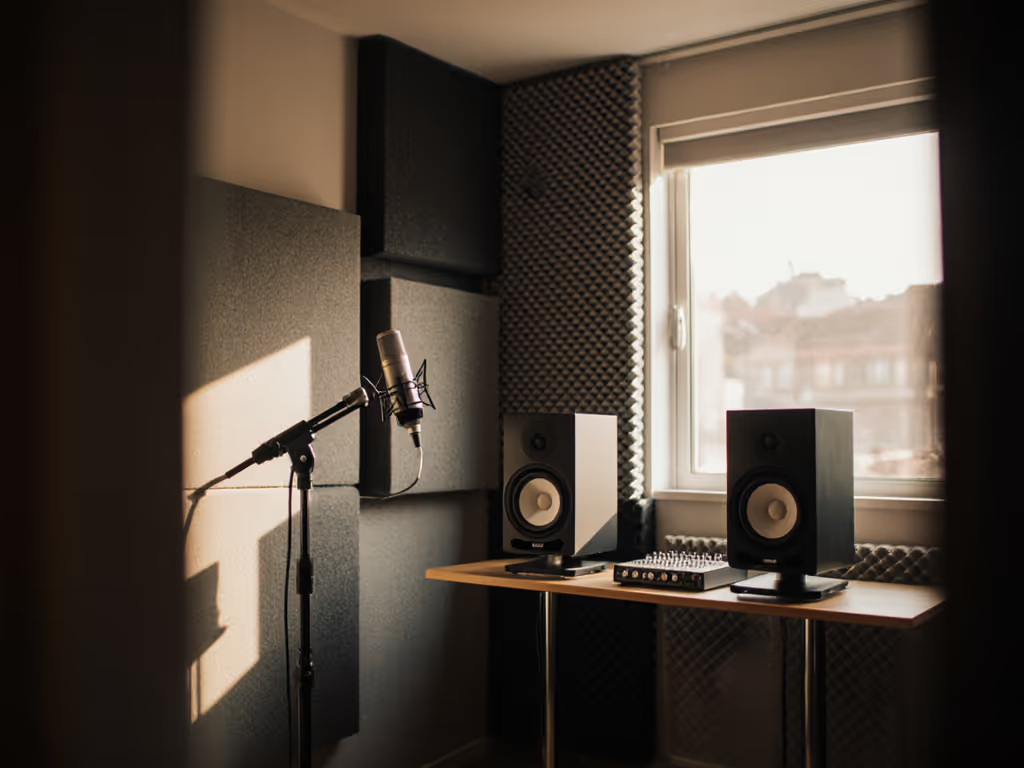
The Foundation: The Equilateral Triangle Setup
Start with geometry, not gear.
Set your monitors and listening position to form an equilateral triangle. For a typical small desk, this means:
- Distance between monitors: roughly 1.2-1.5 meters
- Distance from you to each monitor: the same (1.2-1.5 meters)
- Toe-in angle: 30 degrees inward, aimed at ear level
This geometry ensures your ears receive balanced, time-aligned sound from both speakers. When speakers are too close or too far apart, or when they're not angled toward you, the stereo image collapses and bass decisions become unreliable.
Key placement rules:
- Monitors should sit at your ear height when seated. If your desk is standard (29-30 inches), your monitors need stands or isolation pads to rise another 12-15 inches.
- Avoid exact multiples. If a speaker is 1.5 feet from the rear wall, don't place it exactly 3 feet from the side wall, because modal buildup compounds.
- Keep speakers at least 2-3 feet from walls. Closer placement amplifies boundary resonances that kill low-end clarity.
- Start your listening position at 35-40% of the room's depth from the front wall.
Once you've set the triangle, measure and mark the floor with tape. You'll move from here in deliberate 10 cm increments as you add and position treatment.
Acoustic Treatment Strategy: Foam vs. Professional Panels
Not all acoustic treatment is the same. Your choice shapes how your monitors sound.
Foam Panels: Budget-Friendly, Limited Scope
DIY treatment with foam panel monitor performance is approachable and affordable. Thin foam (2-4 inches) absorbs mostly midrange and treble (500 Hz and up), reducing early reflections from desk, walls, and ceilings. For a compact setup:
- Place one foam panel on each side wall at the "mirror point" - the spot where you can see a reflection of your monitor from the mixing position.
- Add one panel above, between, or slightly behind the monitors to catch reflections bouncing off walls behind the speakers.
- Avoid over-treating the front wall; you want some diffusion there to maintain room liveliness.
Foam works best when paired with monitors that have accurate off-axis response and aren't prone to beaming highs. At low SPL (70-75 dB), foam-treated rooms with clear-sounding monitors remain honest; with harsh tweeters, the reduced reflection only emphasizes the problem.
Professional Acoustic Panels: Broader, Measurable Impact
Professional acoustic panel pairing includes thicker, multi-layer absorption (4-6 inches or deeper bass traps). These tackle low-mids (200-500 Hz) and some bass energy. A typical starter approach:
- 2-4 professional panels behind monitors, positioned where reflections arrive from the speaker boundary layer
- Bass traps in room corners to address modal peaks below 200 Hz
- A ceiling cloud (suspended absorption) if the ceiling is low and reflective
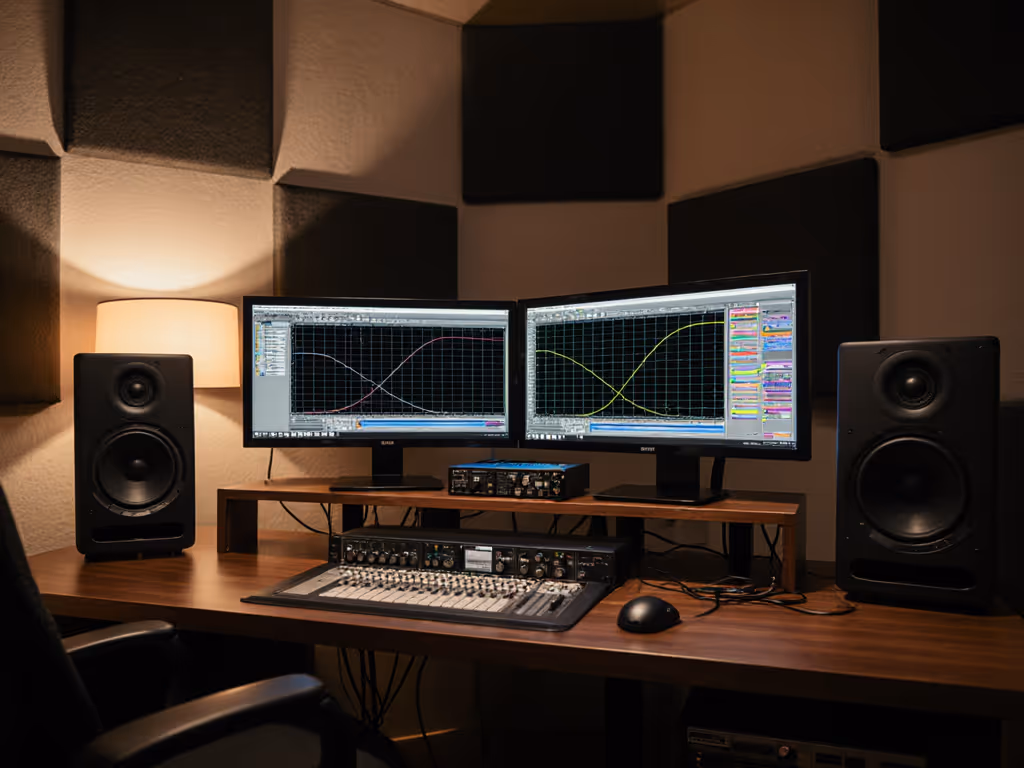
Professional panels cost more but deliver measurable improvement. You can track their impact with a room measurement tool (Room EQ Wizard, Sonarworks, or similar) and confirm that frequency response flattens and phase alignment improves between speakers. For software-based correction, here’s our step-by-step on calibrating with Sonarworks.
A rule of thumb: aim for 0.4-1.5 absorption traps per square meter of floor space. Even 0.4 traps per m² creates noticeable modal reduction without over-dampening.
The Real Pairing Game: Placement Sequences That Work
Step 1: Baseline Measurement (No Treatment)
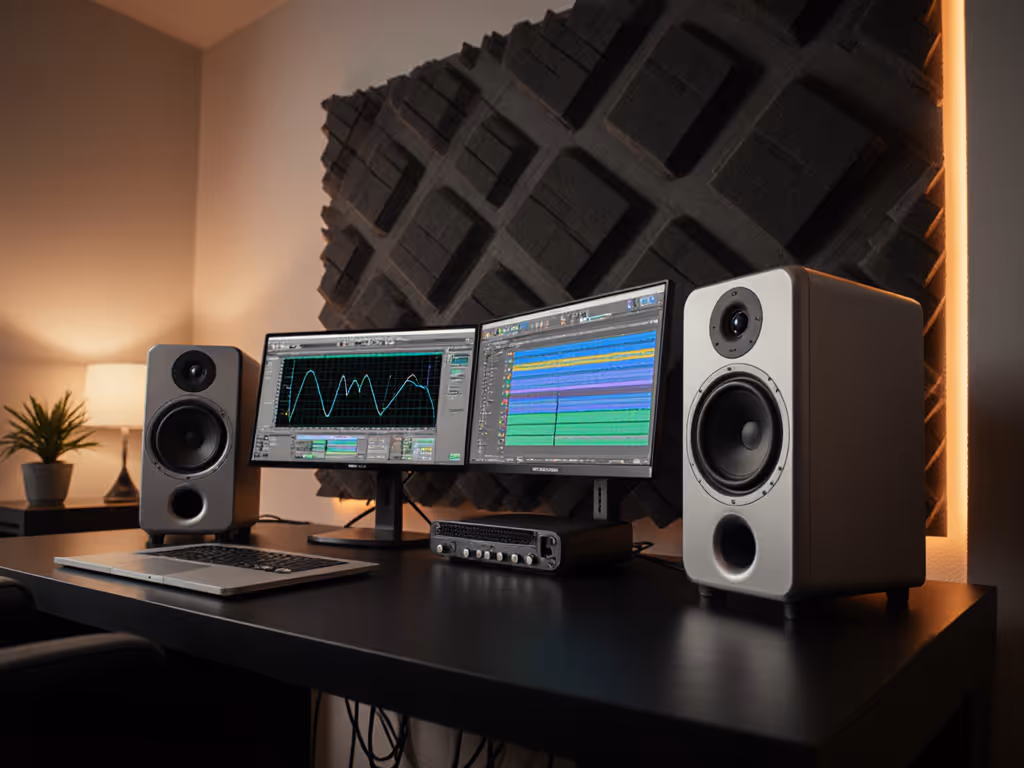
With monitors positioned at the equilateral triangle and no panels installed, measure your left and right channel frequency response using an MLS sweep or log sweep. Note where dips and peaks occur. In small rooms, 150 Hz often shows a deep null; 80 Hz might spike. Record this as your room signature.
This baseline tells you what your monitors are fighting against. If you want a structured process to calibrate your setup from here, follow our home studio monitor calibration guide.
Step 2: Sequential Panel Placement
Start with mirror-point panels (one per side wall). Measure again. You'll likely see:
- Reduced presence peak (2-4 kHz becomes smoother)
- Slightly lower overall midrange energy
- Stereo image tightens
Setting an SPL target: measure both channels at your listening position with a sound level meter or app. Aim for equal level (within ±1 dB) at 75 dB SPL. This is a safe, articulate monitoring level for long sessions and translation work.
Step 3: Behind-Monitor Treatment
Add absorption directly behind or between your monitors. This is crucial. Reflections from the rear wall bounce back into the speaker boundary layer, creating phase confusion and smearing. Remove it, and suddenly stereo imaging tightens without any monitor changes.
When you measure now, watch the low-mids (150-500 Hz). Dips often fill in; the two channels' responses mirror each other more closely. This is the pairing win: treatment allows the monitors to communicate clearly with your ears without room interference.
Step 4: Low-End Refinement
If bass remains problematic (100-150 Hz boomy, 60 Hz null), bass traps in corners help. But before spending, try this: move the monitors forward and backward in 10 cm steps, remeasuring at each position. Small distances shift modal nulls significantly. You may find a sweet spot without adding traps.
The principle here aligns with what I tell every engineer: Move the desk, win the bass. Room acoustics are spatial. Repositioning reveals solutions faster than hoping treatment alone fixes it.
How Monitors Behave With and Without Treatment
Your monitor choice interacts with treatment in measurable ways.
Monitors that stay composed at low SPL (around 70-75 dB) are invaluable in treated small rooms. Why? At quiet levels, the room's character becomes audible. If your monitors have harsh treble or loose bass, the room won't mask it. Treatment removes some reflections, but the monitor's driver behavior remains. Pair untreated harsh monitors with perfect panels, and you've just made harsh sound cleaner, not better.
Conversely, monitors with calm, accurate tweeters and articulate mids (midpoint acoustical axis, not tweeter-aligned) benefit enormously from foam panel monitor performance and professional panel setups. At low SPL, they remain clear and revealing. You can hear the room improving in real time.
The pairing metric: measure left and right channel frequency response after treatment. In high-level mixing suites, engineers target less than ±3 dB variation between channels and less than 20 microseconds of delay. In small rooms, aiming for ±4-5 dB is realistic and sufficient for confident mixing.
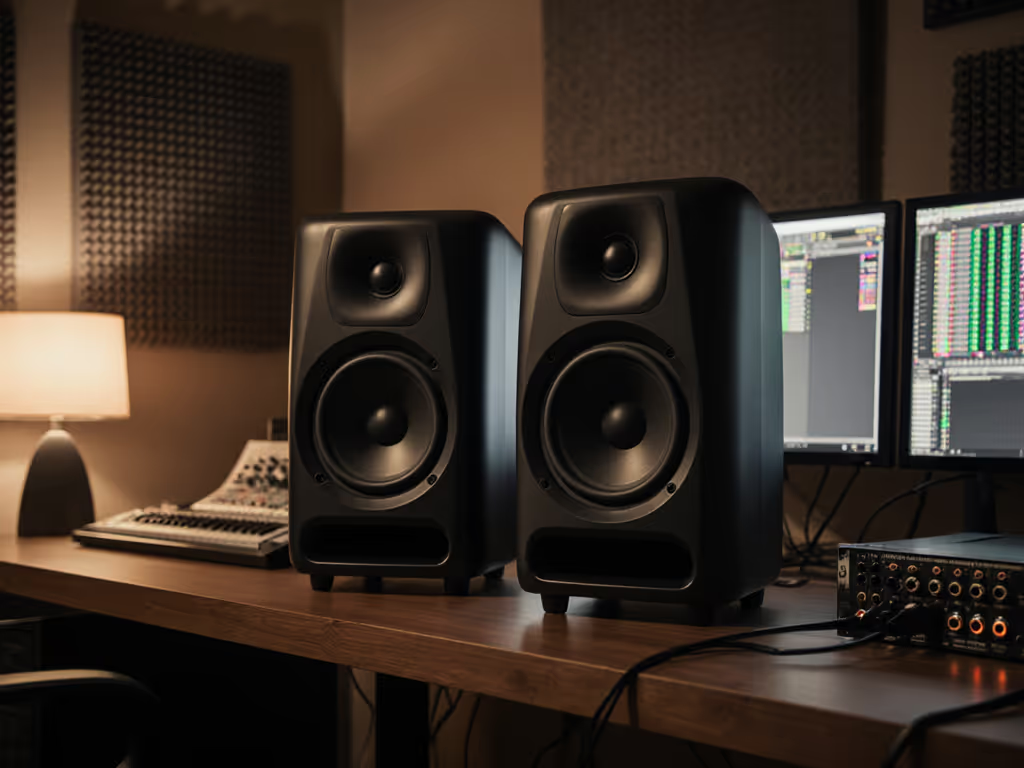
Isolation, Stands, and Desk Coupling
Treatment alone doesn't solve everything. Monitor placement hardware matters.
Isolation pads (or stands) decouple speakers from your desk, preventing vibration transmission that muddles bass and smears stereo. A treated room with monitors isolated sounds tighter than an untreated room with perfect isolation. But the combination is where translation happens.
Place monitors on isolation pads (rubber, foam, or spring-based) even in an untreated room. Add treatment later. You'll notice immediate clarity at quiet levels, less boom, tighter imaging.
DIY Treatment vs. Professional: An Honest Comparison
| Aspect | DIY Foam | Professional Panels | Budget Constraint | Time Investment |
|---|---|---|---|---|
| Cost | $150-400 | $600-1500+ | Favor DIY | DIY faster |
| LF Absorption | Poor | Good | Defer bass traps | Panels yield results |
| Buildout | Easy | Moderate | Easy (aesthetics harder) | 1-2 days vs. 4+ |
| Measurable Difference | Audible | Dramatic | Start with foam, upgrade | Immediate feedback |
| Treatment-Specific Monitor Selection | Less critical | More flexible | Harsher monitors okay | Pick honest monitors |
DIY foam helps. Professional treatment delivers. Start where your budget allows; both reveal monitor quality when paired thoughtfully.
The Translation Test: How to Verify the Pairing Works
Once treatment is placed and monitors are positioned, verify that your setup translates:
- Quiet reference pass (70 dB SPL, timer set for 30 minutes): Mix or edit something familiar. Note decisions about bass, vocal level, and top-end presence.
- Loud reference check (85 dB SPL, 5 minutes): Play the same material. Does balance feel similar? Do you reach for EQ or compression differently?
- Earbud check: Export to phone or earbuds. Compare low-end, vocal clarity, and stereo width to your monitoring session.
- Repeat weekly: Track whether revisions from clients drop. If they hold steady after two weeks of monitoring in your treated space, the pairing is working.
Quiet work that translates is the goal. If your treated room with current monitors requires loud levels to feel confident, the pairing isn't trustworthy yet. Reposition, add panels, or consider monitor alternatives.
Actionable Next Steps
Start here:
Week 1: Geometry
- Measure your room (length, width, height).
- Calculate equilateral triangle distance.
- Set monitors and mark listening position with tape.
- Measure frequency response as baseline.
Week 2: First Treatment
- Install two foam panels at mirror points (side walls).
- Remeasure. Log the difference.
- Position isolation pads under monitors if not already done.
Week 3: Refinement
- Add one panel behind or between monitors.
- Remeasure and listen at 75 dB SPL for 30 minutes.
- Compare translation to earbuds.
- If bass is still problematic, reposition monitors forward or backward in 10 cm steps before adding bass traps.
Ongoing: Trust Building
- Mix at 70-75 dB SPL consistently. Set a timer for sessions (no longer than 90 minutes without a 15-minute break).
- Take loud reference checks only for 5 minutes, once per session.
- Track client revision feedback. If it drops, the pairing is translating. If revisions spike in one frequency band, it's a monitor-room interaction, so reposition or add targeted treatment.
The pairing of acoustic treatment and monitor selection isn't about perfection. It's about removing lies. A treated room with honest monitors reveals what's actually in your mix, not what your room wants to flatter you with. That clarity, built through deliberate placement and acoustic choices, is where real translation wins happen.
Work quietly. Measure thoughtfully. Move the desk before moving air with more treatment. In a few weeks, your mixes will travel farther and your confidence will grow.
Related Articles