Bedroom Studio Bass: Monitor Comparison
By Lila Okafor • 12th Apr
Introduction
Bedroom studio bass management and small room LF optimization form the backbone of reliable mixing in compact spaces. For independent producers working in 8×10 to 12×14 ft rooms at 0.7-1.2 m nearfield, bass isn't a luxury consideration, it's a bottleneck. When your kick and 808 translate inconsistently to earbuds, cars, and club systems, the root cause rarely lies in the monitor's raw driver. Instead, it emerges from the interplay between port behavior, boundary reflections, off-axis response, and room modes. This article unpacks how to read monitor specifications in context, why placement decisions matter as much as the speaker itself, and how calibration tools fit into a practical workflow. Context plus curves, the intersection of measurement data and spatial reality, determines whether your low-end decisions hold up everywhere or crumble on playback.
FAQ: Bass in Small Rooms
What Makes Bass Management Harder in Bedroom Studios Than Larger Rooms?
Bedroom studios suffer from three compounding factors. First, room modes, standing waves formed by parallel reflective surfaces, cluster densely in the low frequency range. A 10 ft wall dimension produces a mode at roughly 56 Hz; a 12 ft wall at 47 Hz. These modes either reinforce or cancel specific frequencies, creating unpredictable peaks and nulls. A calibration microphone placed 1 meter from your monitors might read +8 dB at 65 Hz, while 30 cm to the side drops to -6 dB, classic room-mode behavior, not a monitor defect[1]. To map these hotspots quickly, try our smartphone room mode guide.
Second, boundary proximity magnifies port noise reduction technology gaps. Monitors with rear-facing ports placed 6 inches from a wall can exhibit chuff, a turbulent air noise, at low SPL, muddying detail exactly when you're trying to work quietly to avoid disturbing neighbors. Front-ported or sealed designs sidestep this, but trade-offs exist in low-frequency extension and efficiency.
Third, small rooms eliminate the acoustic pressure gradients that larger studios exploit. In a bedroom, you cannot move far enough from the speaker to escape direct sound and enter the reverberant field; you are always in the near-field, hearing a mixture of direct speaker output and first-reflection energy from the desk and nearby walls within 50-150 milliseconds[7]. This smearing compresses stereo imaging and masks mid-range clarity.
How Do I Know If My Monitor Choice Is the Problem, or If It's My Room?
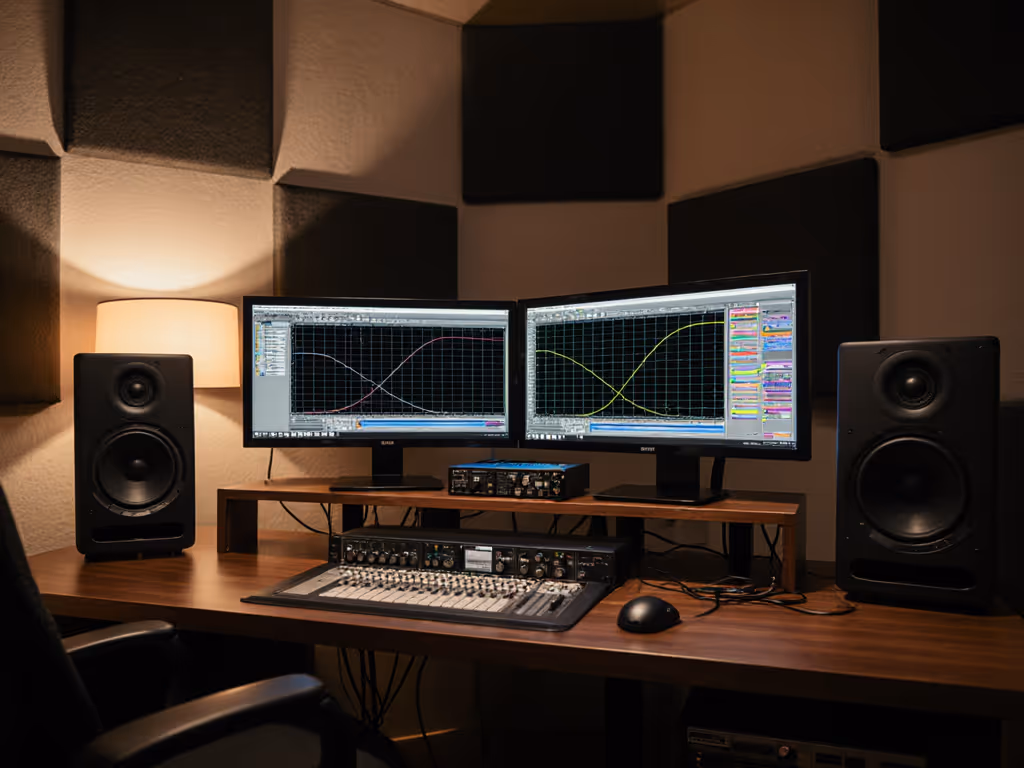
Measure your frequency response at your listening position with a calibrated measurement microphone, capturing readings at three heights (ear level, 15 cm above, 15 cm below) and three horizontal offsets (center, 15 cm left, 15 cm right). Plot these on the same graph. If the curves cluster tightly, variation under ±3 dB across all nine points, your monitors have controlled off-axis behavior and your room is relatively well-behaved. If the curves sprawl wildly, especially below 200 Hz, boundary EQ effectiveness is limited; acoustic treatment and placement tuning are prerequisite steps before buying new speakers.
A practical shortcut: play pink noise at 75 dB SPL and walk a slow circle around your desk. If you hear obvious peaks and dips, you're hearing room modes. If the balance stays relatively even but feels unnaturally thin or boomy at the desk versus 1 meter away, off-axis response is likely the culprit.
Another litmus test: mixes on your monitors that sound lean suddenly jump two dB brighter on earbuds, or lose all sub energy on phone speakers. This pattern suggests your monitors are either over-damped by desk reflections (squashing low-mid punch) or over-excited by room modes (exaggerating 60-120 Hz). Neither implies you need new monitors; both suggest room treatment and repositioning first[7].
What Role Does Bedroom Bass Accuracy Play in Monitor Selection?
Bedroom bass accuracy is not a marketing feature; it's a measurable outcome of three overlapping specs: driver size and topology, rear-panel porting design, and the monitor's inherent power response (the average SPL across all angles, as opposed to on-axis response alone). For a deeper breakdown of which specifications actually matter, see our studio monitor specs that matter.
A 5-inch two-way monitor with a sealed enclosure and a linear on-axis curve can exhibit a rising off-axis response in the 80-150 Hz region, treacherous in a bedroom where reflections dominate. By contrast, a 6-inch ported monitor with tightly controlled directivity might flatten to ±2 dB off-axis, anchoring low-frequency room mode control efforts. Neither monitor is universally "better"; context determines the winner.
In practice, acoustic measurement firms have shown that calibration applied post-room-correction (via plugins like Sonarworks SoundID Reference) can recover 4-6 dB of evenness in the bass range, turning an uneven raw response into a useful reference[1][4]. The calibration measures your specific room and speaker placement, then applies 24-band corrective EQ spanning 20 Hz to 20 kHz per channel, targeting flatness at your listening position. Crucially, this works only if the monitor itself has a reasonably stable power response; no amount of EQ rescues a driver with wildly beaming high-frequency directivity paired with wooly bass coloration.
Calibration rescues uneven raw response into useful reference, but cannot rescue a driver with wildly beaming directivity and wooly bass coloration.
When evaluating monitors, ask manufacturers or consult third-party measurements (e.g., Crinacle's headphone ranking lists and speaker databases) for power response, not just on-axis curve. A smooth power response (one that doesn't slope upward or downward more than ±3 dB from 50 Hz to 4 kHz) predicts stable imaging and fewer surprises as you move in the chair.
How Should I Handle Port Noise Reduction When Space Is Tight?
Port chuff emerges when air accelerates through a port opening and turbulence develops, often audible as a papery or breathy texture during bass notes at low SPL. In a bedroom, where you are monitoring at 70-75 dB to respect neighbors, this artifact can mask the low-frequency articulation you need to catch.[1] Set consistent, hearing-safe levels with our studio monitor safe listening guide to avoid masking issues at low volumes. Three approaches mitigate this:
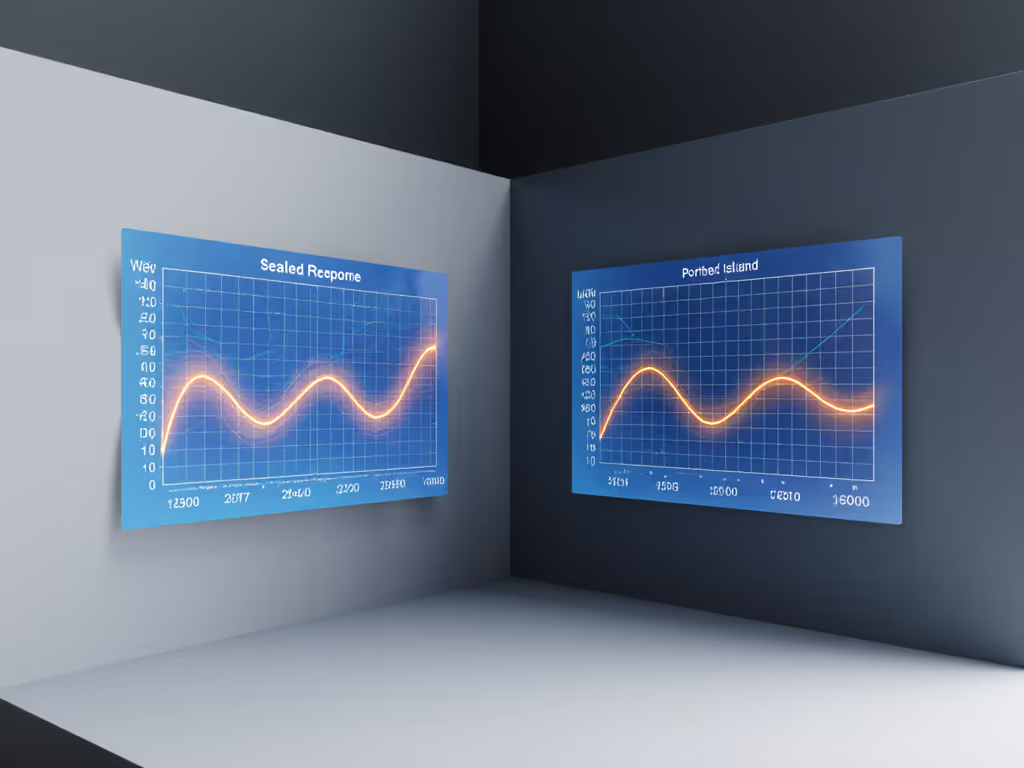
Sealed or front-ported designs eliminate rear-ported turbulence at the source. The trade-off is 3-5 dB less bass extension and slightly less efficiency; you may need a subwoofer sooner. For small rooms, this is often the correct trade.
Porting damping materials (acoustic foam intentionally placed inside or around the port) reduce turbulence velocity. Some manufacturers include this; others do not. If buying used or selecting from a crowded lineup, ask whether the enclosure includes port damping or if the port is lined with foam. A fully open port in a small cabinet is a red flag for chuff below 100 Hz.
Subwoofer integration with rolled-off midrange ports shifts bass below 80 Hz to the dedicated sub, allowing the main monitor's rear port to operate higher in frequency where turbulence is less perceptible. This requires calibration; a crossover set too high (e.g., 120 Hz) leaves the sub's mid-range bloom unmasked. A correctly tuned 80 Hz crossover with phase and level matched via Sonarworks or a dedicated bass-management tool keeps the sub localization and mid-bass glue clean[3].
What Is Low-Frequency Room Mode Control, and How Do I Achieve It?
Low-frequency room mode control is the practice of using speaker placement, acoustic treatment, and DSP tuning to flatten the room's natural resonance peaks and dips. Unlike decorative absorption, which addresses mid- and high-frequency reflections, bass trapping requires volume, typically 4-6 inch-thick diaphragmatic absorbers or Helmholtz resonators positioned at room corners and boundaries where modal energy clusters.
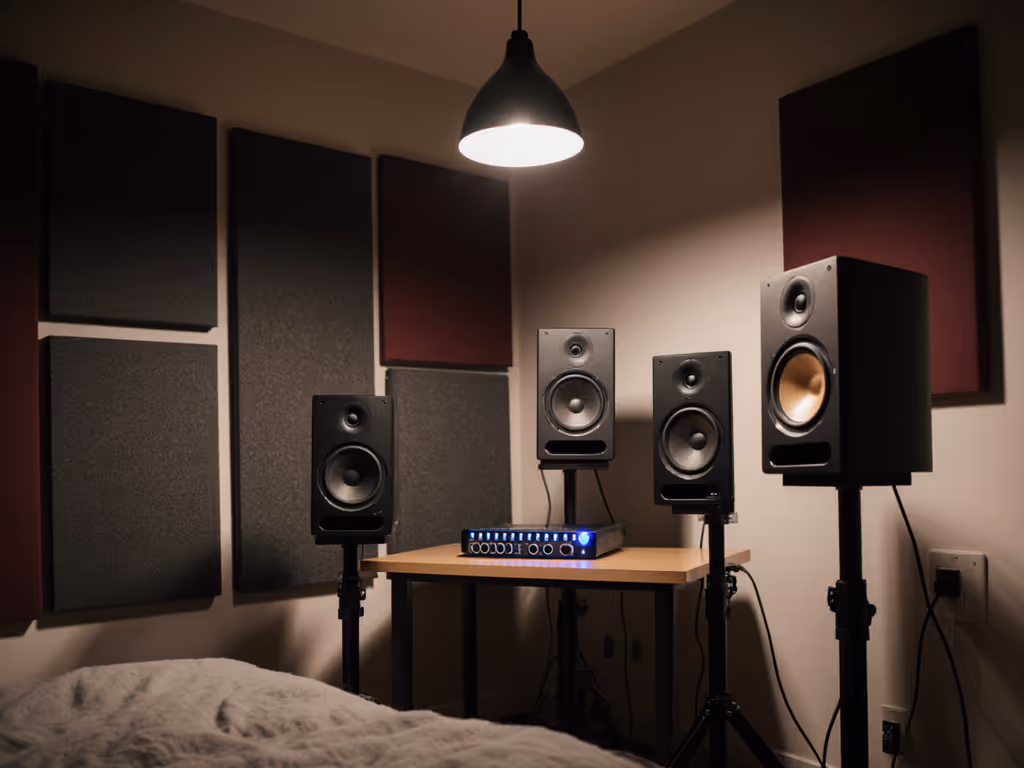
For a bedroom where permanent treatment is not feasible, placement wins the battle:
- Distance from front and side walls: Moving a monitor 12-18 inches away from side walls reduces side-wall reflections by 5-7 dB, narrowing the delay window and improving stereo focus. Front-wall distance has less impact but still matters; aim for at least 8 inches.
- Vertical height: Placing monitors at ear level (sitting position) versus 6 inches below or above shifts the first reflection from your ears to your chest or head. A 20 cm vertical offset can move a troublesome 150 Hz dip to 140 Hz, moving it out of the kick fundamental range, a small but real win.
- Toe-in angle: Angling each monitor inward to converge 1 meter in front of you (roughly 15-20 degrees) focuses high-frequency directivity at your head and reduces desk reflection energy. This also tightens off-axis bass response, anchoring the stereo image.
A quick practical fix: if your desk is flush against a wall, pull it 12-18 inches forward and angle the monitors down 3-5 degrees. Measure the bass response; you'll often recover 2-4 dB of clarity in the 100-300 Hz region where vocal punchiness and kick definition live. This costs nothing and takes 10 minutes.
DSP room correction (e.g., Sonarworks SoundID Reference, Universal Audio's Apollo Monitor Correction) then applies a measured profile, correcting for remaining modal peaks. The process is straightforward: measure your room with a calibrated omni-directional microphone at multiple points, and the software computes a correction curve, typically a series of narrow cuts and shelves, applied in real-time to your audio interface output[4]. Important caveat: DSP corrects frequency response at your listening position but does not resolve imaging issues or off-axis coloration. It is a complement to placement and acoustic treatment, not a replacement.
Which Monitor Specifications Should I Prioritize When Comparing Options for a Small Room?
Ignore marketing adjectives; focus on measurable parameters:
Driver size and type: In bedrooms, 5-7 inch woofers dominate for good reason. They offer adequate bass extension (-3 dB around 50 Hz in sealed variants, 40 Hz in ported) while keeping cabinet volume under 20 liters (crucial for desk integration). Bigger drivers (8 inches and above) often require stands or floor placement, consuming precious space. Smaller drivers (4 inches) muddy bass detail in rooms without strong acoustic treatment.
Power response plot (not just on-axis curve): A graph showing average SPL at multiple angles (0, 30, 60, 90 degrees off-axis) from 50 Hz to 4 kHz. Look for ±3 dB or tighter. This predicts stable imaging and fewer placement surprises.
Maximum SPL at 1 meter with <5% THD (total harmonic distortion): Bedroom monitors should achieve 85+ dB SPL cleanly at 1 meter to handle occasional loud reference checks without compression or audible grunge. Underpowered designs distort at modest levels, fatiguing your ears and masking detail.
Port design (front, rear, sealed, or passive radiator): In tight spaces with reflective boundaries, sealed or front-ported are safer bets for chuff avoidance. Ported designs gain 3-5 dB of extension but require more room behind the speaker.
Frequency response spec with stated measurement conditions: "50 Hz-20 kHz" tells you nothing; "50 Hz-20 kHz ±2 dB at 1 meter in a treated room" is useful. Verify the measurement distance and room type; specs taken in treated studios do not guarantee bedroom performance.
Signal-to-noise floor: A spec like "-80 dB(A) SPL residual noise" means you can monitor at very low levels without hearing hum or hiss. Apartment dwellers and night workers depend on this; poor specs force you to monitor louder, risking ear fatigue and neighbor complaints.
How Does Calibration Software Integrate Into My Monitor Choice?
Calibration tools like Sonarworks SoundID Reference measure your listening position and apply corrective EQ, flattening the combined response of your monitor and room. This workflow is now standard for compact studios because it addresses a hard truth: no single monitor sounds identical in every room. Sonarworks' own research confirms that calibration cannot replace acoustic treatment, EQ corrects speaker output to your ears but cannot change the underlying reflective geometry, yet it recovers 4-6 dB of measurable evenness when paired with basic placement optimization[1][7].
Integration with audio interfaces (Universal Audio's Apollo line supports Sonarworks via DSP) keeps latency under 1 millisecond, eliminating the phase artifacts and comb filtering that plagued older workflows. When choosing monitors, compatibility matters: confirm that your interface or DAW supports the correction software. Mac and Windows compatibility, plugin formats (AU, VST), and CPU load vary by tool.
A practical workflow for a bedroom studio:
- Position and isolate your monitors (desk pull-back, toe-in angle).
- Measure with Sonarworks or a similar tool (measurement mic included or purchasable separately).
- Apply correction to your interface output (DSP-based preferred for zero latency).
- Verify flatness at your listening position with a reference measurement.
- Sit with the correction enabled for 24-48 hours, working on a familiar mix; verify translation on earbuds, laptop speakers, and a car.
If translation improves markedly (kick punch holds, vocals sit predictably), the calibration is valid. If mixes sound paper-thin or hyper-detailed in the room but revert to old problems elsewhere, re-check your monitor placement and room treatment; the calibration may be overcorrecting a placement-induced artifact.
Practical Takeaways for Bedroom Studio Bass Monitoring
-
Start with placement: Pull your desk from walls 12-18 inches, angle monitors 15-20 degrees inward, and position at ear level. Measure before and after; expect 2-4 dB improvement in clarity without spending a dollar.
-
Sealed or front-ported monitors reduce chuff artifacts at low SPL, a critical advantage in noise-sensitive apartments.
-
Measure power response, not just on-axis curve when comparing models. Controlled directivity (±3 dB off-axis) predicts stable imaging in small spaces.
-
Calibration software rescues uneven raw response when paired with good placement, but it is not a shortcut around acoustic treatment or monitoring-position tuning.
-
Driver size 5-7 inches balances bass extension with desk-friendly cabinet dimensions in typical bedroom studios.
-
SPL headroom (85+ dB @ 1 m with <5% THD) ensures occasional loud reference checks don't distort or fatigue.
Further Exploration
Bedroom bass management thrives at the intersection of evidence and pragmatism. Invest time in placement and calibration measurement before upgrading monitors. When you do, prioritize models with published power-response data, stable off-axis behavior, and compatibility with your correction workflow. Small rooms will always demand active tuning, but data-informed choices and systematic measurement shrink the revision loop, and that translates to finished work, paid clients, and confidence in your mixes. The goal isn't a monitor that sounds impressive in your bedroom; it's one that ensures your decisions translate truthfully everywhere else.
Related Articles