Best Nearfield Monitors: Ultra-Close Desk Mixing
By Mateo Sørensen • 27th Mar
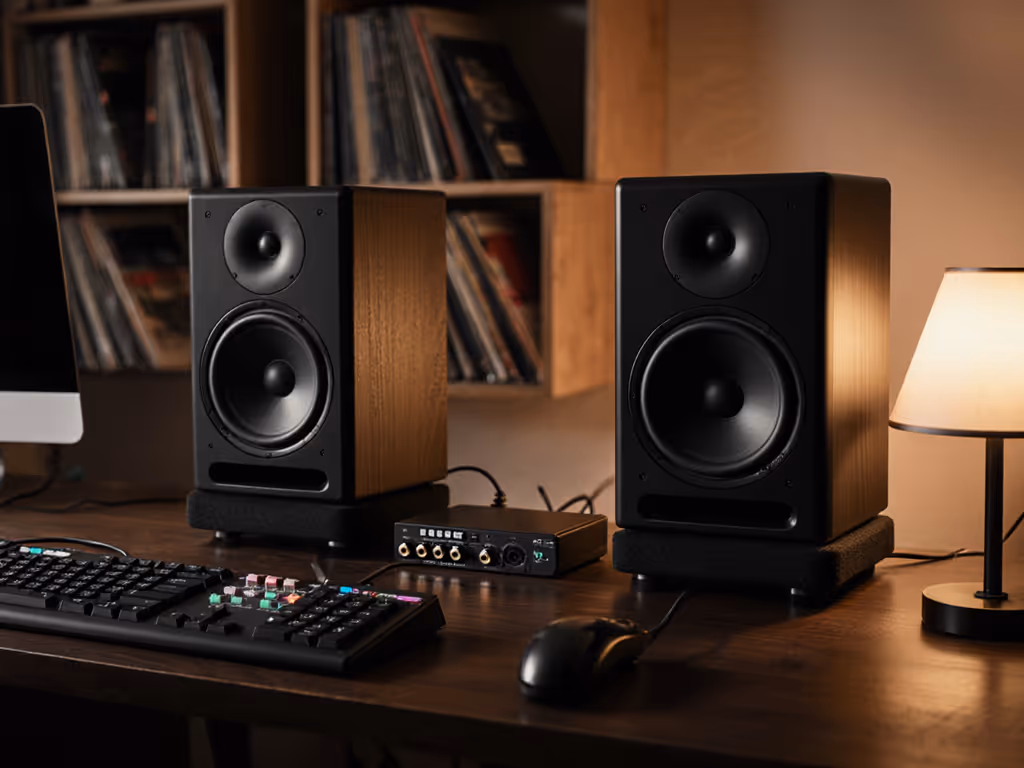
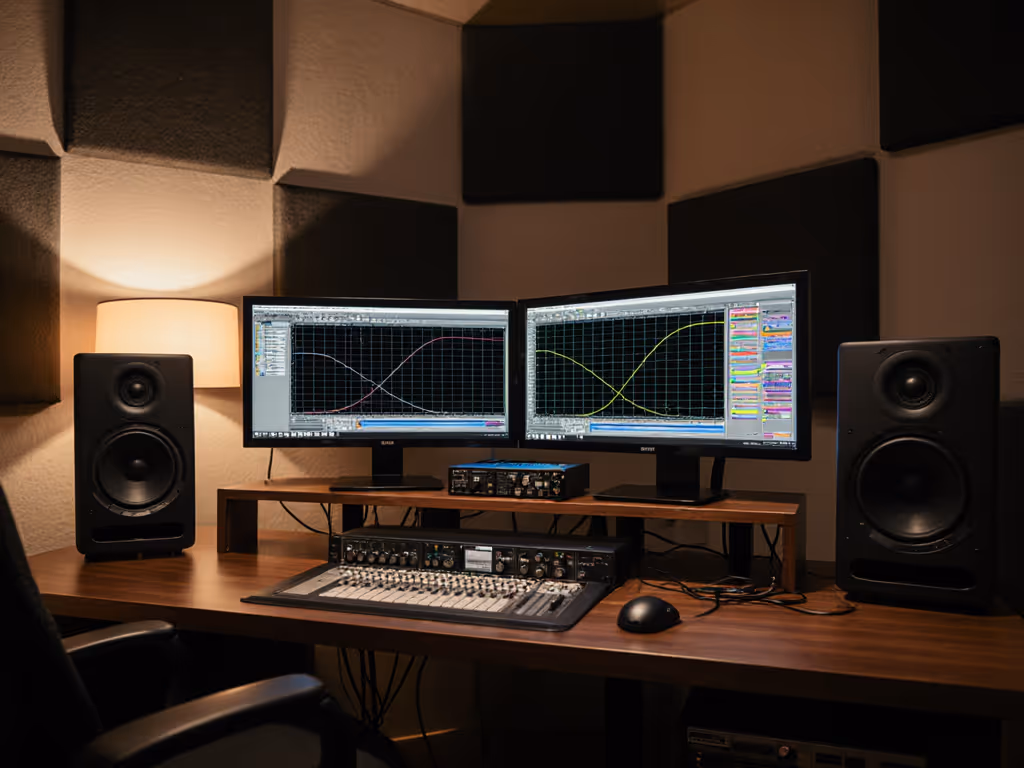
You're sitting three feet from your speakers in a space that isn't acoustically treated, working at night to avoid bothering roommates or family. This is the reality for most independent producers, bedroom mix engineers, and podcasters today. Ultra-close monitoring and best nearfield studio monitors aren't luxury accessories, they are your lifeline to trustworthy decisions in imperfect rooms. The secret that changed my career early on was learning that clarity at 70 dB reveals truth faster than excitement at 85 dB, and the right nearfield monitor makes that philosophy possible.
In this guide, I'll walk you through selecting and positioning ultra-close monitoring gear that handles your compact space honestly, survives low-SPL work without losing low-end articulation, and translates to every device your listeners use. By the end, you'll have a repeatable setup process, no guesswork, no endless tweaking. If you need monitors that stay accurate at whisper levels in apartments, see our ultra-quiet monitor picks.
Understanding Nearfield Monitoring and Your Room
Neighbors upstairs. Roommates in the next room. A desk wedged into a corner, surrounded by hard surfaces. If this describes your workspace, understanding what "nearfield" actually means is your first win.
Nearfield monitoring means placing speakers close enough that direct sound reaches your ears before reflections from walls, windows, and furniture dominate. Most compact room setups operate at 3-foot listening distances or closer, roughly 0.9-1.2 meters. At this distance, boundary effects (bass buildup from desk/wall proximity, mids smeared by reflections) become the loudest voice in the room unless you address them deliberately.
At 3 feet, direct speaker output matters vastly more than room acoustics. That's your advantage. You don't need expensive bass traps or acoustic panels to trust your monitoring, you need monitors designed to sound composed and honest at short distances and low SPL.
Why Low-SPL Honesty Changes Everything
Most speakers are voiced to sound impressive at 85+ dB, a level your neighbors will hate and your ears will regret. At 70-75 dB, many monitors collapse: the bass gets mushy, the highs harden, and stereo imaging shrinks. You then unconsciously over-correct, add brightness to compensate, and wake up to mixes that feel thin or harsh everywhere else.
My turning point came when a mentor forced me to abandon loud reference checks for a month. With a monitor designed for low-SPL clarity and careful placement, I made faster, better decisions, and my clients noticed fewer revision requests. Quiet work that translates beats loud work that impresses.
Step 1: Define Your Listening Distance and Desktop Real Estate
Before you shop, measure.
Action: Using a ruler or tape measure, determine where your ears sit relative to your desk edge. Most laptop setups place your ears 28-36 inches from the desk front. If you're using a monitor arm or monitor stand, measure from ear level to the point where you'd place a speaker.
Now measure your desk width. Do you have 48 inches of usable depth? 36? This determines whether you can place speakers at a proper triangle geometry (roughly 60 degrees apart, equidistant from your ears) or whether you'll need smaller, more angled placement.
Checklist:
- Listening distance from ear to desk front: _____ inches
- Desk depth available: _____ inches
- Desk width: _____ inches
- Distance between potential speaker locations: _____ inches (left to right)
If your desk is tighter than 36 inches deep or you're consistently closer than 2.5 feet to speakers, you're in ultra-close territory. This demands speakers with a narrow, controlled dispersion pattern and minimal desk-bounce coloration (not large 8-inch woofers that bloom at close range).
Step 2: Choose Your Monitor Size and Configuration
The temptation is to assume bigger = better. In nearfield work, bigger is often worse.
The 5-Inch and Smaller Sweet Spot
For laptop desk monitoring and compact workspaces, 4-5 inch woofers dominate professional recommendations. Why? Smaller woofers have higher crossover frequencies (typically 2-3 kHz vs. 1.5-2 kHz for 6-7 inch designs), which reduces the midrange coloration from desk reflections. They also reach usable output (80-85 dB SPL) at shorter distances without excessive excursion, meaning they stay composed and linear when you're working quietly.
Supporting keyword insight: Desktop studio accuracy at 3 feet demands monitors that maintain neutral midrange balance and don't rely on room modes to flesh out the low-end. Sealed or front-ported designs (vs. rear-ported) work better in small, reflective rooms because they don't couple with boundary bass as aggressively.
Recommended Woofer Sizes
- 4 inches: Ideal for desk-mounted or stand placement within 2.5 feet; minimal desk coloration; trade-off is reduced bass headroom and frequency extension below 60 Hz.
- 5 inches: The practical middle ground for nearfield; handles 50 Hz cleanly at useful levels; tolerates slight desk proximity without massive bass bloat.
- 6-7 inches: Shifts the sweet spot to 4-5 feet; better for stands placed further back; still viable if positioned on stands well away from desk.
The models that appear most often in compact-room and nearfield reviews are the Adam Audio T5V (5-inch, sealed, ~$500 per pair), PreSonus Eris E3.5 (3.5-inch, front-ported, under $200), and JBL 305P MkII (5-inch, front-ported, budget-friendly). Each trades different strengths in dispersion pattern, bass extension, and SPL headroom, but all three work honestly at 3 feet and low volume.
Step 3: Master Placement for Bass and Imaging
Placement wins the bass game. This is where move the desk, win the bass becomes literal advice.
The Core Challenge: Desk Coupling and Wall Reflections
Place a speaker directly on a desk or stand right against a rear wall, and low frequencies couple to the boundary, creating a +5 to +8 dB bump around 80-120 Hz. Suddenly, your kick drum feels overpowering, your sub decisions feel bloated, and every mix translates lean everywhere else. You then under-compensate, reach for a high-pass filter, and suffer when the track moves to a club PA or earbuds that do have bass.
The solution isn't acoustic panels; it's geometry.
Placement Protocol
Timer: 15 minutes
Perform this check with a music sample you know well (a reference track with balanced bass and kick).
- Baseline position: Place monitors at ear level, aimed directly at your ears, as wide apart as your desk allows (ideally 24-30 inches apart). Play your reference track at 70 dB SPL. Note how the bass feels: bloated, thin, balanced, or colorful (boxiness)?
- Desk-distance test: Slide the monitors incrementally closer to the desk edge (if they're on stands) or away from the rear wall (if they're in corners). Test at 3 inch intervals. Listen for the sweet spot where bass feels even, not lumpy.
- Height check: Move monitors slightly up (toward ear level) or down. Many small rooms have bass nulls around ear level and peaks 12-18 inches below. A modest shift often clarifies the low-end. For ideal ear height and fewer desk reflections, use our monitor height guide.
- Toe-in angle: Aim monitors so each one points slightly inward, roughly 15-25 degrees toward your head, not straight ahead. This pulls mids into the sweet spot and narrows desk-bounce smear.
Checklist:
- Monitor distance from rear wall: _____ inches
- Monitor height relative to ear: _____ inches (above/below)
- Horizontal distance between monitors: _____ inches
- Toe-in angle: _____ degrees (inward)
- Bass character at 70 dB: (bloated / balanced / thin)
Quiet work that translates beats loud work that impresses.
Step 4: Isolation and Desk Decoupling
Even with perfect placement, your desk itself vibrates and re-radiates speaker energy. The result is low-level smear that muffles detail and collapses stereo width. Isolation pads or stands solve this without breaking your budget.
Why Isolation Matters at Nearfield Distances
At 3 feet, desk vibration couples directly to your ear position. A 4-6 dB reduction in mid-range smear (achieved with basic isolation pads) is often more audible than room acoustic treatment. This is a priority, not a luxury.
Isolation Options for Compact Desks
- Isolation pads (rubber or elastomer, 2-4 inches thick): Place under each monitor, align them centered under the woofer for best vibration damping. Cost: $30-80 per pair. Effect: noticeable tightness in mids and stereo image, reduced desk resonance.
- Monitor stands (24-36 inches tall): Moves speakers away from the desk surface entirely, allowing air to circulate underneath. Cost: $100-300 per pair. Benefit: eliminates desk coupling but requires floor space; not always viable in tight rooms.
- Combination: Isolation pads under stands, or pads directly on desk if stands aren't feasible. Best bang for compact spaces.
Action: Acquire and install isolation pads or stands this week. Before and after, play the same 60-second excerpt at 72 dB SPL and listen for improved clarity in vocals and reduced low-mid boxiness.
Step 5: Low-SPL Calibration and Monitoring Habit
Your monitors are placed. Now establish a repeatable working level and gain structure.
Setting Your Safe, Consistent SPL
Target: 70-75 dB SPL at your listening position, measured with a phone SPL meter app or a dedicated calibration mic (e.g., Dayton iMM-6, ~$40). For a step-by-step walkthrough, follow our home studio monitor calibration guide.
Protocol:
- Set your audio interface output to a fixed level (e.g., -12 dB or -18 dB depending on your interface's headroom). Mark this with tape or a note so you return to it consistently.
- Play a pink-noise reference track or a known mix at that interface level.
- Adjust monitor volume (usually a physical knob on the back or a front-panel control) until your SPL meter reads 72 dB at your ear position.
- Mark that monitor volume setting with a dot of tape or a photo. Return to it every session.
Why this matters: Consistency builds instinct. After a week of working at the same SPL with the same speaker placement, your ear develops a reference. You stop second-guessing yourself and make faster, more confident decisions.
The Weekly 90-dB Check
Once per week (or every 5-6 hours of mixing), perform a "loud check" at 90 dB SPL for 30 seconds. This resets your ear to normal conversation level and reveals how your mix translates at typical listening volumes. Then return to 72 dB and finish your session.
This one habit (quiet work interrupted by a single loud check) is how you stay fatigue-free and avoid the over-bright, bass-light mixes that haunt small-room engineers.
Checklist:
- Interface output level locked at: _____ dB
- Monitor volume marked for 72 dB SPL
- SPL meter acquired (phone app or hardware)
- Weekly 90 dB loud check scheduled on calendar
Step 6: DSP, Room Correction, and Subwoofer Integration (Optional But Recommended)
If your nearfield monitors include DSP controls (high-frequency trim, boundary EQ, low-frequency tilt), these are your second-biggest win after placement. Use them.
Built-In Room Modes Correction
Many compact monitors from Adam Audio, Focal, and Kali Audio include switches or apps for:
- Boundary EQ: High-pass filters or presence-peak cuts to reduce desk/wall coupling.
- High-frequency trim: Controls for bright rooms or to match your ear's comfort zone.
These are not "coloration", they are corrective tools. To go beyond basic trims, see our in-depth studio monitor DSP guide for small-room bass control. A monitor with a rear-facing port will have a bass bump around 80-120 Hz when placed 2-4 inches from a wall. A built-in boundary switch cuts that intelligently. Use it.
Subwoofer Addition: When and How
If your 5-inch monitor bottoms out below 50 Hz and you need kick/808 clarity, add a subwoofer sized for small rooms (8-10 inches, 100-150W RMS, sealed or ported). Place it under or beside your desk, aim for a crossover around 80-120 Hz, and dial the level so the sub blends, not dominates.
Critical rule: Your sub should feel like a natural extension of your monitors' bass, not a separate element. If you notice the sub "hits", it's too loud or poorly integrated. A proper setup takes 20-30 minutes of level and phase tweaking, not more. If you prefer a turnkey path, our studio subwoofer bundle picks pair subs with monitors for reliable low-end translation.
Step 7: Turnaround and Trust-Building
You've placed, isolated, and calibrated. Now commit to one week of working at 72 dB SPL without changing anything. This is hard because your instinct will scream to fiddle.
The One-Week Discipline:
- Days 1-2: Your mixes will sound thin. Don't adjust. Your ears are still calibrated to loud, impressive-sounding systems.
- Days 3-5: Mixes stabilize. You stop reaching for brightness and bass boosts. Decisions feel quieter, calmer.
- Days 6-7: Trust builds. Send a mix to a trusted reference listener. Compare to earbuds, a phone speaker, a car. Note what translates and what doesn't. Make one pass of corrections based on real data, not guesswork.
Timer: 7 days
After one week, you'll know if your monitoring setup is doing its job. Most engineers report that nearfield monitors placed correctly and used at low SPL require 20-30% fewer revision rounds, a massive gain in speed and confidence.
Choosing Your Monitor: Quick Comparison
| Monitor | Size | Best For | SPL Limit | Price Range | Nearfield Fit |
|---|---|---|---|---|---|
| Adam Audio T5V | 5" | Clean, balanced, sealed; low-SPL honesty; narrow sweet spot ideal for close listening | 85 dB (loud check friendly) | ~$500 | Excellent |
| PreSonus Eris E3.5 | 3.5" | Ultra-compact desks, minimal desk coupling, front-ported design; beginner-friendly | 82 dB | Under $200 | Excellent |
| JBL 305P MkII | 5" | Budget-conscious, forgiving dispersion, active cooling | 88 dB | ~$300–350 | Very Good |
| Kali Audio LP-6 V2 | 6" | Slightly larger rooms, stands placed 4+ feet away, more bass headroom | 86 dB | ~$400–450 | Good (if distanced) |
For compact workspace monitors at 3 feet, the 5-inch sealed design (Adam Audio T5V) or 3.5-inch front-ported model (PreSonus Eris E3.5) dominate because they maintain neutral balance and tight imaging at short distances without relying on bass buildup from boundary proximity.
Your Next Steps: This Week
- Measure your desk and listening distance (15 minutes). Write down the three dimensions.
- Research one monitor model that fits your budget and space. Read user reviews focused on small-room placement, not general "sound quality" claims.
- Acquire isolation pads if you don't have them. Order this week; install by weekend.
- Download an SPL meter app (Decibel X is free and accurate). Bookmark it.
- Order your chosen monitor or purchase from a retailer with a return window. Set a date to set it up.
- When monitors arrive, follow the placement protocol (Step 3) with a reference track you know well. Set your baseline SPL at 72 dB and commit to the one-week discipline.
- Track your early mixes: Send one mix to a trusted friend or reference listener after three days of quiet work. Note what translates and what doesn't.
By next month, you'll have a repeatable, trustworthy setup. Your mixes will feel quieter to make, faster to finish, and more confident on first draft. That's the real win (not the monitor itself, but the certainty it brings to your decisions and your deadline).
Start with placement. Everything else follows.
Related Articles