Studio Monitor DSP: Tame Small Room Bass (65 chars)
By Mateo Sørensen • 2nd Nov
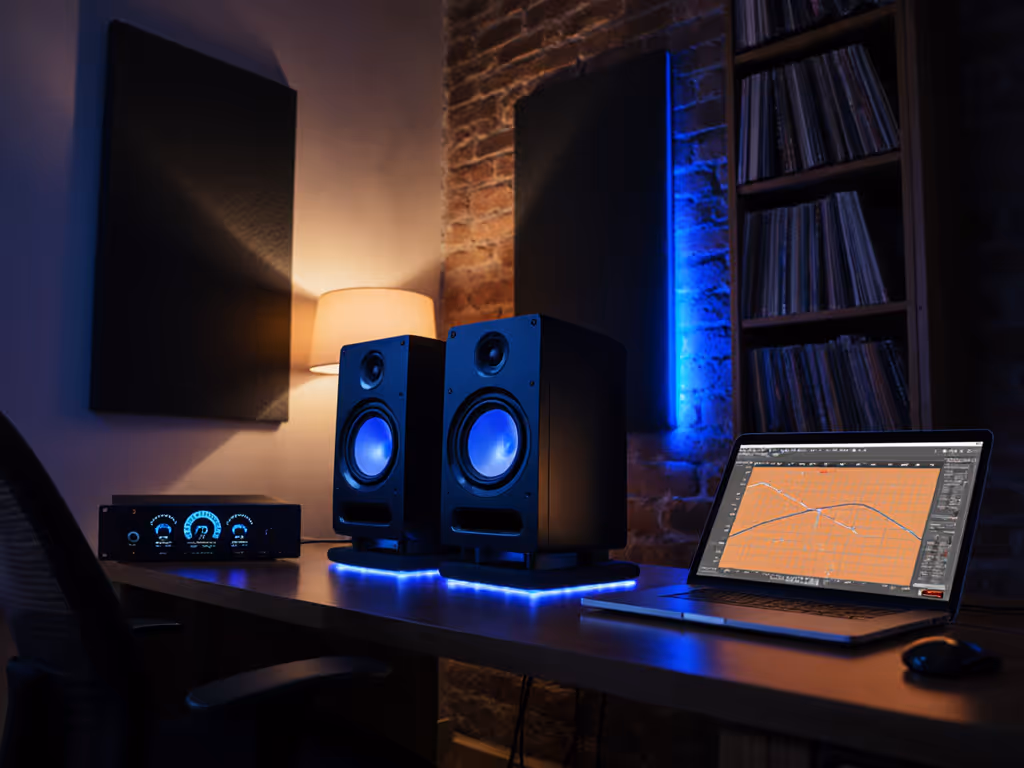
Let's be honest, your 8x12 ft bedroom studio lies to you below 120 Hz. Those bass swells and dead zones aren't in the mix; they're trapped in your room's dimensions. Powered studio monitors with smart digital signal processing hold the key, but only if you bypass the audiophile hype and deploy DSP like a precision tool. I learned this after years of chasing phantom bass in untreated rooms, until I committed to quiet work at 73 dB SPL and discovered my truth. Quiet work that translates beats loud work that impresses. Today, I'll give you a 20-minute calibration ritual that turns your DSP into a bass truth serum for compact spaces.
Why Your Small Room Bass Lies (and How DSP Fixes It)
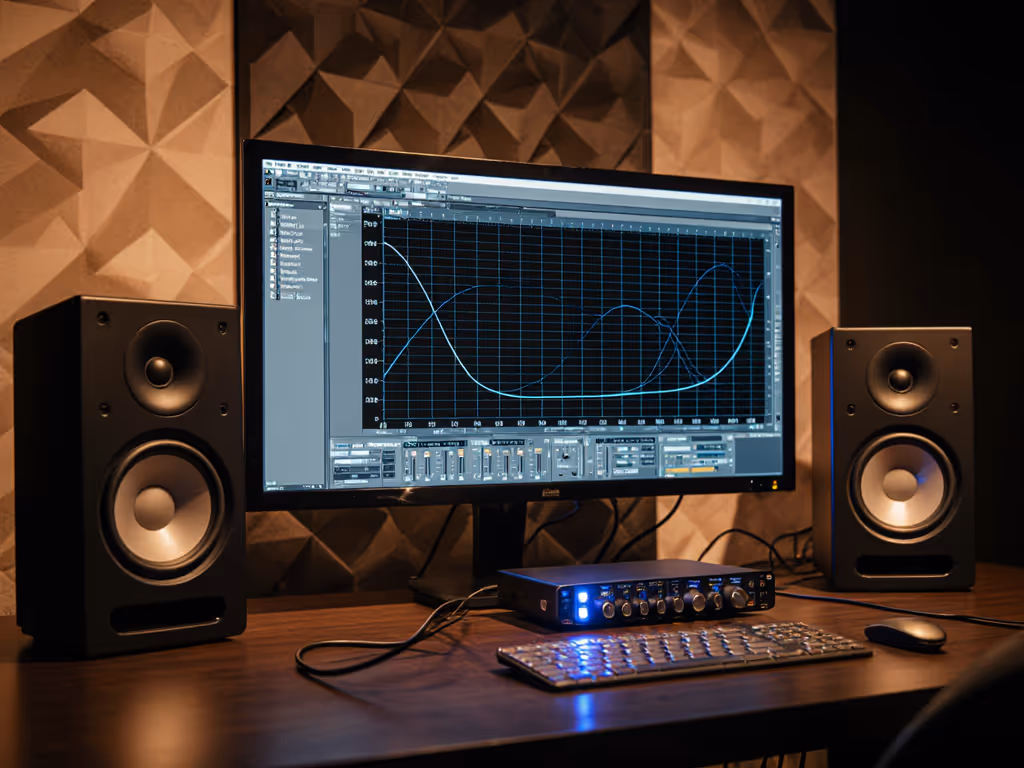
In rooms under 200 sq ft, parallel walls create standing waves that amplify or cancel specific frequencies (like 63 Hz or 98 Hz). This isn't your monitor's fault, it is physics. But while passive speakers just endure these anomalies, active monitors with adjustable filters can surgically correct them. Crucially, DSP must work without introducing latency or smearing transients, otherwise your quiet monitoring sessions lose the low-end articulation you need for translation.
Set it quiet, keep it honest
The Latency-Safe DSP Advantage
Most modern powered studio monitors use DSP for crossovers, phase alignment, and room compensation. If you're weighing monitors with onboard room analysis, compare options in our room-corrected monitors comparison. The magic happens when you use these tools to counteract your room instead of chasing flat response. For example:
- Boundary compensation filters (like those in the compact Audioengine A2+) correct bass boost from desk placement without dulling kick drums
- Subwoofer integration presets handle phase/crossover so you don't wake neighbors with boomy low ends
- FIR linearization (as HEDD demonstrates) tightens bass transients even at 70 dB SPL
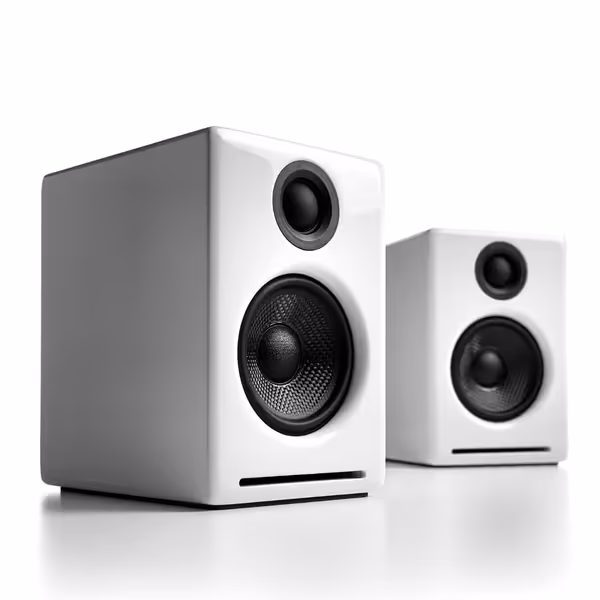
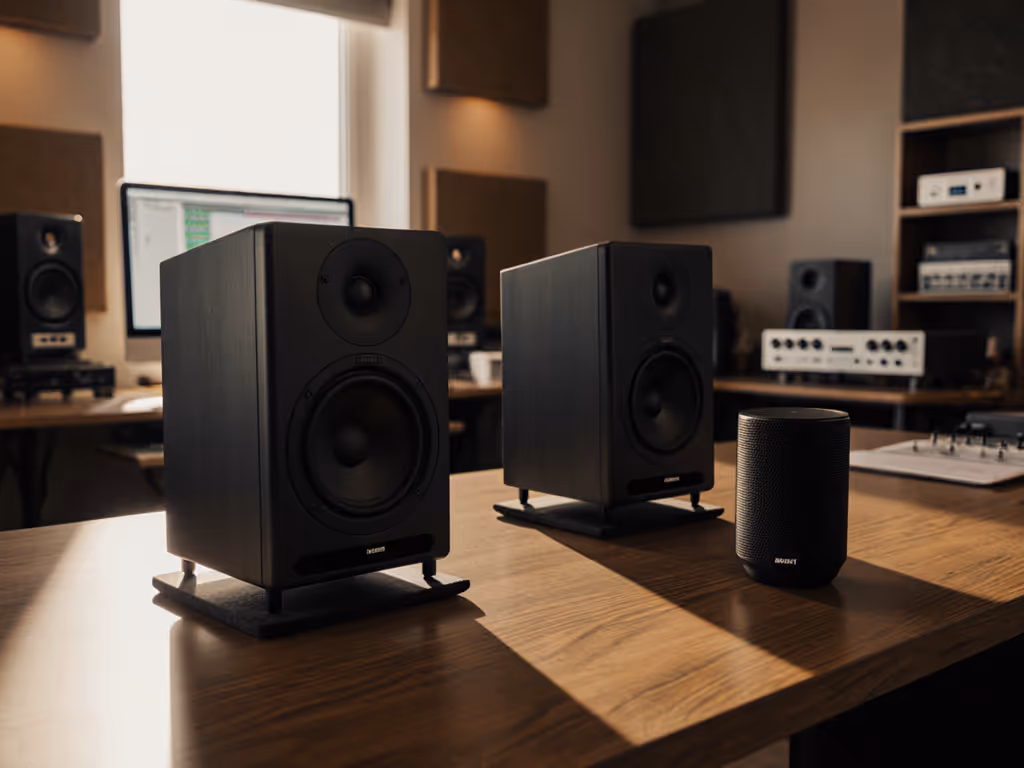
Audioengine A2+ Desktop Speakers
Compact, reliable audio for music and gaming, even in small spaces.
$279
Resolution24-bit Hi-Res
Resolution24-bit Hi-Res
Pros
Excellent sound and build quality for compact setups.
Multiple wired inputs plus Bluetooth 5.3 aptX-HD.
Musician-tuned for balanced music and gaming audio.
Cons
Bluetooth connectivity can be inconsistent for some users.
Value for money is a mixed opinion among customers.
Customers praise these speakers for their sound quality, build quality, and compact size that works well in medium-sized spaces. The speakers have a nice appearance, with one customer noting the magnetically-attached grill, and they are well-constructed with a built-in DAC. The Bluetooth connectivity receives mixed reviews - while some find the connection easy and the range good, others report connection issues. Value for money is also mixed, with some finding them well worth the price while others consider them overpriced.
Customers praise these speakers for their sound quality, build quality, and compact size that works well in medium-sized spaces. The speakers have a nice appearance, with one customer noting the magnetically-attached grill, and they are well-constructed with a built-in DAC. The Bluetooth connectivity receives mixed reviews - while some find the connection easy and the range good, others report connection issues. Value for money is also mixed, with some finding them well worth the price while others consider them overpriced.
Step-by-Step: Your 20-Minute Small Room DSP Calibration
Forget complex measurement mics. In constrained spaces, your ears and a dB meter are enough when paired with strategic DSP adjustments. Follow this nightly routine: Prefer a mic-based workflow instead? Use our step-by-step home studio monitor calibration guide.
Step 1: Set Your Baseline (3 Minutes)
- Play pink noise at 73 dB C-weighted (measured at ear height)
- Position yourself in your mix chair, no leaning forward
- Note frequencies where bass disappears (e.g., "vocal warmth vanishes at 80 Hz") or swells ("kick drum overpowers at 60 Hz")
Why 73 dB? This is the quiet zone where rooms stop overwhelming monitors. Louder levels trigger hypersonic bass that masks truth (a lesson I learned after burning out my ears chasing volume).
Step 2: Target the Big Swells (8 Minutes)
Apply these monitor DSP calibration techniques to your monitor's backplate or control app:
-
Engage Boundary Compensation if monitors are desk-mounted:
- Desk mode cuts 6 dB at 80 Hz (counteracts bass boost from surfaces)
- Wall mode (for 12+" from wall) flattens 50-100 Hz
- Test: Play kick drum loop, bass should feel contained, not bloated
-
Dial in Low-End Tilt:
- If bass disappears below 100 Hz, add +2 dB tilt (e.g., Dynaudio Core series)
- If bass swells, apply -3 dB high-pass (e.g., "Bass Trim" on KRK ROKIT)
- Critical: Never exceed 4 dB adjustment, small rooms need subtle fixes
-
Timer cue: Set phone for 8 minutes. Work only with bass frequencies here. When timer dings, stop.
Step 3: Placement/DSP Synergy (6 Minutes)
DSP alone won't fix desk coupling. Get desk reflection control and ear-height right with our ideal monitor height guide. Combine with physics:
- Isolate vertically: Place monitors on IsoAcoustics stands (or dense foam) tilted so tweeters hit ear level. This reduces desk reflections that smear mids/bass.
- Horizontal tweak: Move speakers 2" away from walls (this shifts room modes just enough for DSP to correct them cleanly).
- Checklist: ✅ Speakers 36-40" apart (for 48" desk) ✅ Tweeters aimed at ears, not forehead ✅ No monitors parallel to walls (triangle skewed 15°)
Step 4: Verify Translation (3 Minutes)
Play your reference track (e.g., a pop song with tight kick/bass):
- At 73 dB SPL, bass should feel present but not heavy
- On earbuds: Kick/bass should translate at same relative volume
- If bass still vanishes on phones, reduce your DSP tilt by 1 dB
This is where latency-safe DSP shines: No phase shifts muddying your judgment.
Maintaining Your Quiet Truth
DSP settings aren't "set and forget." Small rooms change with furniture shifts or weather. Every Sunday:
- Run Step 1's pink noise check at 73 dB
- If bass swells return, revisit Step 2's tilt filter
- Reset your isolation stands if bumped
My mixes now get fewer client notes because I stopped chasing volume. Protect long-term accuracy by following our monitor maintenance guide. When you work quietly with calibrated DSP, your kick drum sits right everywhere, from earbuds to club PAs, without frantic reference hopping. You'll sleep easier knowing your decisions hold up, not because you cranked the monitors.
Your Actionable Next Step
Tonight, spend 10 minutes doing Steps 1 and 2. Ignore specs or "best settings" online, your room is unique. Adjust only bass frequencies below 120 Hz using your DSP's boundary filter or tilt setting. Set a timer, keep it quiet, and trust what you hear. In 7 days, you'll mix with fewer revisions and more confidence. Because when you set it quiet, keep it honest, the bass isn't lying, it is finally speaking clearly.
Related Articles