Waveguide Design Comparison: Dispersion Pattern Analysis
By Avery Cole • 19th Mar
When you're mixing in a 10x12 bedroom, a monitor's waveguide design determines whether your decisions survive the car or crumble on earbuds. Most engineers obsess over driver size and low-end extension. What actually matters is how the tweeter couples to your ears at 72 dB, and that's where waveguide design and dispersion pattern analysis separate honesty from hype.
I learned this the hard way. After mixing what I thought was a tight vocal on what looked like a smooth response at my desk, the track landed harsh on a Bluetooth speaker. The monitor had a narrow, beaming tweeter. It flattered the sweet spot while lying everywhere else. That moment taught me: a monitor's acoustic design (particularly its waveguide) either tells the truth or doesn't. Translation first.
What Waveguides Actually Do
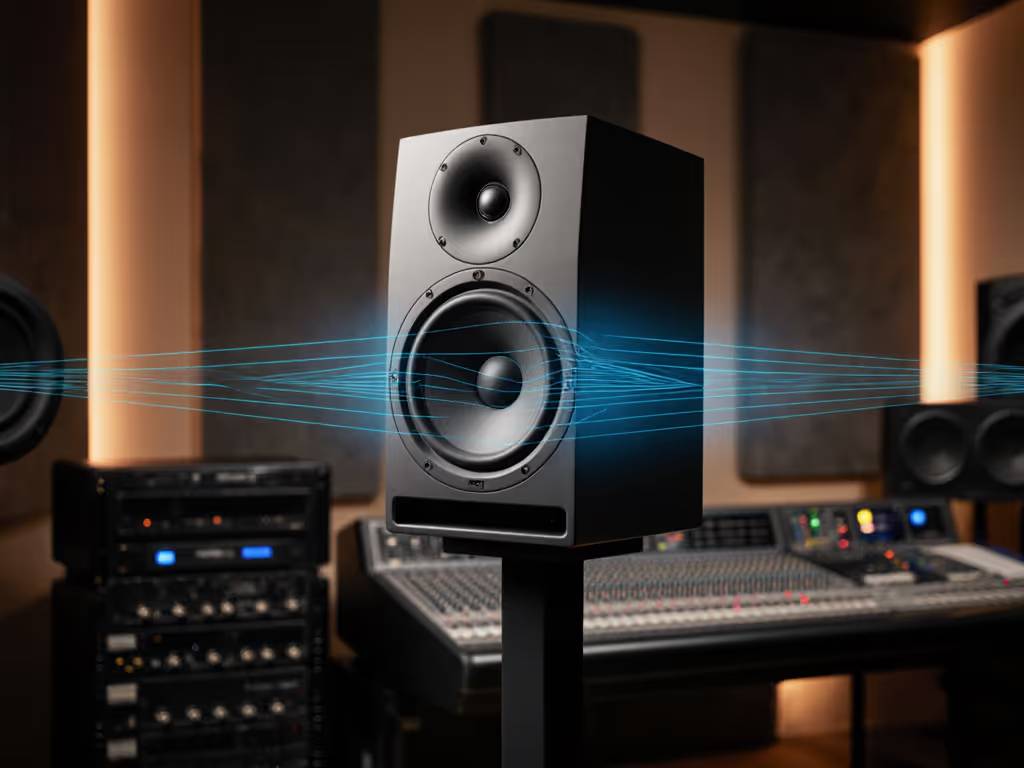
A waveguide is a shaped acoustic chamber behind (or around) the tweeter. It controls how high-frequency sound disperses horizontally and vertically. The goal is simple: keep the tweeter's output consistent across your head's movement and off-axis positions.
In compact rooms, this matters more than in treated control rooms. A 0.8-meter nearfield distance means your ears sit very close to the tweeter's output. A narrow waveguide design beams the treble straight ahead; move six inches left, and the balance collapses. A well-designed waveguide spreads that energy in a controlled way so your mix decisions stay stable, whether you're centered at the desk or shifting slightly in the chair.
The engineering challenge is balancing horizontal vs vertical dispersion. Many monitors achieve wide horizontal spread but maintain tight vertical control, or vice versa. Neither maps cleanly to how you work. In a small room, your ears are often not at the tweeter's perfect height. A waveguide that accounts for both planes reduces the guesswork. As an alternative, see our comparison of coaxial studio monitors for wider sweet-spot coverage.
Horizontal vs. Vertical Dispersion: The Trade-off
Horizontal dispersion controls left-right frequency response stability. A wide horizontal pattern means the tweeter's balance remains relatively flat as you move side to side. This is critical at a desk where your head position varies.
Vertical dispersion is trickier in small rooms. If the waveguide is too narrow vertically, sitting slightly too high or low relative to the tweeter axis means you're listening to the monitor's worst part, usually a dip where the tweeter begins to roll off. To dial in ear-to-tweeter alignment, use our monitor height guide for practical placement steps.
The most honest monitors don't sacrifice one for the other. They build a controlled, moderate waveguide that spreads energy consistently in both planes while maintaining on-axis output. This isn't the flashiest approach. A bright, narrow-beaming tweeter sounds bigger and more present in the sweet spot. But it translates poorly.
Measuring Dispersion: Beyond Specs
Dispersion pattern measurement shows how a monitor's frequency response changes as you move off-axis. This is where real-world translation lives.
A good waveguide design produces response curves that look similar at 0°, ±15°, and ±30° off-axis. Large, erratic shifts signal a waveguide that only works in one spot. Most manufacturers don't publish full dispersion data; they hide it because it often reveals the truth they'd rather not share.
When you test monitors, bring a measurement mic or use your phone's mic app with a reference app (many are free). For a step-by-step process, follow our home studio calibration guide to level-match and verify results. Sit at your mix position and play pink noise. Note the balance. Now move your head left, then right, 8-10 inches. Does the treble feel the same, or does it suddenly sound duller or harsher? That's dispersion at work.
Off-axis Frequency Response: The Real Test
Off-axis frequency response is where monitors reveal whether they're tools or toys.
A monitor with poor off-axis response will sound different at 0° than at 15°, sometimes by 6-8 dB in the presence peak. This means every head movement changes your tonal decisions. You mix the vocals at center desk position, leave for a reference check, come back to a slightly different position, and suddenly the vocal doesn't match what you remember hearing.
Reliable monitors maintain off-axis response to at least ±30°. At 0.8-1.2 meters, that range covers normal mixing positions. A waveguide optimized for this consistency feels invisible; you stop thinking about the monitor's character and focus on the mix.
This is why small-room mix engineers often prefer more modest waveguide designs over exotic horn-loaded tweeters. Horns can deliver incredible presence and detail, but they're typically narrower and more position-sensitive. A well-proportioned, moderately sized waveguide (usually 2-3 inches in diameter) offers more forgiveness and more translation.
Waveguide Technology Impact on Your Mix Decisions
Waveguide technology ripples through every choice you make at low SPL.
If your monitor's waveguide is poor, you'll unconsciously compensate by boosting high end or adding extra presence. You're not hearing the mix clearly; you're fighting the monitor's character. A month later, you listen on any other system and discover the mix is too bright. You blame yourself. You blame your ears. Really, you blamed the wrong tool.
A transparent waveguide lets you hear what's actually there. It also makes mixing at 70-75 dB sustainable. Honesty at quiet levels is rare. Many monitors achieve flatness at 85 dB but color themselves at 72 dB, usually a presence peak that makes mixes feel tighter than they really are. A well-designed waveguide maintains character consistency across SPL.
This is the practical gift: if it translates at 72 dB, it translates everywhere. Mixes made at quiet, sustainable levels and verified on a good monitor travel cleanly to earbuds, cars, and client playback systems.
Comparing Common Waveguide Designs
Most compact monitors fall into two camps: controlled-directivity horns and cylindrical/rectangular waveguides.
Controlled-directivity waveguides (seen in brands emphasizing reference accuracy) use mathematics to shape the acoustic path behind the tweeter. The goal is flat off-axis response. These typically offer ±30° horizontal consistency and ±20° vertical consistency. They cost more to engineer and manufacture, but they deliver. A beginner mix engineer using such a monitor will suffer fewer false confidence peaks.
Simple cylindrical or rectangular waveguides are cheaper to produce. They often produce a presence peak on-axis and narrower dispersion off-axis. In a sweet spot at your desk, they can sound great. Everywhere else, they lie.
For a 10x14 bedroom with untreated reflections, a controlled-directivity waveguide is a smarter investment than chasing a larger driver or flashier tweeter. The difference isn't in specs, it's in how your mix travels.
Room Interaction and Waveguide Placement
Waveguide design interacts with your room. A wide-dispersion design reduces standing waves from the nearfield boundary behind the monitor (usually your desk) by spreading reflections. A narrow design concentrates energy forward, increasing boundary loading.
In a small room with a desk, you want dispersion to work for you. Waveguides that scatter treble slightly reduce the aggravation of direct reflections off your desk surface. This is why many small-room engineers find monitors with moderate horizontal dispersion (±40° or wider) easier to dial in than razor-sharp, centered designs.
Placement becomes more forgiving. You don't need the monitor perfectly at ear level or positioned exactly 42 inches away. A good waveguide tolerates small mistakes.
Translation Across Your Ecosystem
The real test of a waveguide design is translation. For how monitor size affects what you actually hear on phones and earbuds, see our monitor size translation guide. Does your mix survive your Bluetooth speaker? Your earbuds? The car? A monitor with poor dispersion will train your ear to favor on-axis balance. You'll mix bright to compensate for the monitor's narrow presence peak, and the mix will fail everywhere else.
A transparent, wide-dispersion waveguide design naturally aligns your mixing position with how normal listeners will hear the track. Your sweet spot becomes closer to everyone's sweet spot. This is not coincidence; it's acoustic design doing what it should.
Start your monitor hunt by collecting dispersion plots from the manufacturer or third-party reviews. Look for flat curves out to ±20° horizontal and ±15° vertical. Then sit with the monitor at home for at least two days. Mix a song you know well. Listen on earbuds, a phone, a car, whatever your clients use. Does it hold? That's a waveguide design you can trust.
The Verdict: What Matters in Compact Rooms
In a small room at low SPL, waveguide design is more important than driver size or enclosure porting. A 5-inch monitor with transparent dispersion will outmix a 7-inch monitor with a narrow, beaming tweeter every time.
Choose a monitor with measured, moderate waveguide design, one that trades presence-peak excitement for off-axis honesty. Your mixes will travel. Your reference checks will shrink. Your clients will approve faster because the balance is actually right.
If it translates at 72 dB, it translates everywhere. The waveguide is how that happens.
Related Articles