Best Monitor-DSP Calibration Bundles for Reliable Mix Translation
By Lila Okafor • 29th May
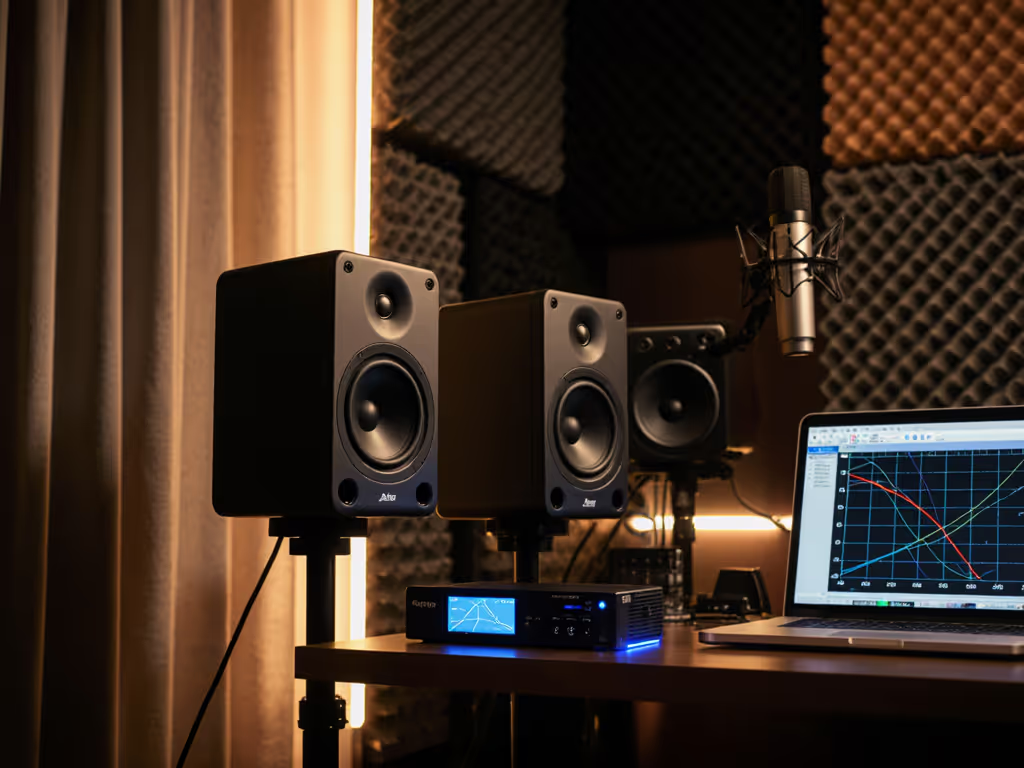
If you work in a small, imperfect room, monitor-DSP calibration bundles and room correction bundle deals can be the fastest way to get your mixes translating without tearing your space apart. But some bundles genuinely tighten your low end and imaging, while others add latency, phase smear, or just a pretty curve on screen.
I'm Lila Okafor, and my whole job is translating lab curves into decisions at a desk. What follows is a critical, data-forward look at how these bundles really behave at one meter - and which combinations offer the best room correction value for small rooms and quiet monitoring.
Curves matter - but only as far as rooms allow.
What Monitor-DSP Calibration Bundles Actually Do
When I say monitor-DSP calibration bundles, I'm talking about combinations of:
- Monitors (usually 5 to 7 inch nearfields) that are stable off-axis and reasonably neutral.
- Correction DSP (software or hardware that measures your room and applies EQ/filters).
- Measurement mic to capture your room's response at the listening position.
The goal is simple: make your system behave closer to a reliable reference at your chair, so that what you print at 70-75 dB SPL holds up in cars, earbuds, and TVs. For level targets and hearing protection, see our safe listening levels guide.
In practice, a good bundle should:
- Linearize the speakers (if supported) so each monitor is as flat as its design allows.
- Tame broad room-induced peaks and dips (say ±6 dB swings) in the 80 Hz to 8 kHz region.
- Preserve timing and imaging, not smear them with heavy-handed filtering.
- Add minimal latency, especially if you track or play instruments through the system.
Notice what it cannot do:
- Fix deep nulls from standing waves at 60-120 Hz if your head sits in a cancellation zone.
- Remove comb filtering from a giant, reflective desk that's too close to the tweeters.
- Replace basic acoustic treatment or sane speaker placement.
DSP is there to refine a setup that's already in the ballpark, not to rescue a bad geometry.
Key Technologies and Tradeoffs
Before we compare actual room correction bundle deals, we need to unpack the main technical variables that determine whether a bundle helps or hurts.
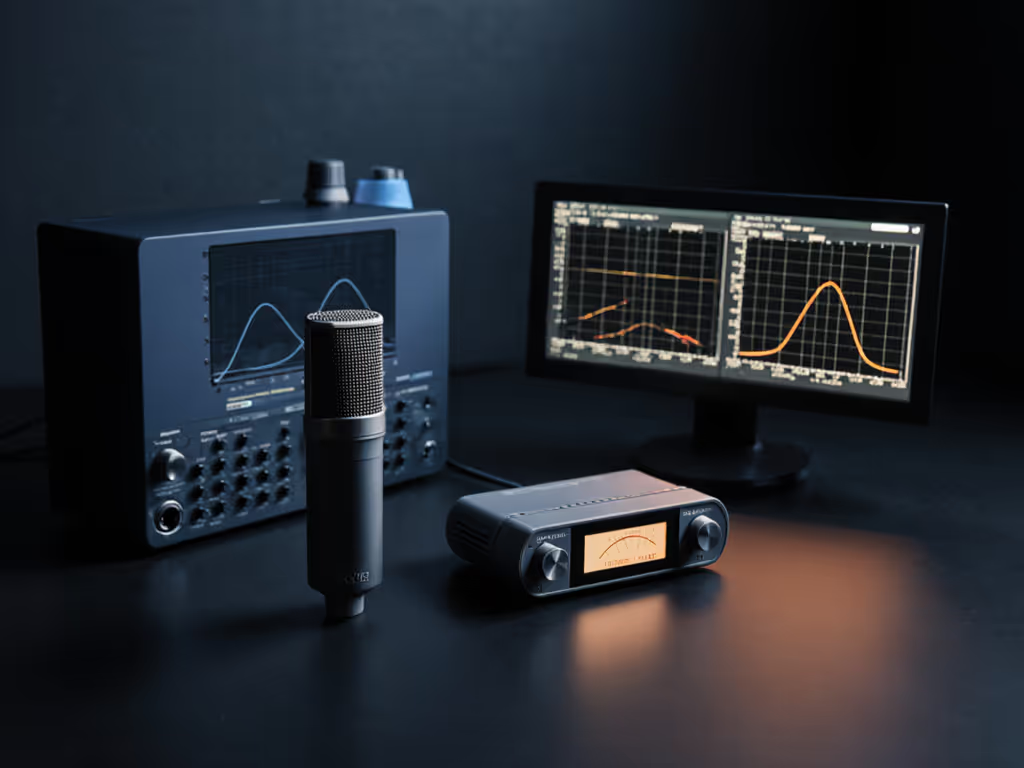
Measurement and Target Curves
Most systems follow the same basic flow:
- Play sweeps or noise through your monitors.
- Capture the response at one or more mic positions.
- Compute a correction filter against a target curve.
- Apply that filter via software or hardware.
A few precise definitions:
- Target curve: the ideal frequency response the system tries to match. Often not perfectly flat - there's usually a gentle roll-off in the top end and sometimes a small low-frequency lift.
- Smoothing: how much the software averages neighboring frequencies. Heavier smoothing hides narrow notches and focuses on broad tonal trends.
For translation, you care more about broad trends than single-bin spikes. In a small room, I'm happy if, after correction, you're within about ±3 dB from 100 Hz to 10 kHz at the listening position, with no huge 8-12 kHz spikes that cause fatigue.
Graph-reading tip: when you look at a bundle's "after" curve, ask:
- Are the low mids (150-400 Hz) still lumpy? That's usually desk and boundaries.
- Did the system over-flatten the bass below 60 Hz, costing you headroom?
- Does the phase response stay smooth, or do you see wild wraps around crossover regions?
If a curve looks ruler-flat but the phase trace is a mess, your imaging and punch may suffer.
Latency and Workflow
DSP always costs you something:
- Software-in-DAW correction can easily add a few milliseconds or more.
- System-wide correction often routes audio through a virtual driver, which can complicate low-latency monitoring.
- Hardware-based correction inside the monitor or a dedicated processor usually keeps latency very low and fixed.
My rule of thumb:
- If you track live instruments through your main monitors, prioritize hardware or ultra-low-latency solutions.
- If you mostly mix/edit, a handful of extra milliseconds is acceptable if translation improves. For a measured look at latency and accuracy between integrated monitor DSP and external Sonarworks-style correction, see our integrated DSP vs Sonarworks comparison.
Off-Axis Behaviour and Why It Still Matters
DSP only sees the response at the mic; it cannot change how the speaker radiates sound into the room. Our off-axis response comparison shows how dispersion affects real-world translation.
Two monitors can measure similarly "flat" on-axis after correction, but if one throws a lot of ragged energy off to the sides and ceiling, your small room will smear mids and make imaging fragile.
This is where my bias shows: I favor controlled directivity and smooth power response over heroic EQ. Good bundles pair DSP with monitors that:
- Have predictable off-axis curves, so reflections are tonally similar to the direct sound.
- Maintain clarity at low SPL (around 70 dB SPL at one meter) without losing low-end detail.
That's the core of my One-meter reality check: if a system behaves predictably at one meter in your actual room, you can learn it and trust it.
Main Types of Monitor-DSP Calibration Bundles
Since we're not tied to specific affiliate SKUs here, I'll group the market into realistic bundle archetypes and point to typical ecosystems. You can then hunt for calibration-ready monitor packages, Sonarworks-compatible monitors, or DSP software bundle discounts that match these patterns.
1. Closed Ecosystem: Monitors + Manufacturer DSP + Mic
Think of systems where the same brand controls:
- The monitors
- The measurement software
- The correction engine
- Often a proprietary measurement mic
Examples in this category include well-known active monitor lines with dedicated room calibration kits or networked DSP control.
Strengths:
- Speaker voicing and DSP are co-designed - the system knows the monitor's anechoic response.
- Often includes per-speaker linearization, not just room EQ.
- Low, predictable latency, especially when DSP runs inside the speaker or a dedicated box.
- Deep integration: per-band level, delays, and sometimes sub management are handled cohesively.
Weaknesses:
- You're locked into one ecosystem; swapping monitors later can mean ditching the DSP.
- Some interfaces are opaque - limited control over target curves or filter strength.
- Pricey; not always the best room correction value if your budget is tight.
Best fit if:
- You're building a primary mix room, even if small, and you want a long-term system.
- Latency and daily reliability matter more than cross-brand flexibility.
2. Open Ecosystem: Neutral Monitors + Sonarworks-Style Software
Here you combine:
- A pair of neutral, well-measured monitors from any brand.
- A software correction tool (e.g., Sonarworks-type) that runs in your DAW or system-wide.
- A calibration mic (often included in the bundle).
These are the classic room correction bundle deals you see from retailers: 5-7 inch monitors plus a DSP software bundle discount on the measurement and correction app. If you're going the software route, follow our step-by-step Sonarworks calibration walkthrough.
Strengths:
- Brand-agnostic: works with almost any monitor, including upgrades later.
- Modern tools are mature, with multi-point measurement, target curve editing, and calibration reports.
- Easy to use in mobile setups: install the software, bring your mic, and you're back in business.
Weaknesses:
- Latency can be noticeable, especially with linear-phase or high-precision filters.
- If your monitors are not well-behaved off-axis, the software cannot fix that.
- System-wide drivers can be finicky depending on OS and interface.
Best fit if:
- You want Sonarworks-compatible monitors you can keep using as you upgrade speakers.
- You mix more than you track, and some latency is acceptable.
- You like to tweak target curves (for example, adding a gentle tilt for low-level listening).
3. Hardware DSP + Generic Monitors
This category covers:
- External hardware processors with measurement and room correction features.
- Some monitor controllers and interfaces with built-in DSP and calibration.
You pair the hardware with any active monitors you already own.
Strengths:
- Low-latency correction independent of DAW buffer size.
- Works across all sources: DAW, system audio, game consoles, etc.
- Easier to maintain: once calibrated, you don't have to think about plug-ins.
Weaknesses:
- Extra cost and complexity: more boxes, more cables, more gain staging.
- Feature sets vary wildly; some units use coarse filters or limited target shaping.
- Not all are designed with small rooms and short listening distances in mind.
Best fit if:
- You want DAW-agnostic correction and track live with minimal latency.
- You have multiple speaker sets or a sub and want centralized control.
4. Built-In DSP Monitors with Simple Room EQ
Many modern monitors include some DSP inside the box. At the basic level you get:
- Switchable boundary or desk filters.
- A few bands of EQ via app or rear-panel controls.
At the more advanced end, some models support full-on calibration via proprietary mics or apps, blurring into the closed-ecosystem category.
Strengths:
- No extra boxes or apps required for basic tuning.
- Often very low latency, since processing is internal.
- Good middle ground for calibration-ready monitor packages aimed at small rooms.
Weaknesses:
- Built-in EQ ranges may be too coarse to really tame room modes.
- Without a measurement process, you're guessing with your ears and reference tracks.
Best fit if:
- You're on a budget but want some control over boundary/desk issues.
- You're comfortable pairing simple onboard filters with light external correction later.
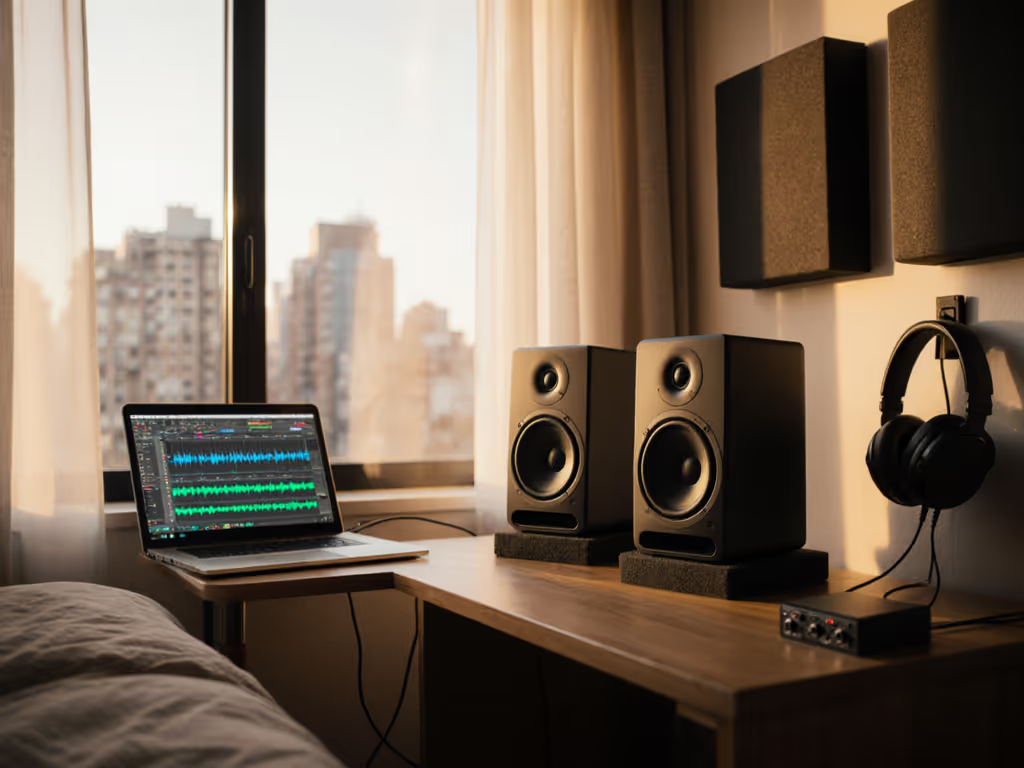
5. Software-Only: Headphones + Room-Mode-Aware Cross-Checking
This isn't a strict monitor-DSP bundle, but many small-room creators end up here:
- Good open-back or semi-open headphones.
- Headphone calibration and optional virtual room software.
- Cheap but decent monitors used at low SPL mainly for imaging and vibe.
Strengths:
- Bypasses room modes for low-end decisions, which can be huge in 8x10 ft rooms.
- Portability: same reference wherever your laptop goes.
- Often the cheapest path to consistent translation.
Weaknesses:
- Headphone translation is its own skill; crossfeed and HRTF models vary.
- You still need speakers to check phantom center and physical impact.
Best fit if:
- Your room is so compromised you can't place monitors sensibly.
- You need a reliable reference while you slowly improve the room.
Comparing the Bundles: Translation, Workflow, and Value
Let's line up these archetypes against what actually matters in compact rooms.
| Bundle Type | Translation Reliability | Latency Impact | Flexibility (Monitors/Rooms) | Best For |
|---|---|---|---|---|
| Closed ecosystem (monitors + vendor DSP) | Very high if room is reasonable | Very low (often fixed) | Low (locked to brand) | Long-term main room, pro work, low risk |
| Open (neutral monitors + software correction) | High with good monitors & setup | Moderate (DAW-dependent) | High (works with many speakers) | Most small studios mixing in the box |
| Hardware DSP + generic monitors | High with capable hardware | Very low | Medium (limited by I/O & features) | Hybrid studios, multiple speakers, live work |
| Built-in DSP monitors (simple EQ) | Moderate, improves boundaries | Very low | Medium (per-model features vary) | Budget setups, incremental improvements |
| Headphone-focused + calibration | High for tonal decisions | Low to moderate | High (any room, travel-friendly) | Extremely small or untreated rooms |
If your priority is best room correction value for a typical 10x12 ft bedroom, it often lands with:
- A solid pair of neutral 5-7 inch monitors with stable off-axis response.
- An open-ecosystem software correction bundle (Sonarworks-style) with mic.
This combo gives you:
- Enough low-frequency extension for honest kick/bass work at low SPL.
- Cross-brand compatibility when you upgrade monitors.
- A mature toolset to fine-tune target curves to your taste.
How to Choose for Your Room and Budget
Let's map common real-world constraints to bundle types.
Case 1: 8x10 ft, Super Close Neighbors, 0.8 m Listening Distance
Constraints:
- You must work at quiet levels (65-72 dB SPL at the chair).
- Room modes around 60-120 Hz are brutal.
- No room for big stands; monitors sit on the desk.
Priorities:
- Clear low end at low SPL.
- Minimized desk reflection mess around 150-300 Hz.
Best picks:
- Neutral 5 inch monitors with good low-SPL performance.
- Open-ecosystem software correction bundle with a slightly downward-tilted target curve.
- Add simple desk and boundary filters on the monitors before running the full calibration.
Why not bigger 8" monitors? At this distance and room size, they often overload the room and exaggerate the very modes you're trying to tame.
Case 2: 12x14 ft, Some Treatment, Occasional Tracking
Constraints:
- You track vocals and instruments, so latency matters.
- Some broadband panels and a rug are already in place.
Priorities:
- Stable imaging across a wider sweet spot.
- Honest low end to around 40-50 Hz.
Best picks:
- Closed ecosystem bundle or hardware DSP paired with 6-7 inch monitors.
- Leverage the manufacturer's multi-point measurement and sub integration options if you plan to expand.
Here, the tight integration and low latency of a closed system makes sense; you'll feel the benefits every day when tracking and mixing.
Case 3: Multi-Use Bedroom/Office, Minimal Permanent Treatment
Constraints:
- Monitors share space with a computer monitor, lamp, and random furniture.
- You can't put bass traps everywhere.
Priorities:
- Predictable translation without visually overwhelming the room.
- Easy to toggle between work and chill modes.
Best picks:
- Calibration-ready monitor package with built-in simple DSP + an open software correction tier.
- Use built-in low-shelf and desk filters to tame the worst issues, then let software handle broader tonal flattening.
This layered approach keeps hardware simple while giving you fine control in the digital domain.
Setup Recipes: From Box to One-Meter Reality Check
To cut through paralysis, here's a practical sequence I use to get clients from "new bundle" to trustworthy monitoring over a weekend.
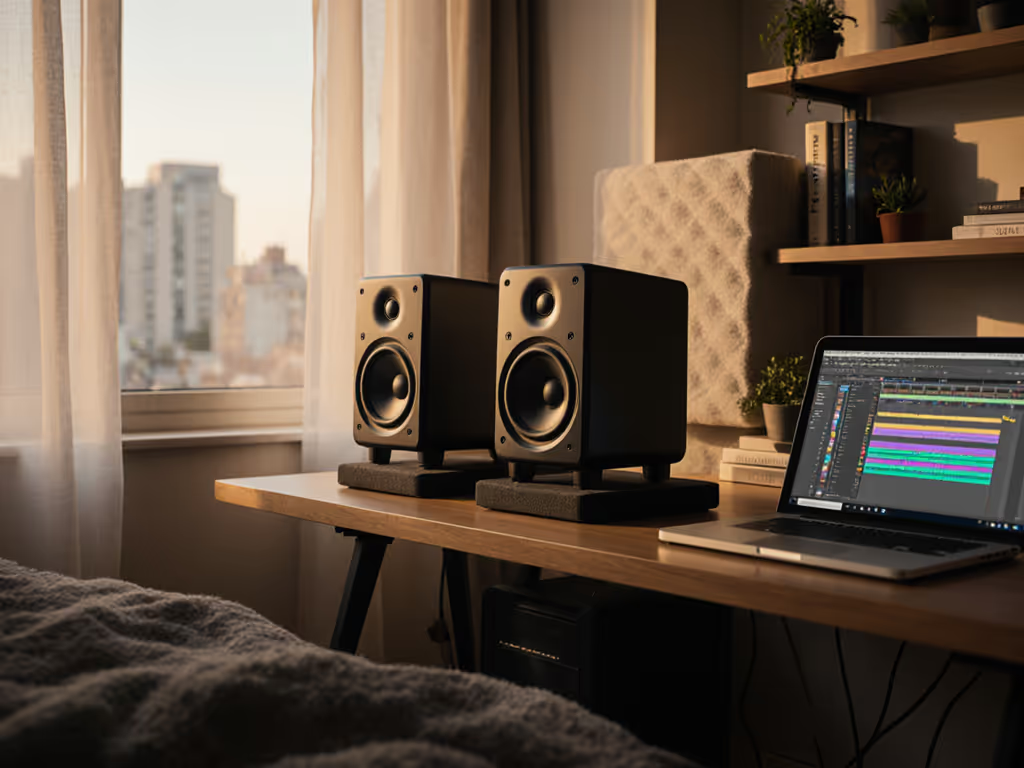
Step 1: Physical Placement Before DSP
- Place monitors so the tweeters are roughly ear height at your listening position.
- Form a nearfield triangle: 0.7-1.0 m between each speaker and your head, roughly equal sides.
- Pull the speakers 20-40 cm from the rear wall if possible; if not, enable boundary compensation in the monitors.
- Use proper isolation (solid stands or good pads) to avoid desk coupling. To reduce desk reflections and nail ear-height alignment, see our monitor height and desk reflections guide.
Step 2: Rough Level and EQ Pre-Tuning
- Set both monitors to the same sensitivity and aim for about 70-75 dB SPL C-weighted at the listening position for pink noise.
- If your monitors have room/desk switches, start with manufacturer "desktop" or "against wall" presets.
- Listen to well-known reference tracks and make subtle pre-DSP adjustments (±1-2 dB shelves, not surgical moves).
Small, sensible pre-tuning makes the later DSP work less hard and sound more natural.
Step 3: Run the Calibration
- Connect the measurement mic and follow the bundle's instructions for mic height and position.
- For small rooms, I prefer fewer but carefully chosen mic positions around the actual listening posture rather than spraying measurements all over the room.
- Let the system compute filters and load the calibration into the plug-in, hardware box, or monitor memory.
Step 4: Inspect and Adjust the Target Curve
This is where data meets ear.
- Check the before/after curves. Make sure the fix looks like broad smoothing, not extreme zigzags.
- Adjust the target curve so it gently tilts downward from bass to treble (e.g., 0-2 dB lift around 80 Hz, 1-3 dB down by 10 kHz), which often feels more natural at low SPL.
- Avoid aggressive boosts in deep nulls; if you see +10 dB at 70 Hz, reduce correction strength below 80-100 Hz.
I once had a client who fell in love with a very shiny top end, until we overlaid their room response and saw a desk-induced 200 Hz bump throwing every vocal and snare off. We lowered the desk, changed toe-in, and applied a mild low-shelf in DSP. The "sparkle" stayed, but their revisions dropped off a cliff. That's why I always combine measurements with a One-meter reality check in the actual desk layout.
Step 5: Translation Tests and Fine Tuning
Over the next day or two:
- Run stems or full mixes you know too bright, too dark, and just right from other systems.
- Check translation on earbuds, a phone, and one car (or a soundbar).
- If your mixes consistently come out dull elsewhere, your in-room system is likely too bright - tilt the target down a dB or two from 2-10 kHz.
- If mixes are bass-light elsewhere, your low frequencies in-room are probably inflated; reduce the bass lift or correct more aggressively from 60-120 Hz.
Curves are a starting point; the translation loop is the final arbiter.
Final Verdict: Best Room Correction Value by Use Case
If I strip away marketing and focus on translation per dollar for the rooms you actually work in, here's how I'd prioritize monitor-DSP calibration bundles:
- For most independent producers and small-room mix engineers, the sweet spot is:
- Neutral 5-7 inch monitors with good off-axis behaviour, plus
- An open-ecosystem software correction bundle (Sonarworks-style) with measurement mic.
Look for retailer room correction bundle deals that package these together; they often represent the best room correction value because you can upgrade monitors later without rebuying DSP.
-
If you're running a client-facing room, especially with regular tracking:
-
A closed ecosystem bundle (monitors + manufacturer DSP + mic) is hard to beat.
-
You gain low, fixed latency, robust sub integration, and fewer moving parts to break.
-
If you're juggling multiple speakers, a sub, or live playback:
-
Consider hardware DSP or a monitor controller with strong calibration features.
-
This centralizes correction and switching, which reduces day-to-day friction.
-
If your room is tiny, reflective, and semi-permanent:
-
Don't be afraid to lean on a headphone + calibration bundle as your main truth-teller.
-
Use small monitors at low SPL mainly for imaging and feel.
In every case, ignore flashy promises and ask three questions:
- Does this bundle keep latency and workflow acceptable for how I work?
- Do the monitors themselves have stable off-axis and low distortion at my listening distance?
- Does the correction result in predictable translation across your three most important external references?
If you can answer yes to all three, you've found a bundle you can set up in a weekend, trust by the following week, and keep relying on as your projects and clients grow.
That's the real win: less time second-guessing your room, more time finishing work that holds up everywhere.
Related Articles